• Welcome to The Truck Stop! We see you haven't REGISTERED yet.

    Your truck knowledge is missing!
    • Registration is FREE , all we need is your birthday and email. (We don't share ANY data with ANYONE)
    • We have tons of knowledge here for your diesel truck!
    • Post your own topics and reply to existing threads to help others out!
    • NO ADS! The site is fully functional and ad free!
    CLICK HERE TO REGISTER!

    Problems registering? Click here to contact us!

    Already registered, but need a PASSWORD RESET? CLICK HERE TO RESET YOUR PASSWORD!

1996 K2500 “Krovvy”

If I was near you, I'd want to swing by to get that rear bumper and windshield not to mention talk you out of that really nice black camper in the background LOL
The windshield is cracked and the bumper is rusted through in the middle. Don’t worry, I took every single good part off of it. 😊
 
Finally getting back to this one.

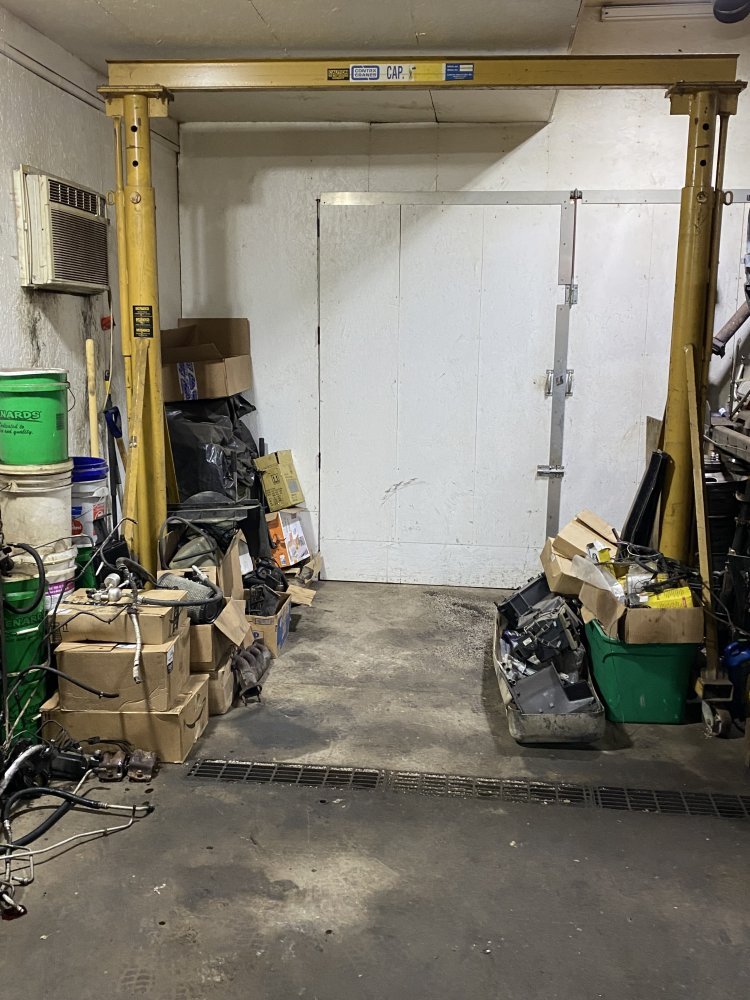
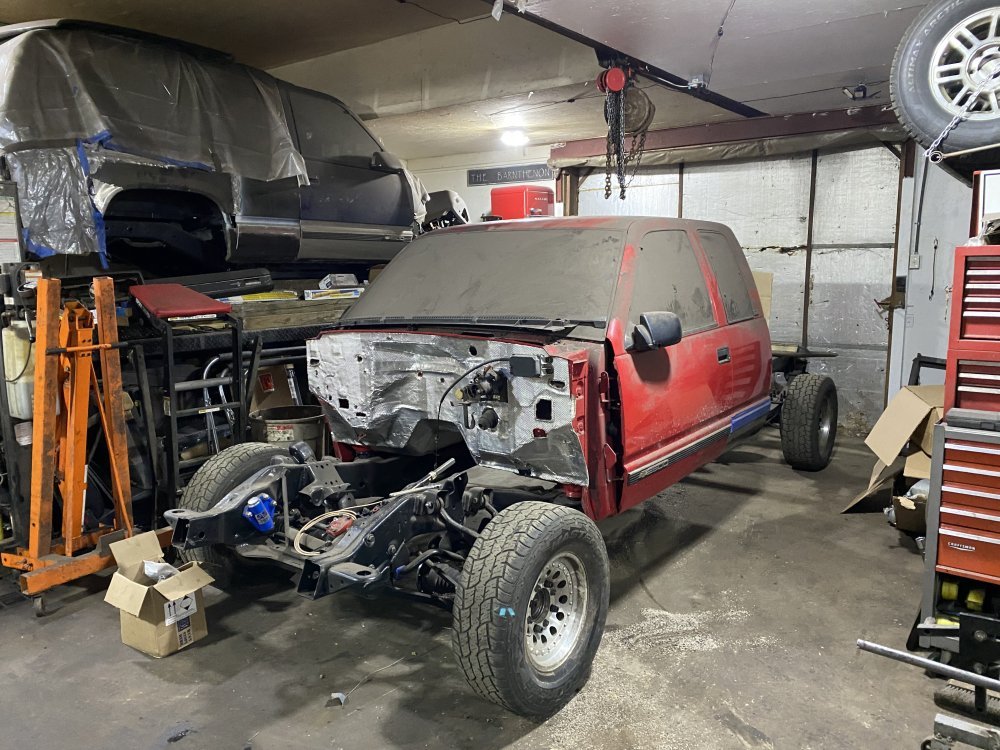
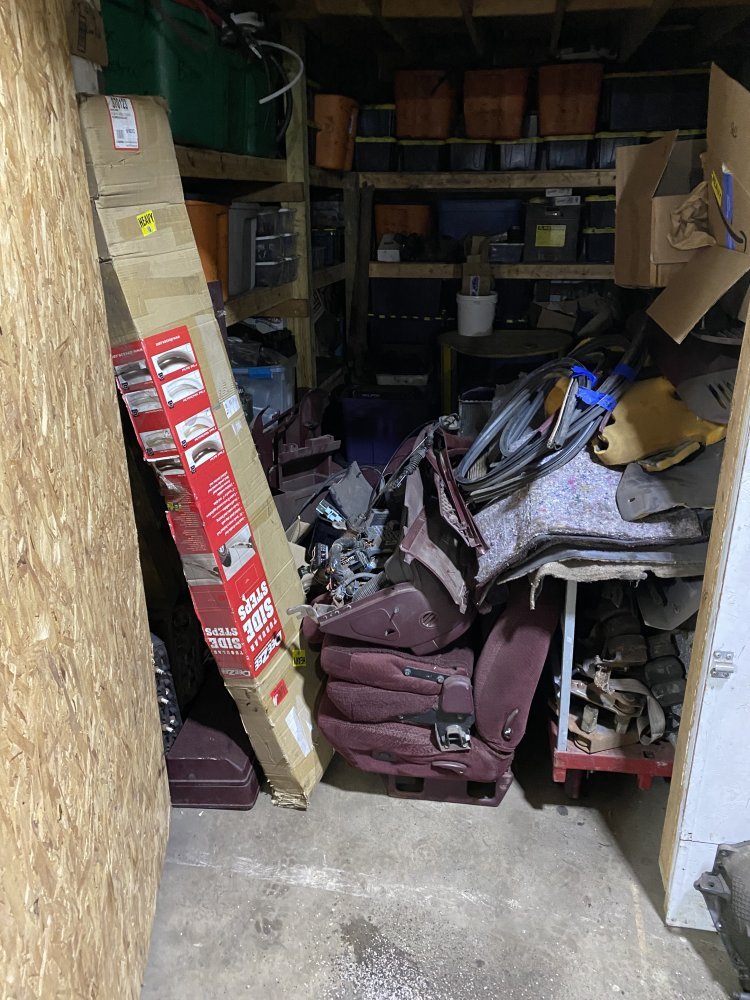
First step was to unpack all of the parts that I had stored in the cab and bed. Once out where I could see them, those got sorted and strategically stashed for while the truck got worked on. I also removed the bed so I could finish the welding on the cab corner.

IMG_9498.jpegIMG_9500.jpegIMG_9499.jpeg

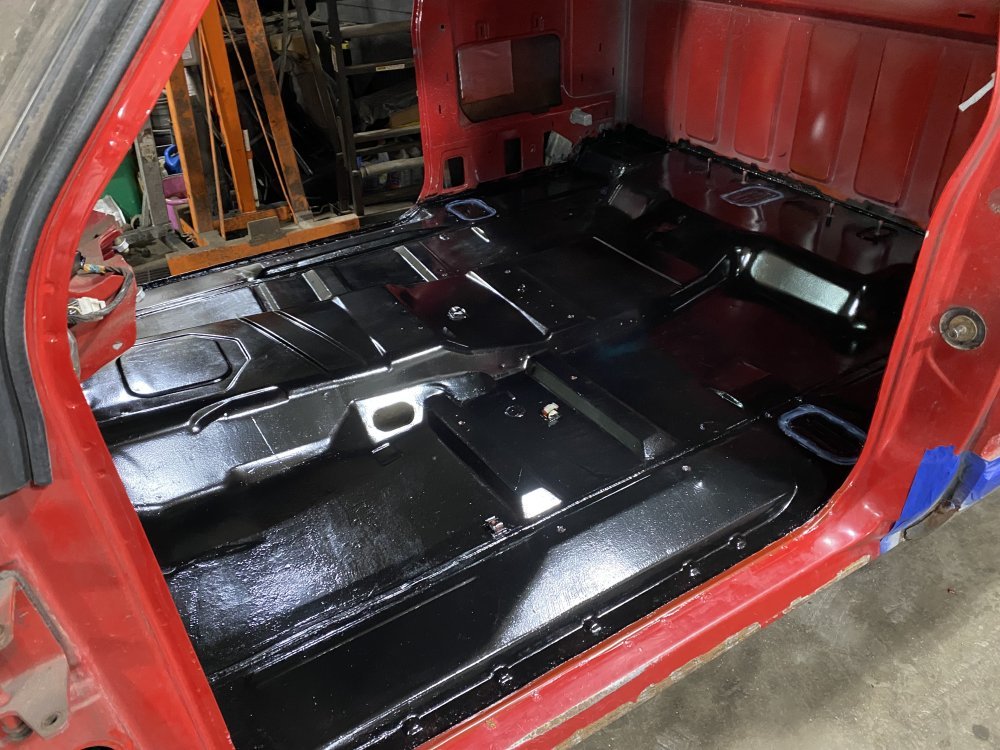
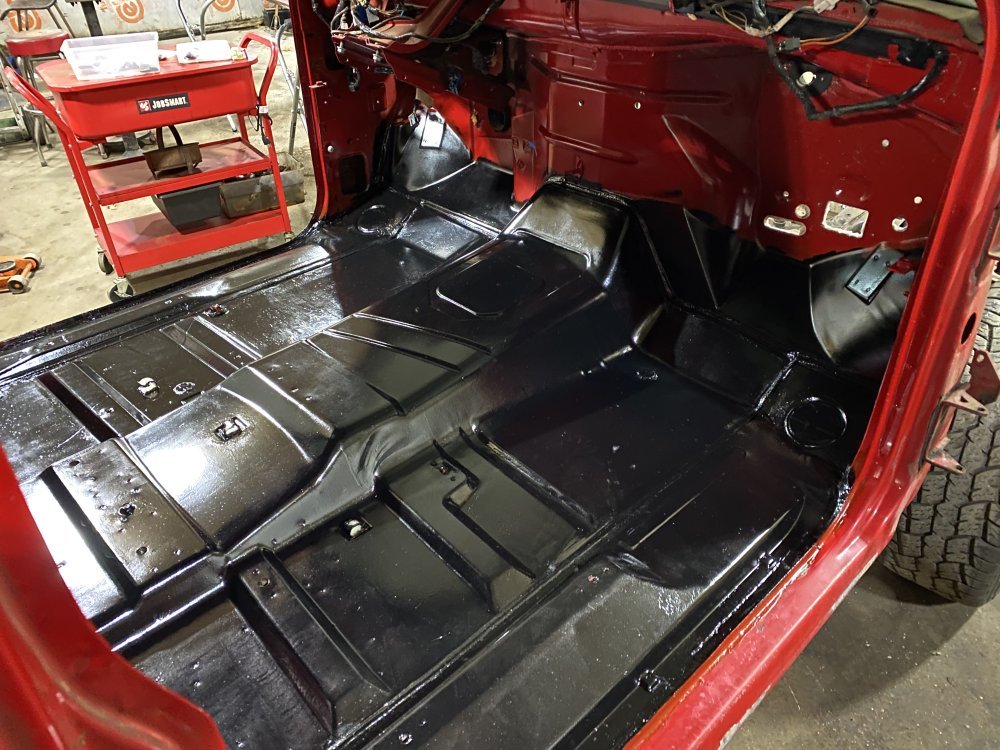
Once welding was done, it was time to paint the inside of the cab floor. I used KBS Rust Seal and the 2-stage prep to go along with the paint.

IMG_9545.jpegIMG_9546.jpeg

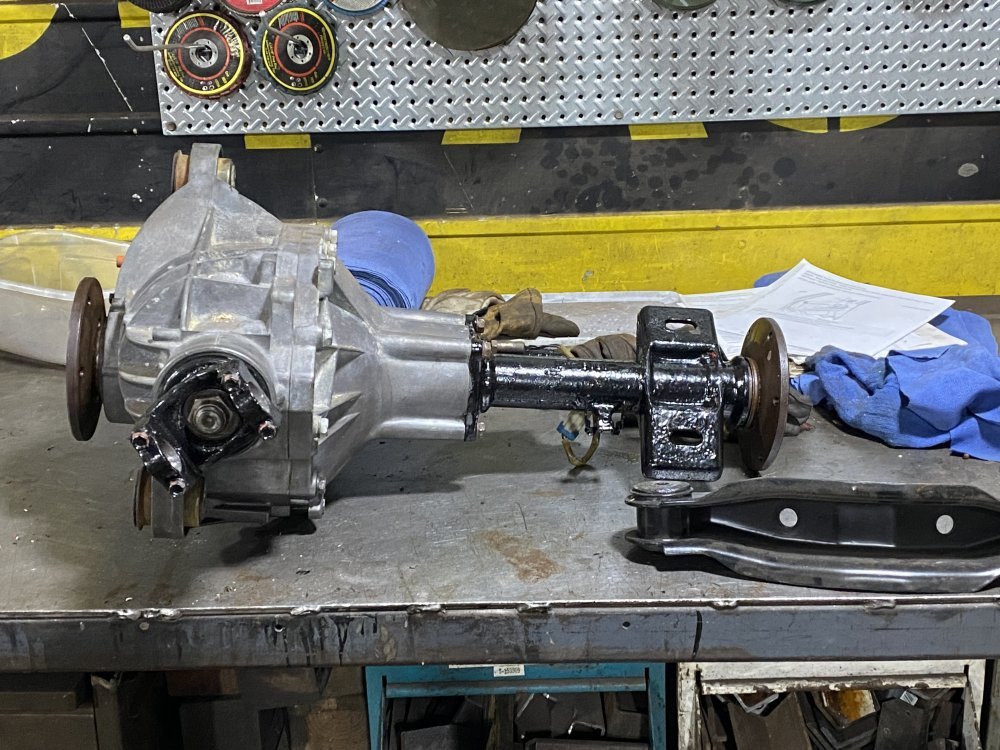
While painting, I also painted the front diff axle tube and yoke. Once dried, I reassembled the diff with the painted parts and new seals.

IMG_9547.jpeg

I would have installed the diff, but I noticed the rubber mount bushings are cracking, so I ordered new ones. Those should be here in a couple days. I’m excited to finally be moving on this thing again and get it done so my dad can drive it.
 
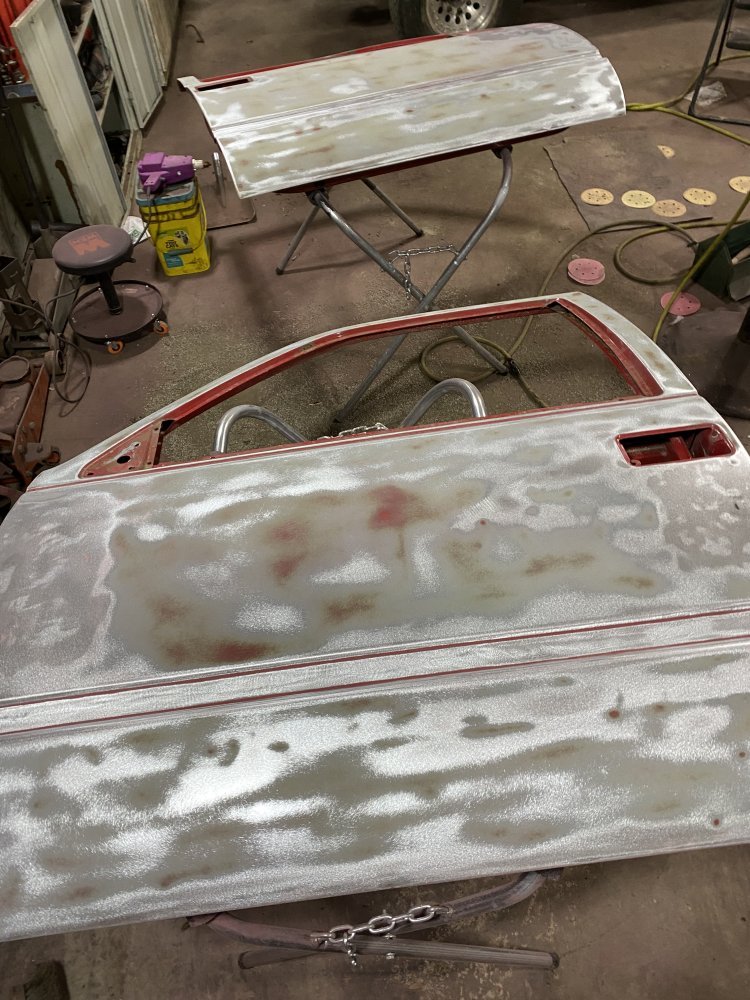
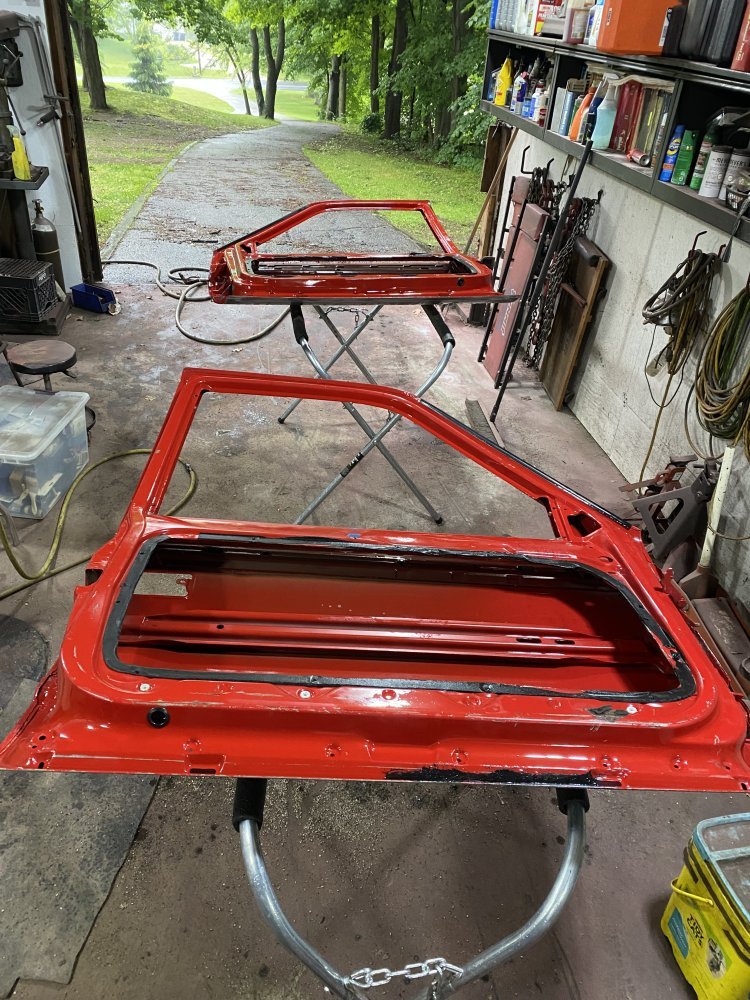
Today I started working on the replacement doors for the truck. Even though the truck as a whole is pretty rust-free, the bottoms of the doors were pretty roached thanks to the rust belt. A couple years ago I got a couple replacement doors that came from Florida. Even though these doors were red, they needed some bodywork and had lots of chips in the paint, so the whole outsides will need to be painted. Today I straightened the door edges, pulled a dent out and then sanded the paint off. I want to get these messy paint tasks done before I start assembling the interior. IMG_9555.jpeg
 
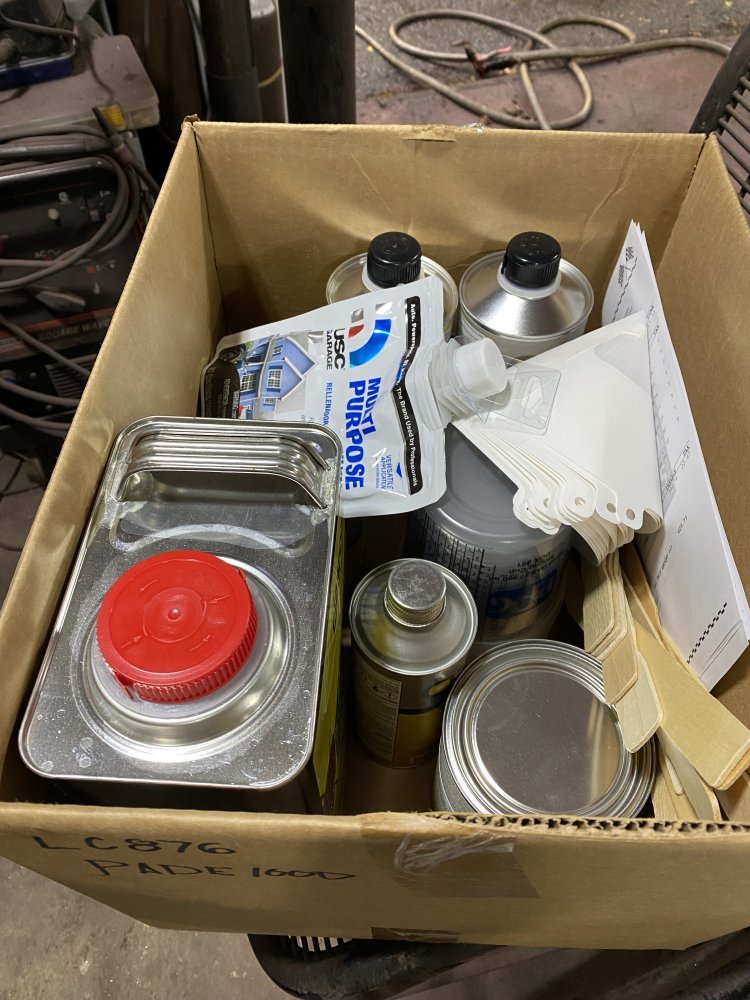
Made a little progress today. First I went to the paint store and got supplies for painting the doors, rockers and the cab corner patch.

IMG_9578.jpeg

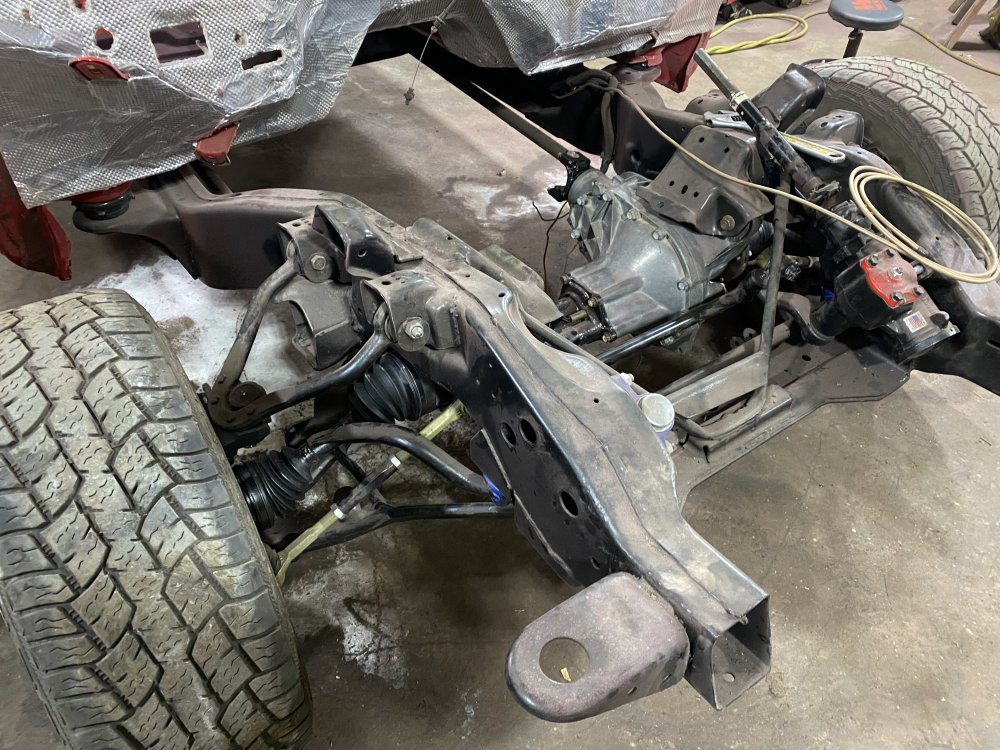
Next I got the front diff and CV axles reinstalled, which was more of a chore than I expected.

IMG_9579.jpeg

And finally, I cleaned the backsides of the doors off. I should have done that before sanding the fronts, so now I need to go back over the fronts to prevent rust. I’m going to use the KBS Rust Blast to do that.

IMG_9580.jpeg
 
Looking great as always Nate!

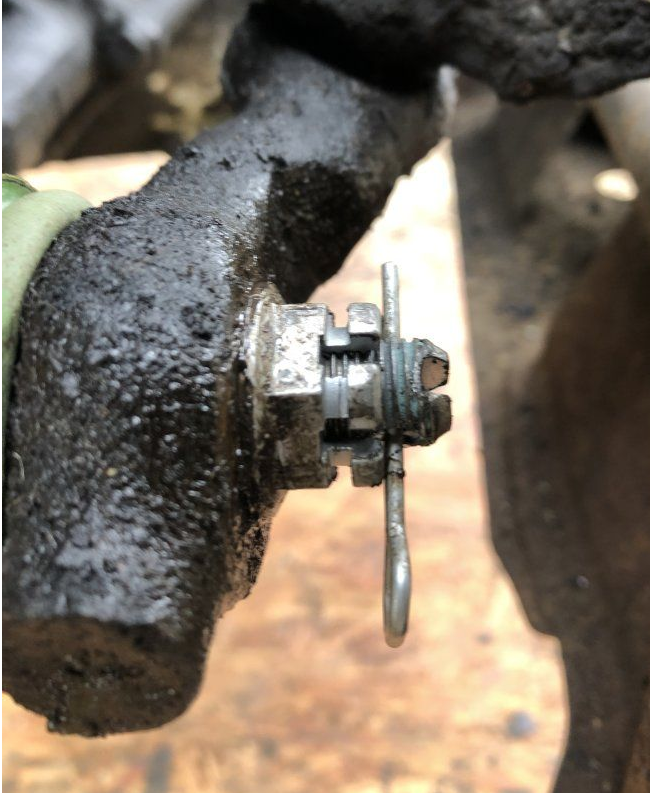
Are those NAPA/ Mevotech TTX tie rods? I bought some brand new and the alignment for the cotter pin and castle nut was way off. Wondering if you have the same issue

 
Looking great as always Nate!

Are those NAPA/ Mevotech TTX tie rods? I bought some brand new and the alignment for the cotter pin and castle nut was way off. Wondering if you have the same issue

Yep, they’re Mevotech TTX that I bought off of Rock Auto. To be honest, the unique castle nut and pin arrangement threw me for a loop and the conclusion I came to is that’s how it was supposed to be and the pin was just there in case the nut happened to come loose - that it wouldn't come all the way off. Now I see the thought process you went through and it makes a lot of sense that the pin is supposed to land in that groove in the nut. I guess it’s washer time. Thanks for catching that!
 
How far off is the pin hole from lining up with the slot in the nut? If it's not much, then I was always taught that if the cotter pin hole and a groove in the castle nut didn't line up after tightening to torque, to go ahead and continue tightening until the next groove lined up and then insert the pin. I've never trusted Nyloc nuts on things like ball joints or tie rod ends, even to the point of buying castle nuts (or reusing the old ones) on new units. I even went as far once as replacing the Nyloc with a castle nut, torquing to spec, then drilling a hole through the shank using the groove in the castle nut as a guide and inserting a cotter pin.
 
I am not familiar with that brand's part, do they use those new-style "shorty" castle nuts that have a really shallow body on them like 4-5 threads deep? One picture worth a thousand description words (and less questions asked).

I had another brand's tie rod ends ends that I installed on my Camry a few years back that had the same issue of the new castle nut was too short to have the slots reach the hole in the shank.

I just went over to the neighborhood Tru-Value hardware store and got a couple of metric Grade 8.8 castle nuts from their Pik-a-Pac section. Found that those had the old-school taller body with 10-12 threads in them. When I used the hardware store castle nuts, the slots were aligned with the factory hole in the shank depth-wise just fine to use a cotter pin.
 
I'd definitely complain and leave a bad review.

If I couldn't return them for being defective.

I have a lot of trouble eating stuff like that.

No problem. Just a couple hours wasted, running to town, to get the proper nut that should have been in the box to begin with.
 
I am not familiar with that brand's part, do they use those new-style "shorty" castle nuts that have a really shallow body on them like 4-5 threads deep? One picture worth a thousand description words (and less questions asked).

I had another brand's tie rod ends ends that I installed on my Camry a few years back that had the same issue of the new castle nut was too short to have the slots reach the hole in the shank.

I just went over to the neighborhood Tru-Value hardware store and got a couple of metric Grade 8.8 castle nuts from their Pik-a-Pac section. Found that those had the old-school taller body with 10-12 threads in them. When I used the hardware store castle nuts, the slots were aligned with the factory hole in the shank depth-wise just fine to use a cotter pin.
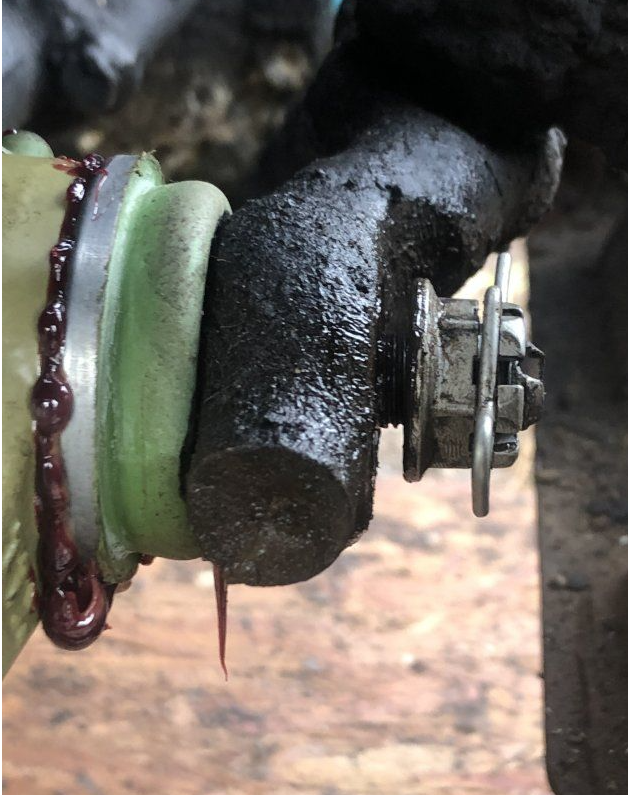
You can see the issue in the thread that DieselAmateur linked. I have pasted pictures from his thread below. The hole in the stud is about .200" from engaging the castle nut. The nut isn't short, it just isn't lined up at all. I'm going to shim it with some washers and call it a day.1717414554172.png1717414572528.png
 
Back
Top