• Welcome to The Truck Stop! We see you haven't REGISTERED yet.

    Your truck knowledge is missing!
    • Registration is FREE , all we need is your birthday and email. (We don't share ANY data with ANYONE)
    • We have tons of knowledge here for your diesel truck!
    • Post your own topics and reply to existing threads to help others out!
    • NO ADS! The site is fully functional and ad free!
    CLICK HERE TO REGISTER!

    Problems registering? Click here to contact us!

    Already registered, but need a PASSWORD RESET? CLICK HERE TO RESET YOUR PASSWORD!

Starting Over 93 C3500 18:1

If non of the vendors here have it-
Bluehummer.net
Hummerpartsguy.com
Real4wd.com

Look up civilian Hummer H1 from 1996-2004. All the same gasket.
It is 1 piece, do NOT try using 2 orings, that will leak- seen it already.
Happy that You corrected Me on the use of the O~Rings. I surely would not want to see someone have to take back afart an engine cause I giveum the wrong infurmaishun. :banghead: :nailbiting:
 
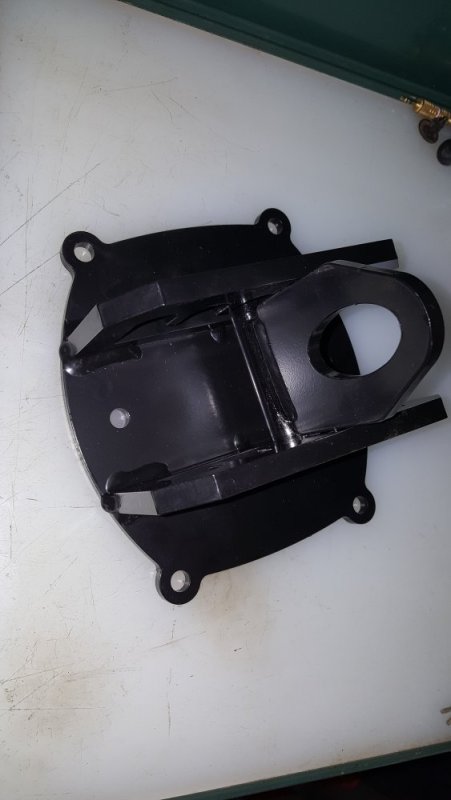
There is always that time when you buy something and you think to yourself "Am i going to use this more than once?" "What is it worth if I only use it once?"


This is one of those times where I hope I spent the money on an item to only use it once.

This is a quality looking tool that I am looking forward to using.

20191214_123119.jpg
 
That’s the one Quadstar sells?

It looks very will made and yeah hopefully a one time use for sure.
 
That’s the one Quadstar sells?

It looks very will made and yeah hopefully a one time use for sure.

Yes, the Quadstar piece.


maybe rent it out LOL

I had thought about that. This tool is so inexpensive that the shipping two ways would cover the cost to buy it new, or close to it.

Hang it on the wall as a memento to never be used again, for my truck at least.

On the website it is described " these are built to use frequently " Something a 6.5 owner doesn't want to hear. :dead::)
 
Do you remember how much protrusion you had on the orings ? Also did you use copper wire or stainless ?
 
Do you remember how much protrusion you had on the orings ? Also did you use copper wire or stainless ?

I don't remember the protrusion exactly .010" maybe. I don't remember the wire size either.

They were stainless and I used them with Felpro gaskets the first time. When I switched to MLS I wanted to make the deck flat again. I needed to get it back on the road so I risked it and put it together. It might have worked with copper wire.


Maybe we should change the AD to say the engine lift plate is "built to last"? Lol.

In my case "frequent use" qualifies. :banghead:

I wish I would have had it the first 3 times. My dad had made one that attached to the intake in a very similar way. It was a little sketchy looking, so I never used it.
I'm going to run hitch pins through the motor mounts and toss the bolts in the trash. :D
 
I have some leaking Cometic 5 layer gaskets. Was thinking I should oring the block. Maybe copper wire at .005 ?
 
I have some leaking Cometic 5 layer gaskets. Was thinking I should oring the block. Maybe copper wire at .005 ?

That's a tough call to make. There is info out there both ways as to use o-rings with MLS or not.

What is leaking? Compression to coolant passage? Coolant to the outside? Coolant into the cylinder?

After you pull it apart I would verify that the deck and heads are flat.
 
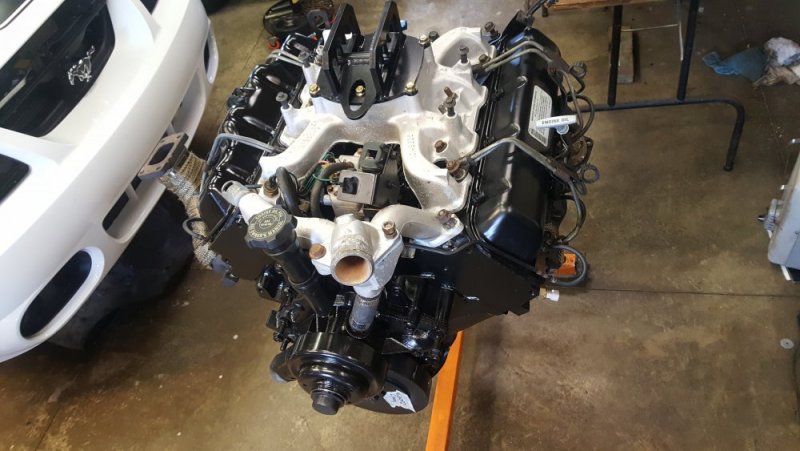
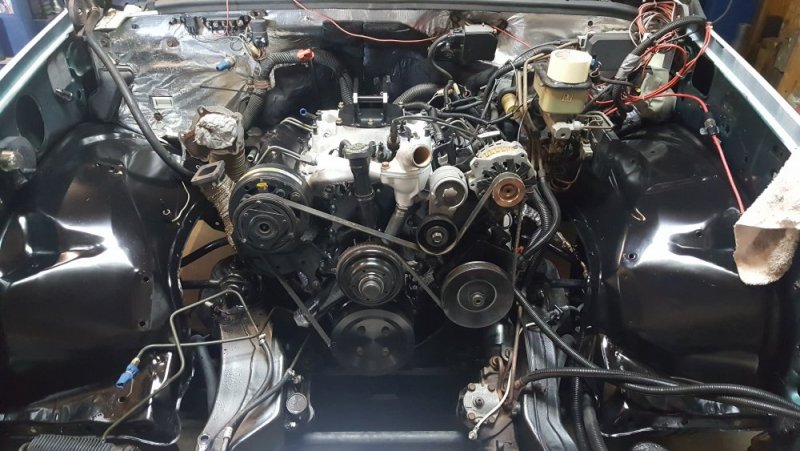
So here is how it sits for now.
Details.

+.020 18:1 Pistons
Balanced Rotating assembly
MLS Gaskets
Head Studs
Flowcooler 1677-HO coolant pump
Leroys Cam Gears
Fluid Damper
Leroys Lower Belt Pulley (not installed)
New Genuine Bosch Injectors


20200307_140715.jpg

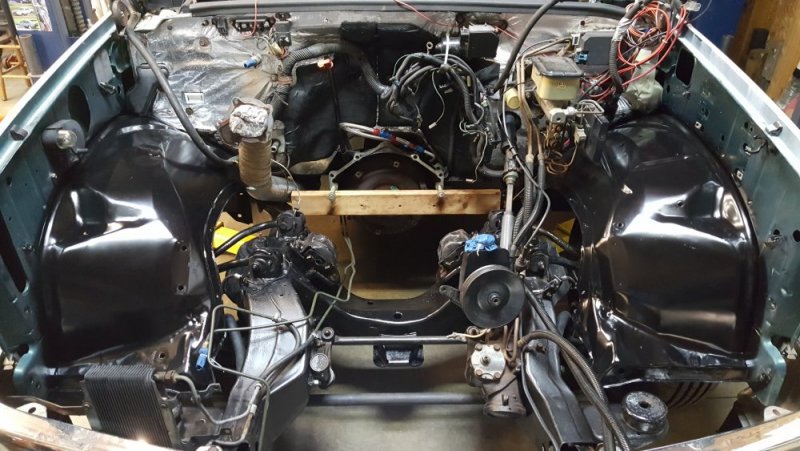
I will be doing some engine bay cleaning before it gets installed. Basic de-grease and power washing.
The years have not been kind to thick mat against the firewall and it needs some attention. It will get some sort of covering to make it look better.
 
I got the oil pump primed and made some new heat protecting covers for the oil cooler line before dropping the engine in today. The engine lift plate made by Quadstar Tuning is very nice to work with. I hope that from now in it collects dust while sitting on a shelf. Unless of course I need to lend it to somebody else.

20200315_123426.jpg

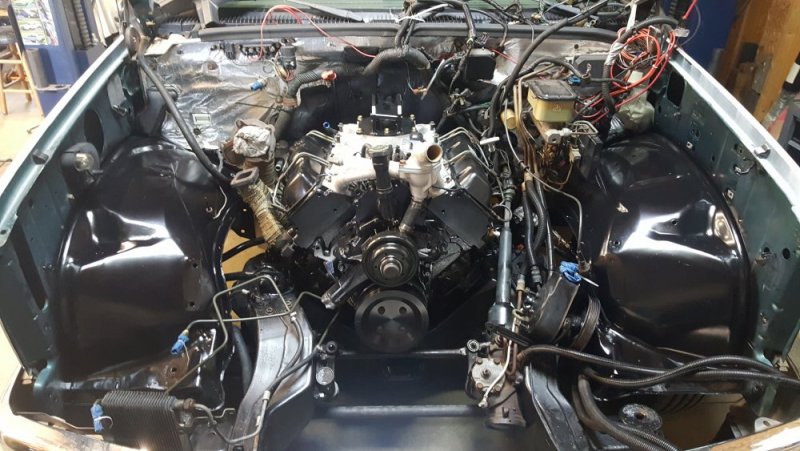
Added a few accessories.

20200315_134347.jpg

I hope to get the wiring added and fuel system primed this week so it can be fired up next weekend.
 
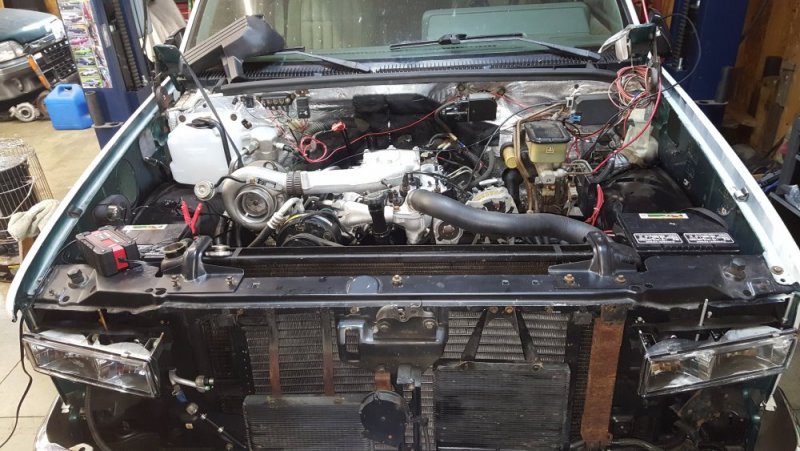
Just about ready to fire up. The fuel system is primed up to the injectors.

It is truly amazing how fast a Powermaster starter turns these engines over. I was so used to the classic 6.5 engine cranking sound/speed. It doesn't sound like the same engine.

Things left to do before the clatter begins.
Bolt the exhaust to the turbo
Plug the glow controller in
Snap the lift pump fuse back in (used it to prime the filter)
Fill it with coolant
Turn the key

List to do after its running
Clean up that nasty looking Power Steering cooler
Wiring clean up and tuck
Air filter assembly
Radiator Fan and Shroud
Cooling fan clutch controls
Grill and Hood
A/C -new orings, Receiver/dryer, charge
Spin on fuel filters
Aftermarket lift pump

Down the road stuff
Rear air bags
New Windshield
Get the paint work completed
Transmission Rebuild
Intercooler or back to water/meth
The list goes on and on...


20200322_150717.jpg
 
Back
Top