Navigation
Install the app
How to install the app on iOS
Follow along with the video below to see how to install our site as a web app on your home screen.
Note: This feature may not be available in some browsers.
More options
-
Welcome to The Truck Stop! We see you haven't REGISTERED yet.
Your truck knowledge is missing!
- Registration is FREE , all we need is your birthday and email. (We don't share ANY data with ANYONE)
- We have tons of knowledge here for your diesel truck!
- Post your own topics and reply to existing threads to help others out!
- NO ADS! The site is fully functional and ad free!
Problems registering? Click here to contact us!
Already registered, but need a PASSWORD RESET? CLICK HERE TO RESET YOUR PASSWORD!
You are using an out of date browser. It may not display this or other websites correctly.
You should upgrade or use an alternative browser.
You should upgrade or use an alternative browser.
My Water to Air intercooler install
- Thread starter n8in8or
- Start date
schiker
Well-Known Member
I think the dyno might not tell the tale for this. I think it would have to be a tow test up a a hill at speed to reveal improvement. UNLESS they put a big fan in front of truck to push air at it to mimic driving.
n8in8or
I never met a project I didn’t like
You know if you hit the dyno again without any other changes you should be able to tell if it helped.
I think the dyno might not tell the tale for this. I think it would have to be a tow test up a a hill at speed to reveal improvement. UNLESS they put a big fan in front of truck to push air at it to mimic driving.
I was just getting ready to respond to you this morning Les, when schiker said what I was thinking.
A relatively short burst of load on the dyno isn't really stressing the heat exchanger part of the intercooler system. Mostly, the intercooler in the air tract is working as a heat sink drawing the heat out. The difference the new location MAY make is how quickly the IC is able to cool down between pulls. Unfortunately, I didn't take any temp readings from the intake system during my dyno runs to have a baseline to compare to.
My gut feel is that the new heat exchanger location will have no effect on power at the dyno, but it will allow me to keep my foot in it longer when towing and under a heavy load - like when going up a hill.
BUT, doing the new bumper, that allowed me to move the heat exchanger out from under the truck, so I can move my batteries under the truck, so I can put a WMI system under the hood..............THAT should show some more power on the dyno.......
n8in8or
I never met a project I didn’t like
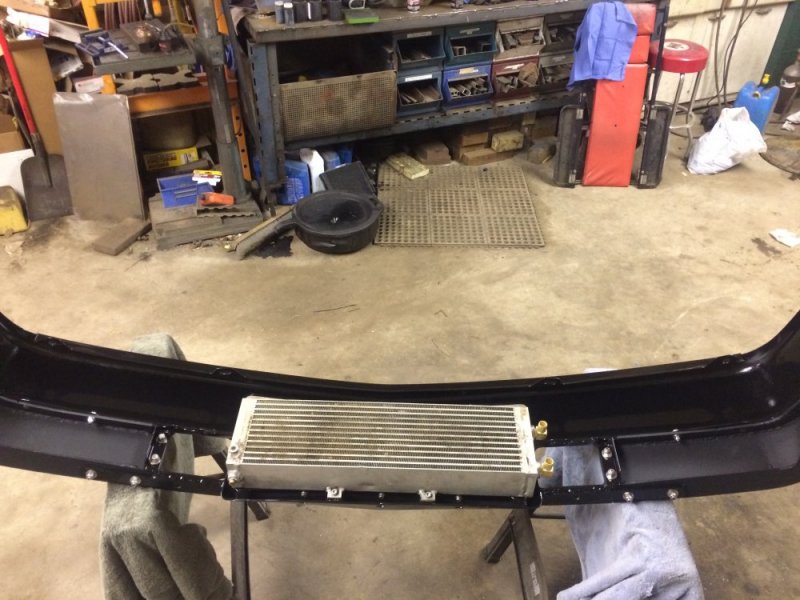
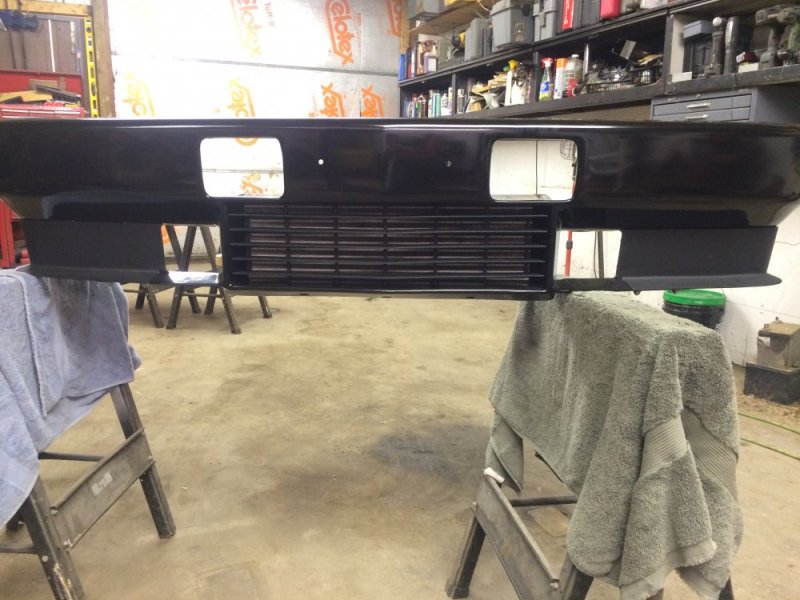
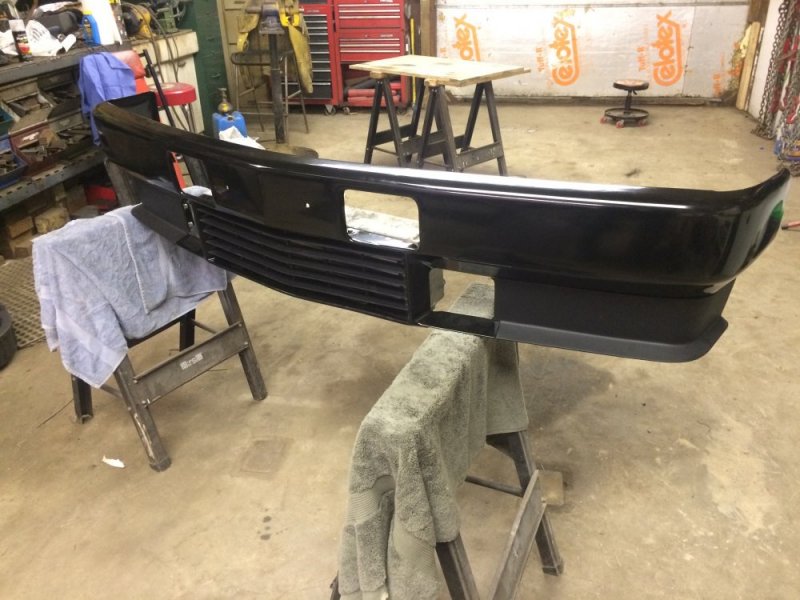
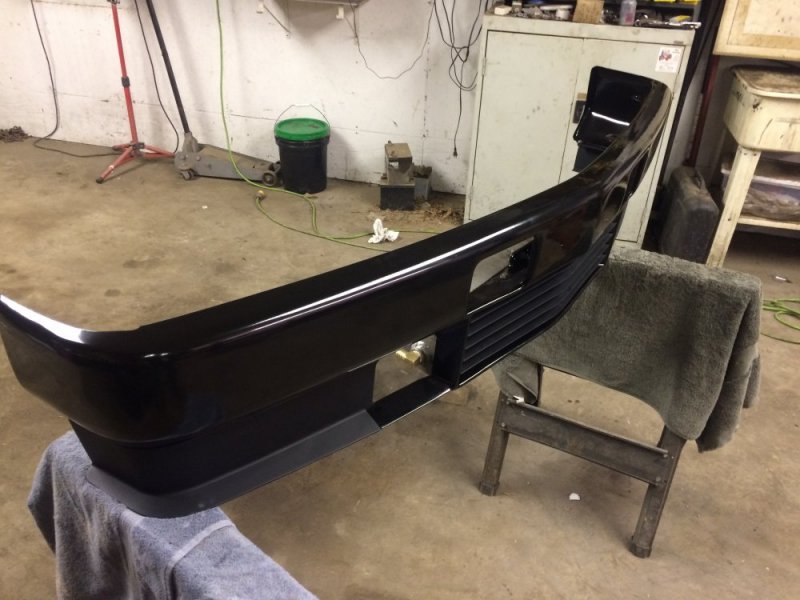
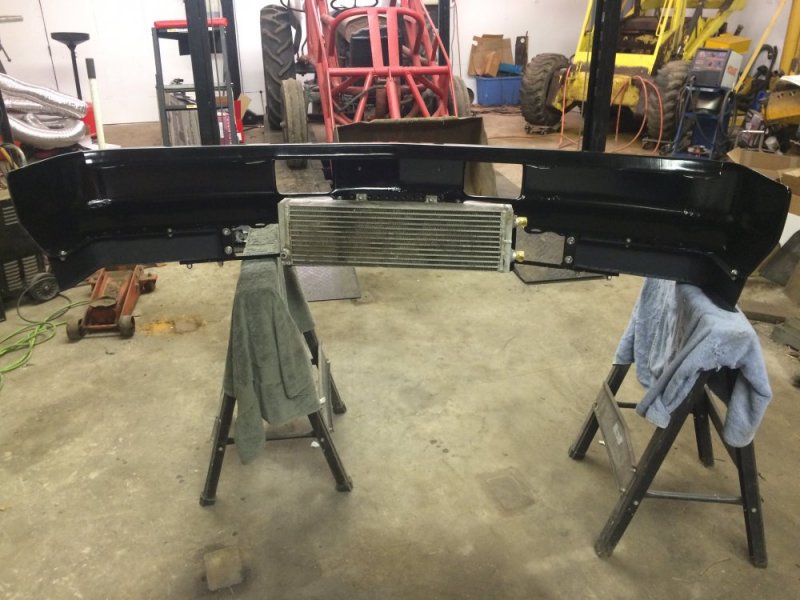
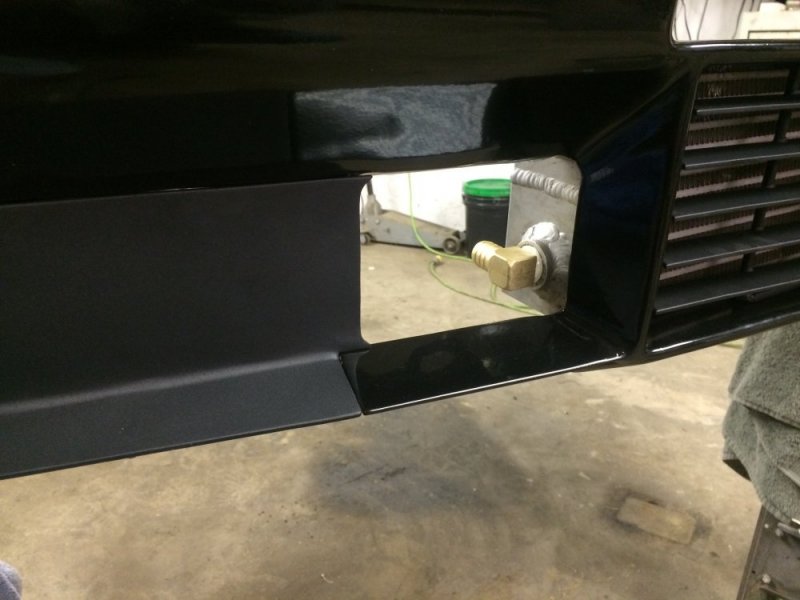
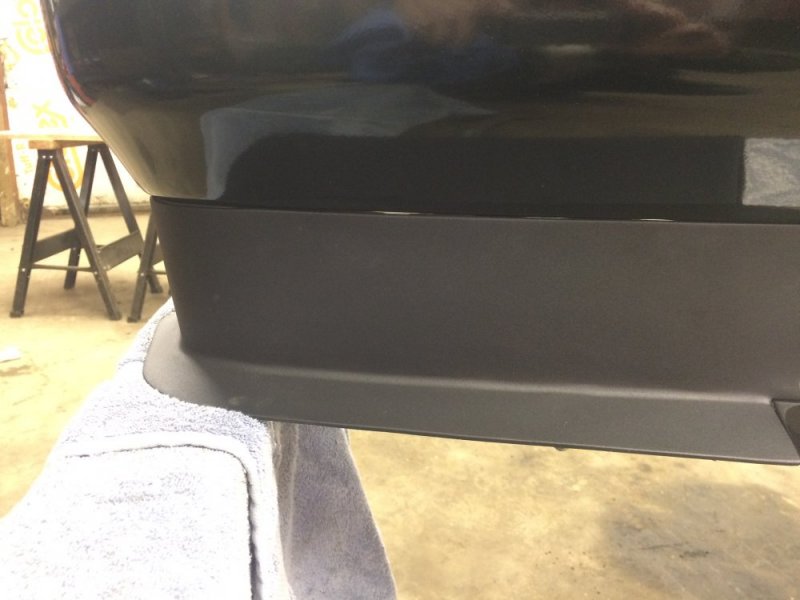
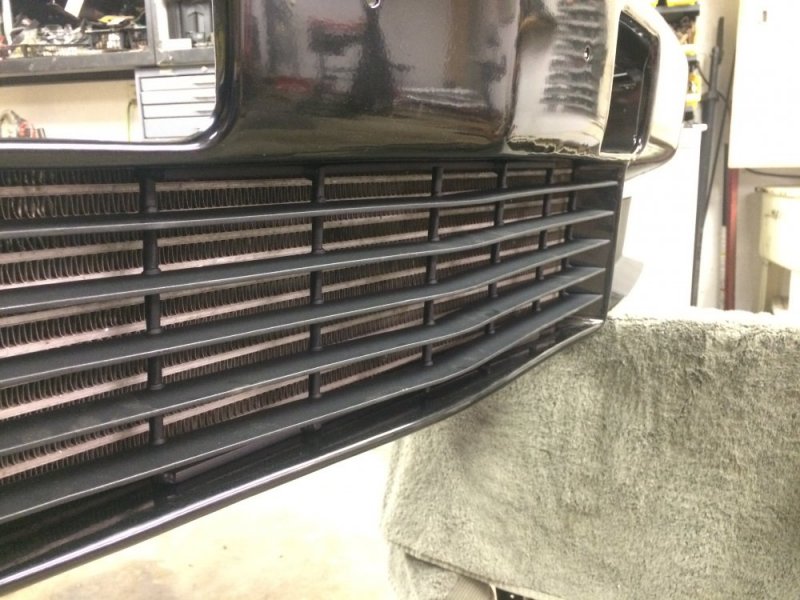
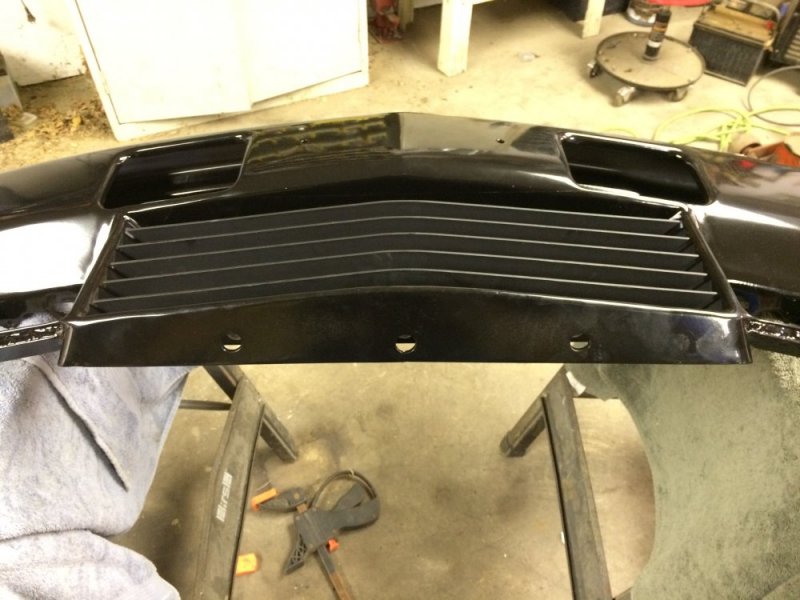
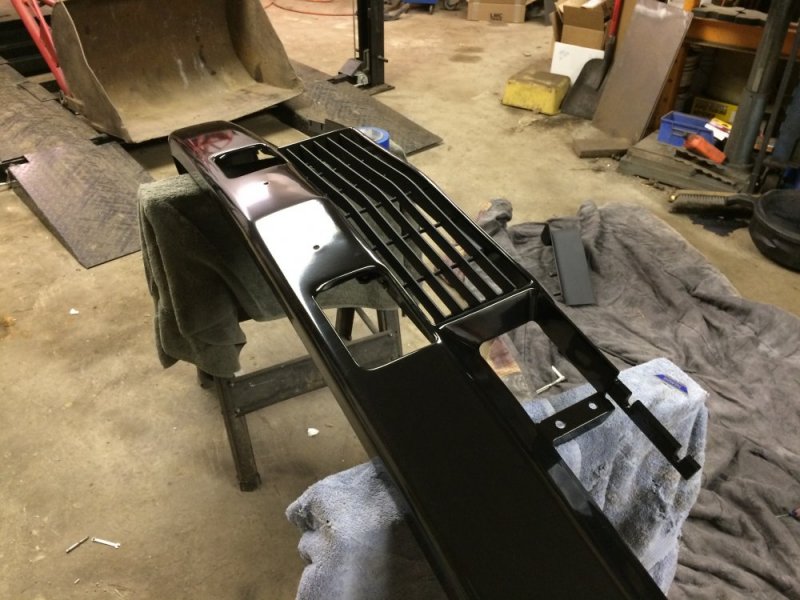
I had about half an hour when I got home so I started the preassembly. The part that was worrying me the most was installing the grill without scratching the paint. When doing the fab I had used washers as spacers to try to add some tolerance for paint, but by the time I was done with fab most of that had sprung out of it. So I used a lot of masking tape to protect the finish and........it went well! First step done!!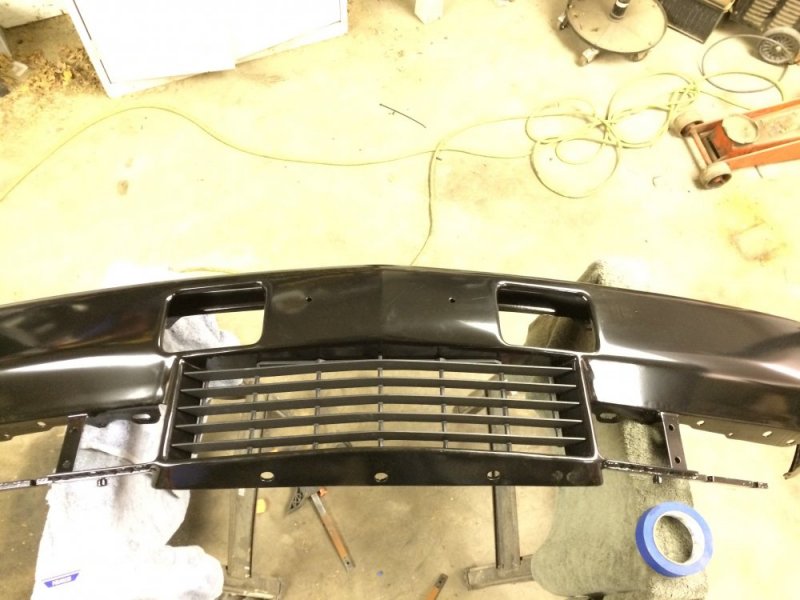


Hey, I think I have the same 4 post lift as you. Auto lifters?
n8in8or
I never met a project I didn’t like
It's a Complete Auto Lift. I'm sure a few of the brands all come from the same place or they're copied from each other. I bought it used last year from a friend of mine and didn't get it set up until December. So far I've only used it a couple times, but it sure has been nice when I have!!Hey, I think I have the same 4 post lift as you. Auto lifters?
n8in8or
I never met a project I didn’t like
n8in8or
I never met a project I didn’t like
Will L.
Well-Known Member
Man that looks good Nate.
I always say the way to tell if it looks "right" is when someone asks where you bought it.
I bet if you just showed pics of the finished product, and pic mounted on the truck on the forum that didn't watch you build it- you'd be getting price and company name requests.
I always say the way to tell if it looks "right" is when someone asks where you bought it.
I bet if you just showed pics of the finished product, and pic mounted on the truck on the forum that didn't watch you build it- you'd be getting price and company name requests.
n8in8or
I never met a project I didn’t like
Thanks Will! I'm excited to get it on and see the transformation.Man that looks good Nate.
I always say the way to tell if it looks "right" is when someone asks where you bought it.
I bet if you just showed pics of the finished product, and pic mounted on the truck on the forum that didn't watch you build it- you'd be getting price and company name requests.
Nate, where did you buy that?
n8in8or
I never met a project I didn’t like
At Joe'sNate, where did you buy that?
They got good crabs too! MmmmmAt Joe's
n8in8or
I never met a project I didn’t like
Oh. I meant "Joe Mama's"They got good crabs too! Mmmmm
n8in8or
I never met a project I didn’t like
n8in8or
I never met a project I didn’t like
n8in8or
I never met a project I didn’t like
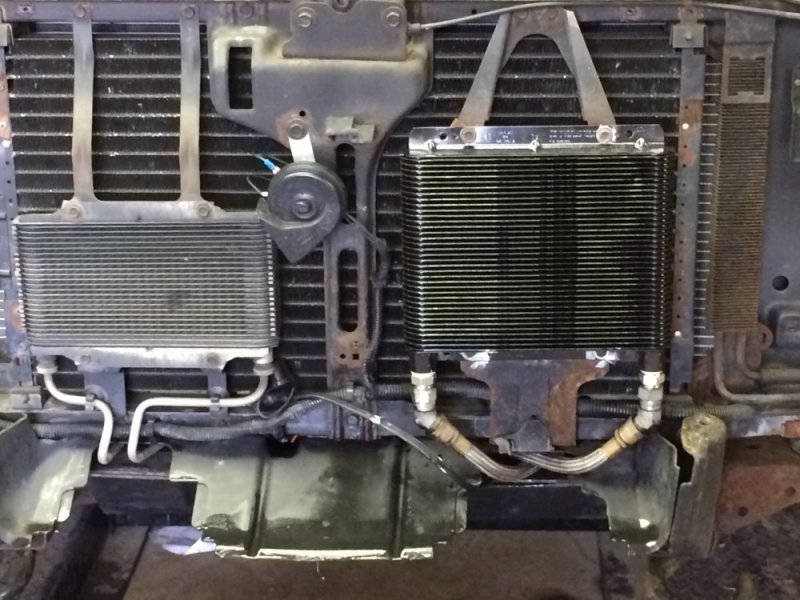
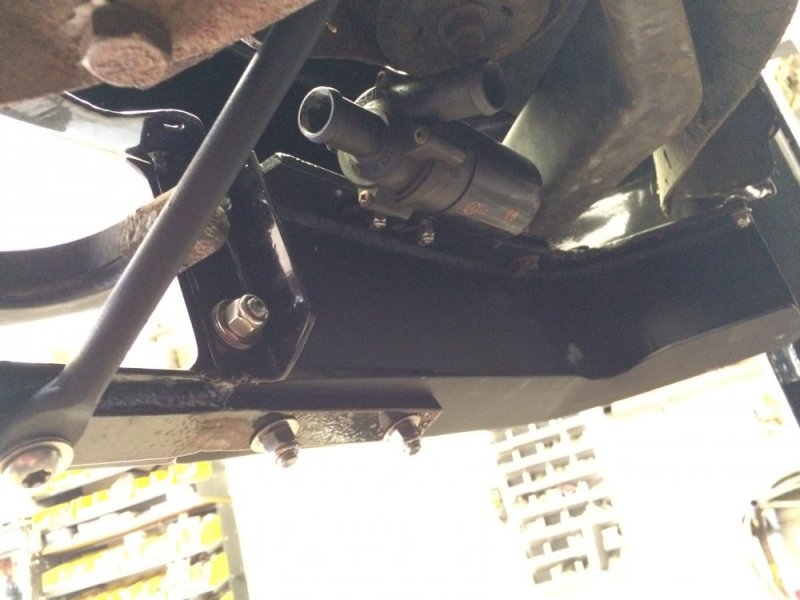
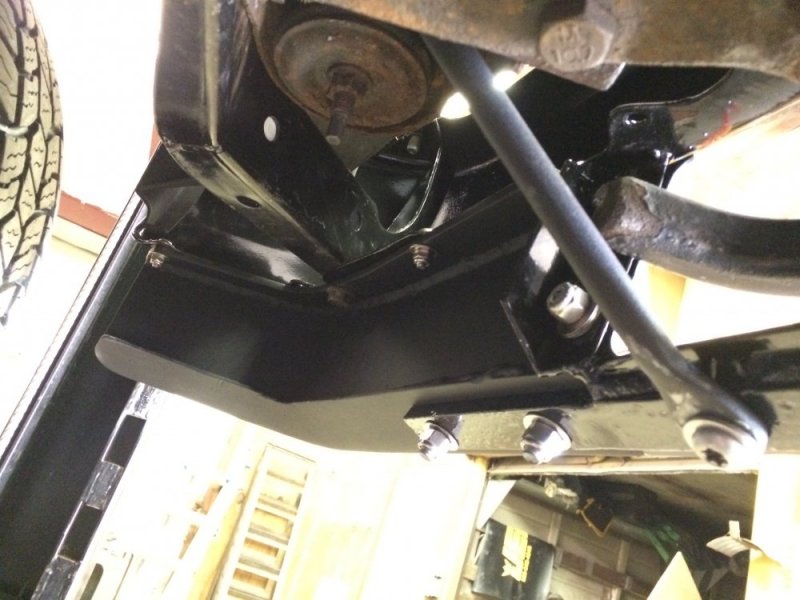
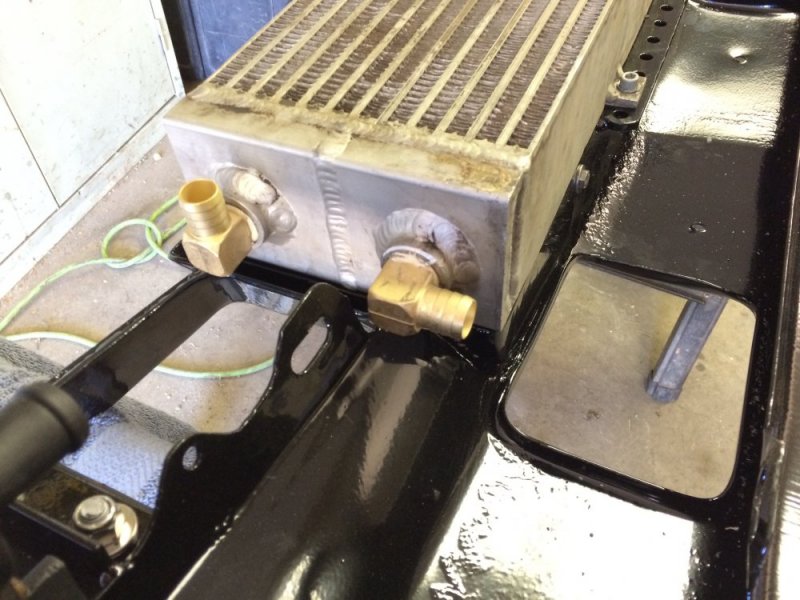
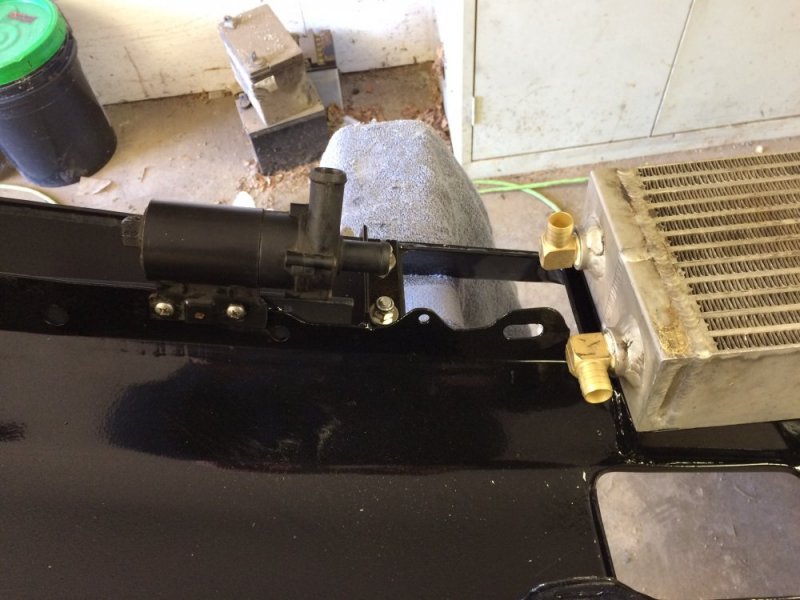
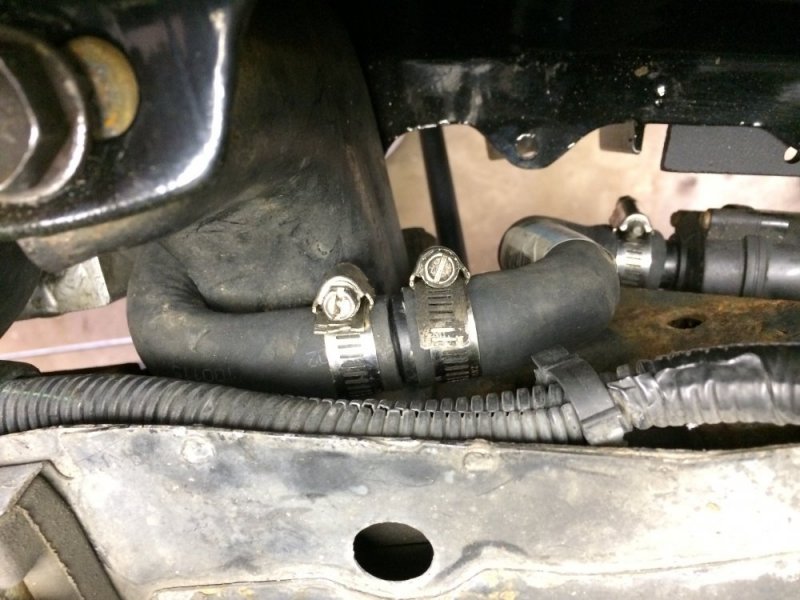
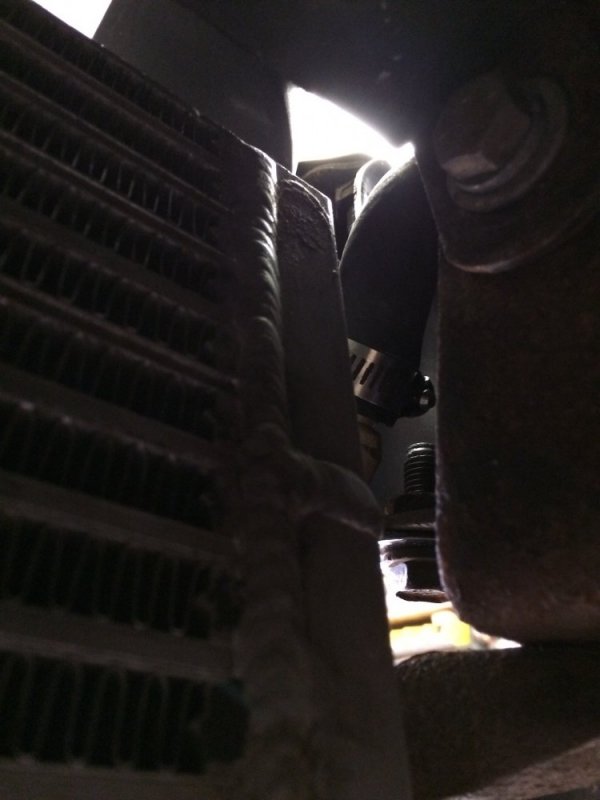
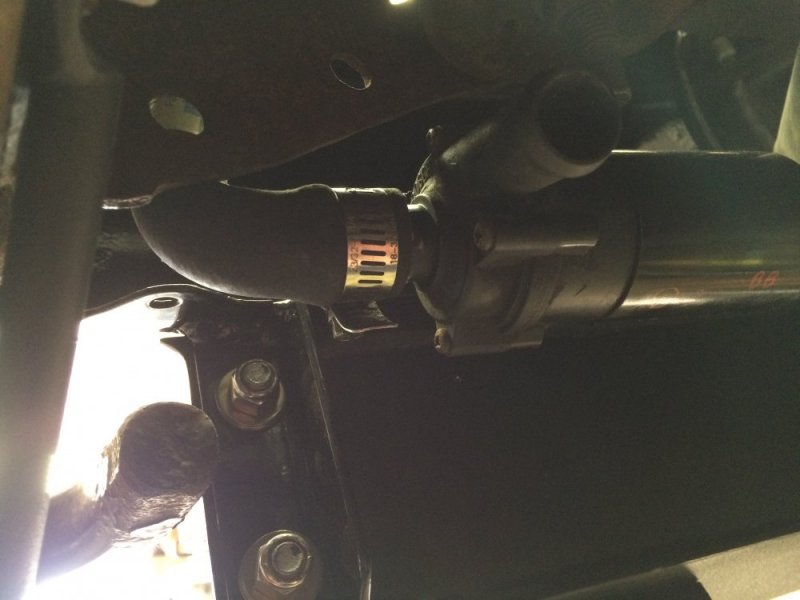
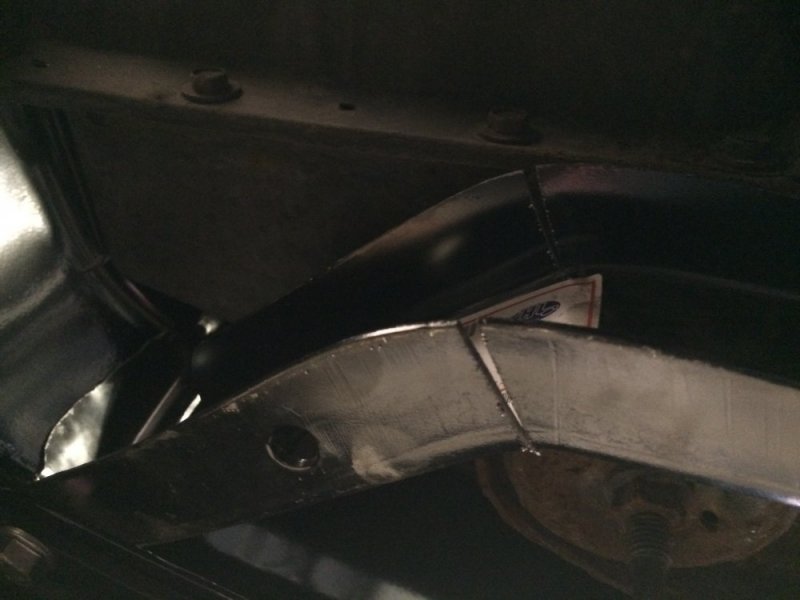
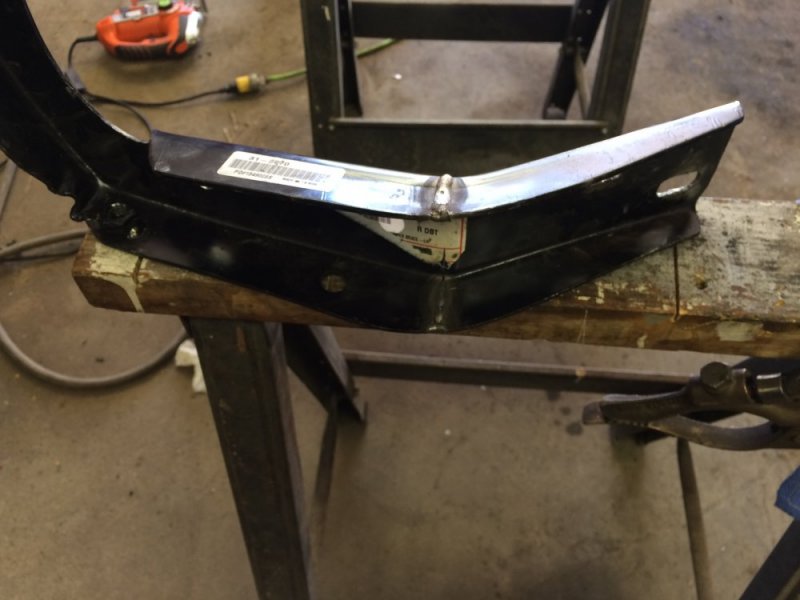
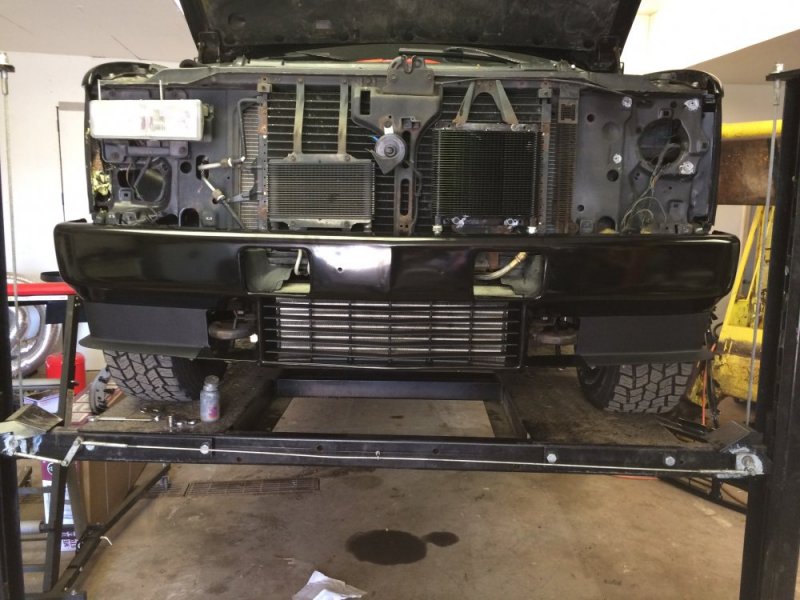
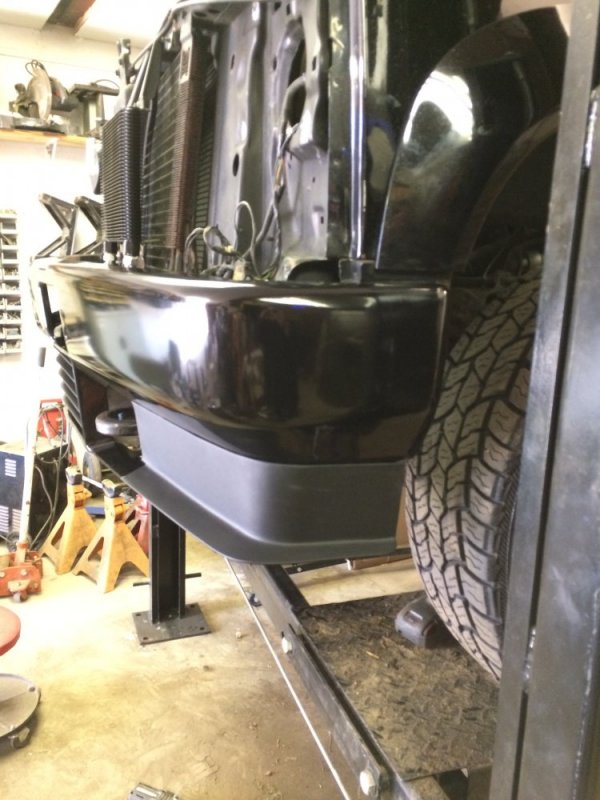
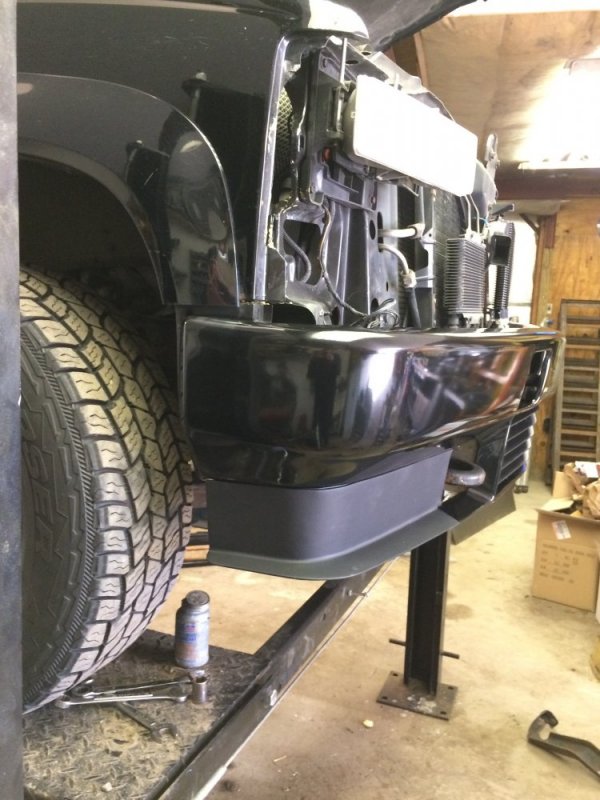
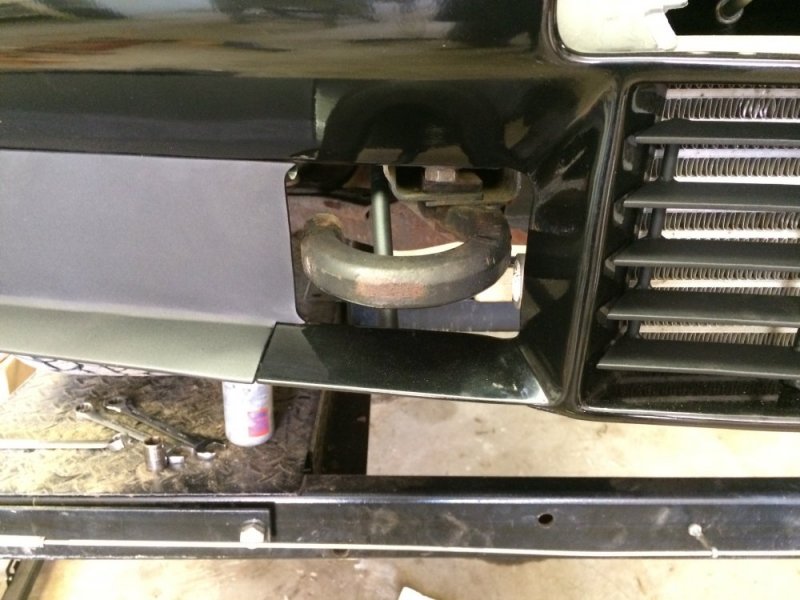
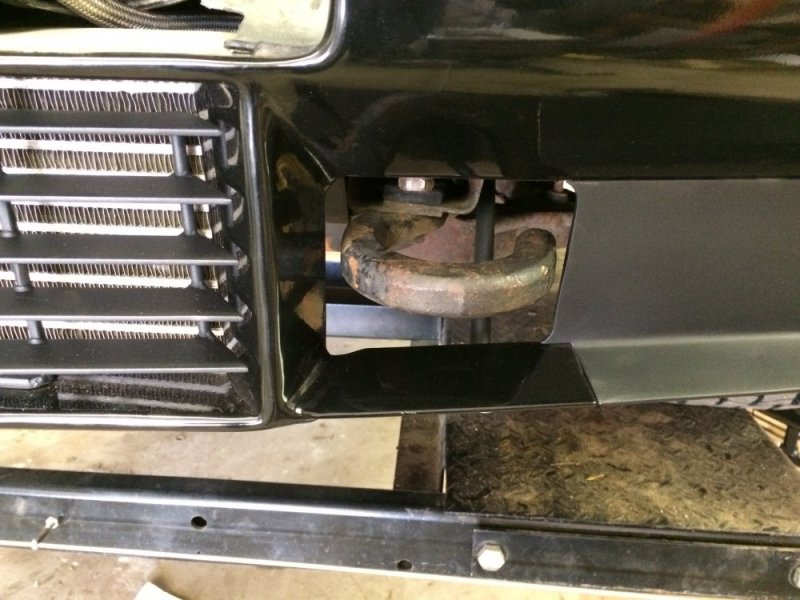
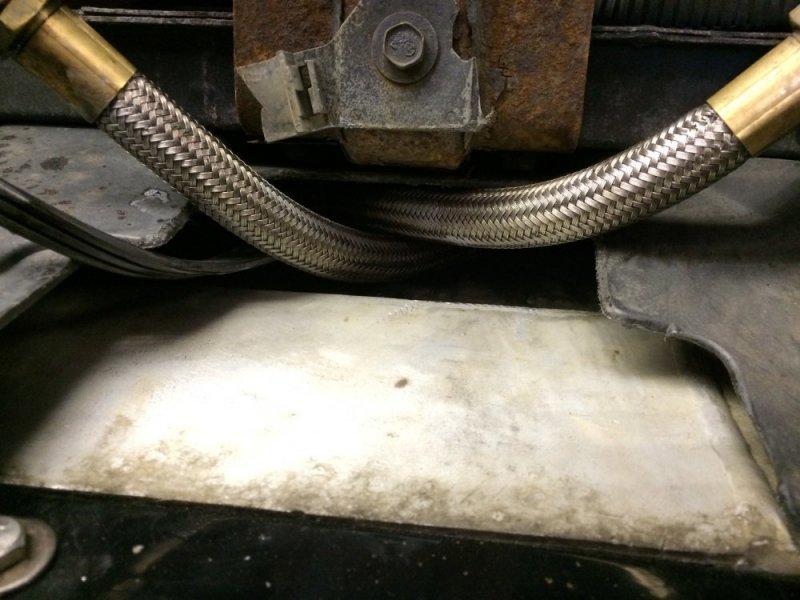
Ok bumper is finally installed. This was the first time I had tried installing the outer brackets. I had purchased all 4 brackets new from LMC, but I had been still using the factory inner brackets and no outer brackets so far. I decided to stick with the factory inners since that's what I had used for mock up, but I had to use new outers because the driver side one had some previous crash damage and both outer ones twisted when removing the bumper bolts. Well that didn't go too well. Neither bracket was close to having the holes line up. The driver side one I cut with the band saw so I could get it to flex to where I needed it to be. I then welded the new gap shut to make it a solid mount once again. To complicate matters, I also had some twist in the bumper on that side that I needed to force out of it. I used a strap for that and it worked really well. The driver side bracket wasn't going to line up even with a cut, so I tried the factory bracket - it was close enough to working that taking the twist out of it was going to be simpler than trying to make the LMC bracket work so I did that. It actually worked without too much fuss. So now the bumper is all mounted. Next step is plumbing the water hoses. Oh and I did mount the pump too - it's now on the back side of the bumper on the passenger side. Progress!! Oh and you can see that there is plenty of oil cooler hose clearance. 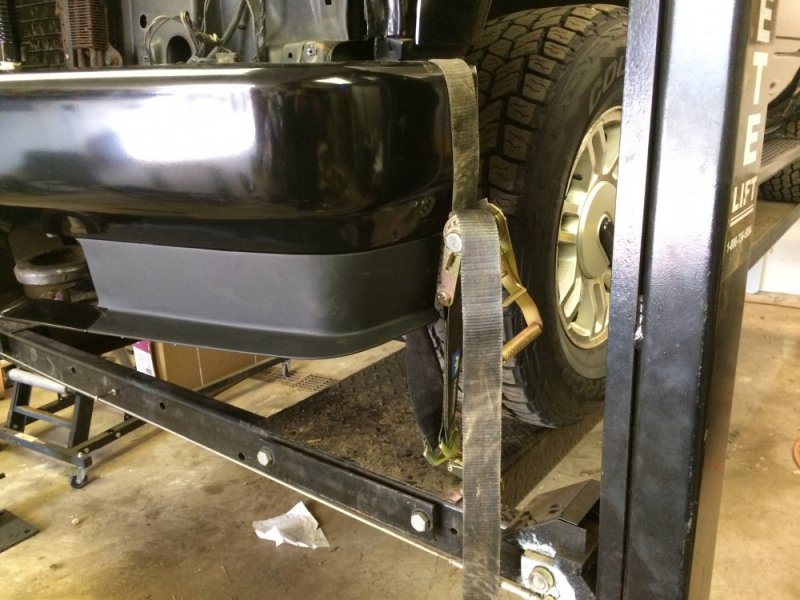



n8in8or
I never met a project I didn’t like
n8in8or
I never met a project I didn’t like
I think you need to flip cooler around 180*That's betterView attachment 49810

