SS FORCE
Active Member
I've been all over the web looking at what it took to level the 06+ tow mirrors and figured since it was a balmy 32 Degrees outside I would attempt the mod and share the steps in case anyone else was interested.
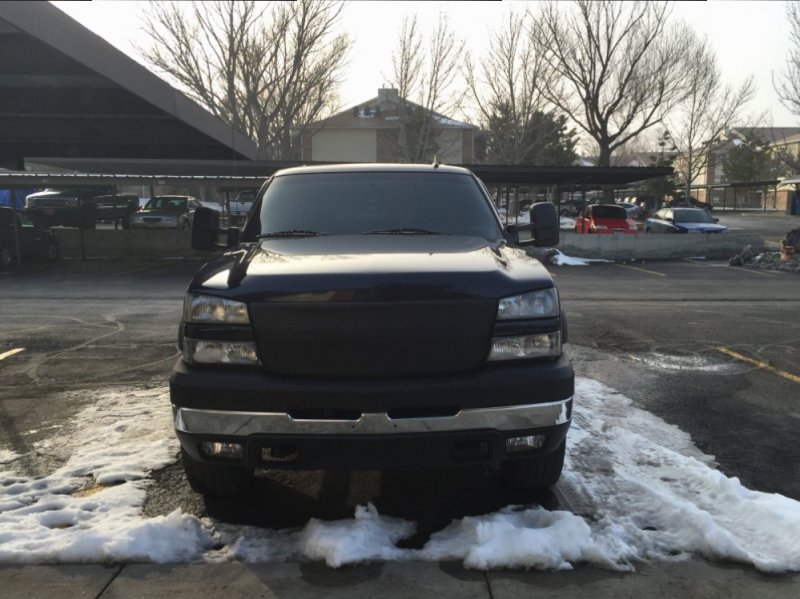
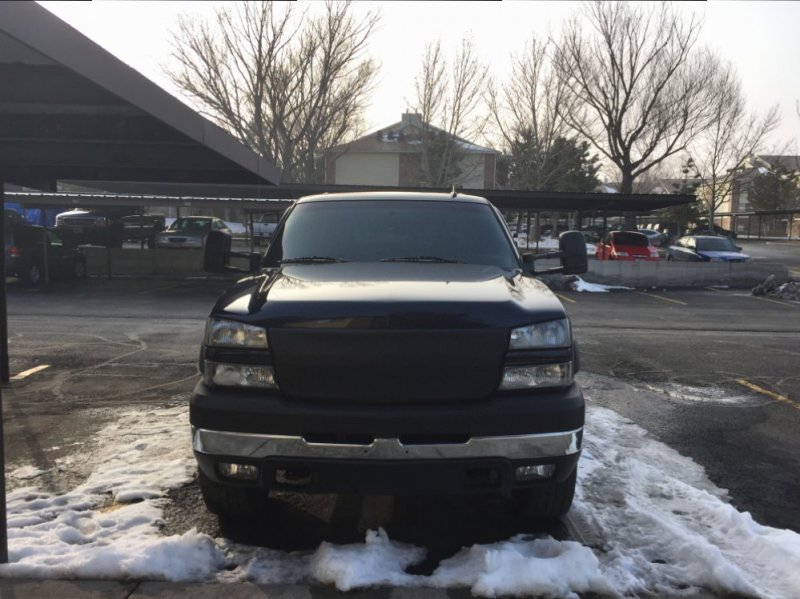
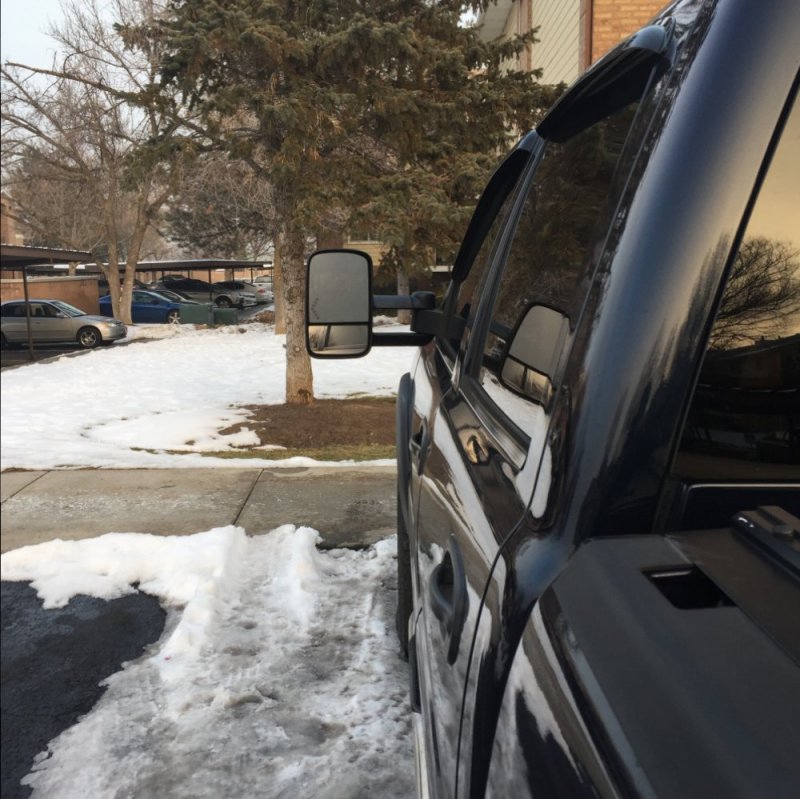
A picture before, not a fan of the tipped up mirror angle

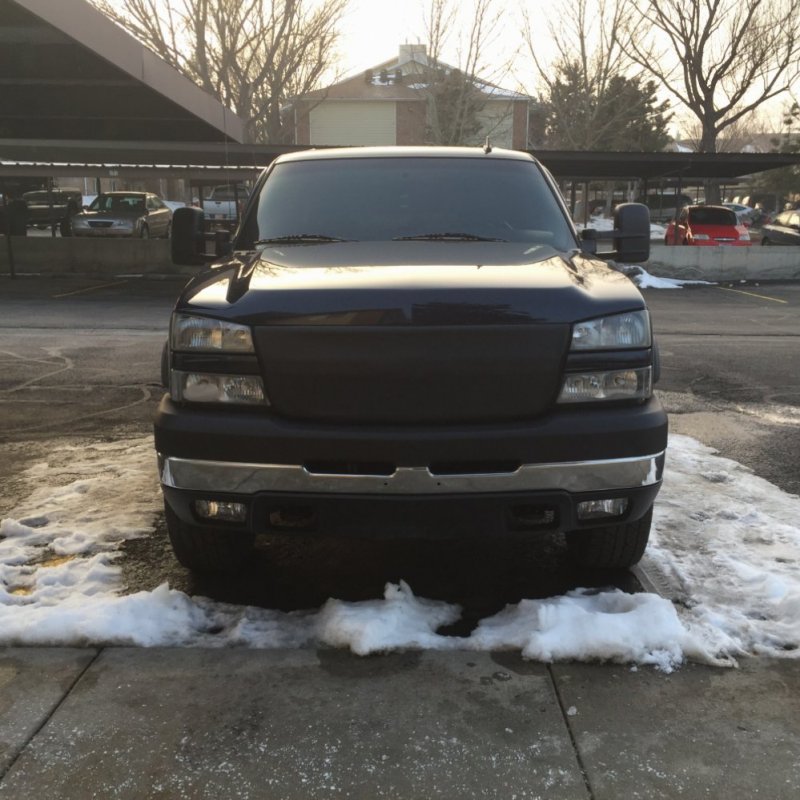
Before picture with mirrors extended

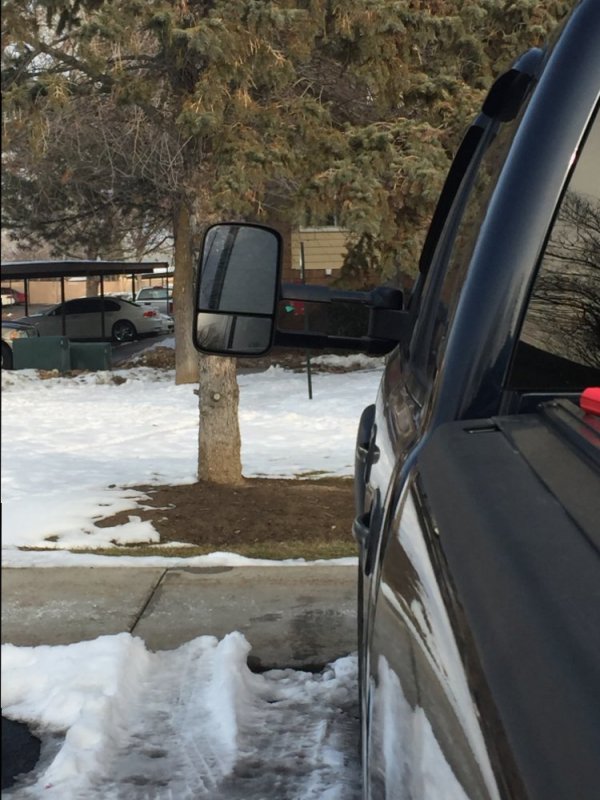
And one from behind just for fun.

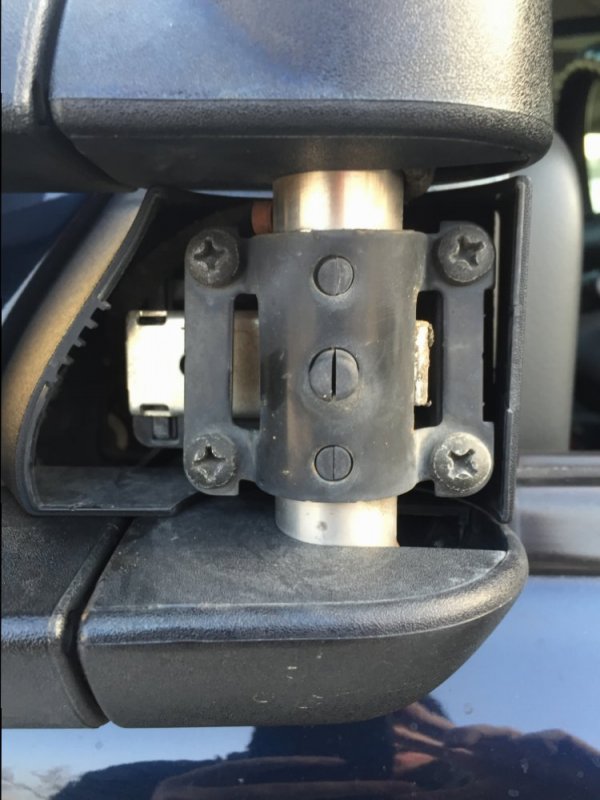
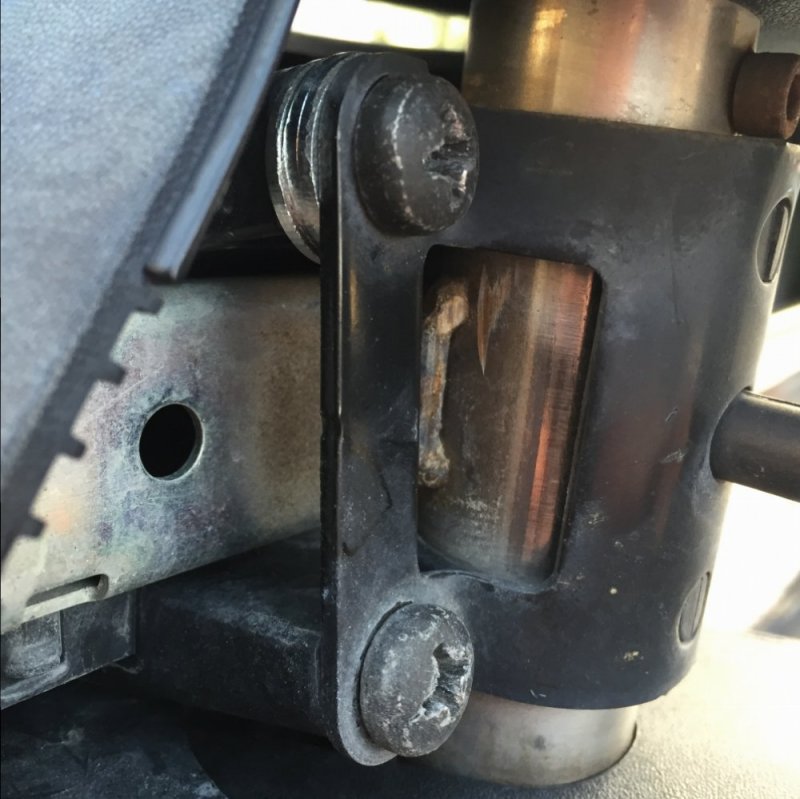
Its extremely simple to level your mirrors, job was done in about 30 minutes. To start you'll pop off the little plastic cover between the telescoping arms of the mirror. I just pinched the plastic together on both sides and it popped off. Some others mention using a flat blade screw driver and pry from the back(furthest away from the hood). Based on the year of truck you'll either find allen head screws or phillips. My 06 was phillips, shown below.

From here you will loosen the bottom two screws several turns, and completely remove the top two screws. Like most of us this mod will end up being free as we all have a couple washers lying around. I used 3 1/4'' washers per top screw (12 total for both sides).

Put the washers behind the upper bracket, tighten the screws down and you've leveled your mirrors.
Side note - Some have experienced issues with the tension on the spring holding the mirror from folding forward or backwards while driving, since you've rocked the mirror out and away from the spring it does decrease spring pressure against the mirror, and if you pry up on the mirror it can flex back to its "tipped up" position, I have not yet experienced any issues with wind blowing the mirrors out of driving position or bouncing around, but if you do you can add a washer behind the spring to regain that pressure back.
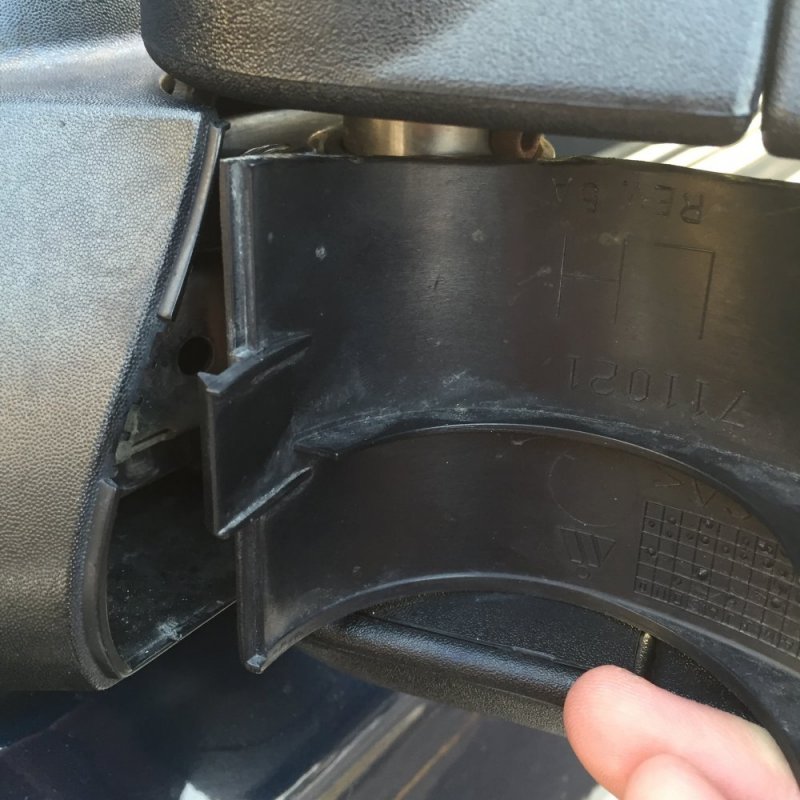
One more modification, now that your mirrors are leveled you will have to trim the top of the plastic cover piece you popped off in step one. There is a ridge on the back side of the plastic piece about 1/8'' to 3/16'' from the top, if you trim to this line it will allow enough room to let the mirror swivel yet not show too much gap. I ended up doing this with a razor knife, and yes I cleaned up the top so its not choppy and uneven looking like in the picture below.

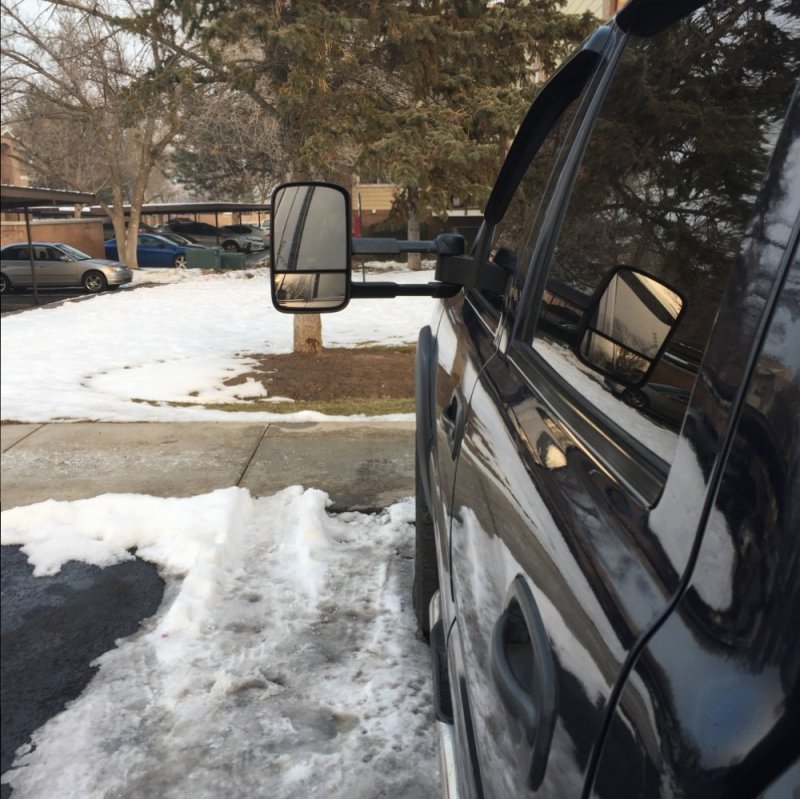
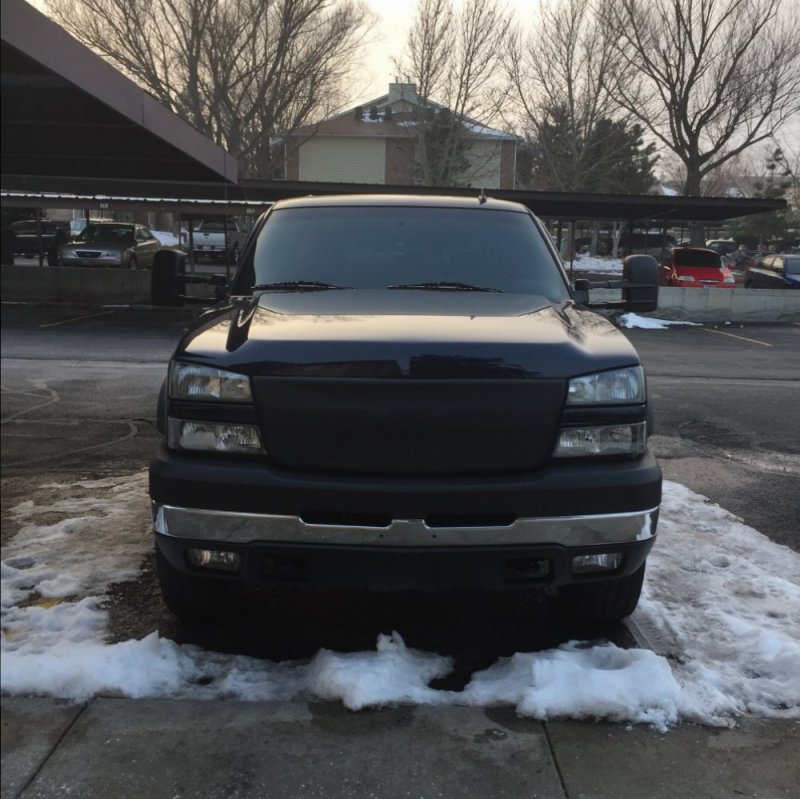
Now the finished product. Enjoy

extended

extended from the back

normal from the back

A picture before, not a fan of the tipped up mirror angle

Before picture with mirrors extended

And one from behind just for fun.

Its extremely simple to level your mirrors, job was done in about 30 minutes. To start you'll pop off the little plastic cover between the telescoping arms of the mirror. I just pinched the plastic together on both sides and it popped off. Some others mention using a flat blade screw driver and pry from the back(furthest away from the hood). Based on the year of truck you'll either find allen head screws or phillips. My 06 was phillips, shown below.

From here you will loosen the bottom two screws several turns, and completely remove the top two screws. Like most of us this mod will end up being free as we all have a couple washers lying around. I used 3 1/4'' washers per top screw (12 total for both sides).

Put the washers behind the upper bracket, tighten the screws down and you've leveled your mirrors.
Side note - Some have experienced issues with the tension on the spring holding the mirror from folding forward or backwards while driving, since you've rocked the mirror out and away from the spring it does decrease spring pressure against the mirror, and if you pry up on the mirror it can flex back to its "tipped up" position, I have not yet experienced any issues with wind blowing the mirrors out of driving position or bouncing around, but if you do you can add a washer behind the spring to regain that pressure back.
One more modification, now that your mirrors are leveled you will have to trim the top of the plastic cover piece you popped off in step one. There is a ridge on the back side of the plastic piece about 1/8'' to 3/16'' from the top, if you trim to this line it will allow enough room to let the mirror swivel yet not show too much gap. I ended up doing this with a razor knife, and yes I cleaned up the top so its not choppy and uneven looking like in the picture below.

Now the finished product. Enjoy

extended

extended from the back

normal from the back

Attachments
-
 IMG_1679.JPG128.4 KB · Views: 6
 -
 IMG_1680.JPG129 KB · Views: 7
 -
 IMG_1681.JPG128 KB · Views: 7
 -
 IMG_1682.JPG98.2 KB · Views: 7
 -
 IMG_1685.JPG122.6 KB · Views: 7
 -
 IMG_1686.JPG147.1 KB · Views: 10
 -
 IMG_1688.JPG171.2 KB · Views: 7
 -
 IMG_1687.JPG158.2 KB · Views: 7
 -
 IMG_1689 (1).JPG180.9 KB · Views: 7
 -
 IMG_1690.JPG157.6 KB · Views: 5
