HighSierra86
Active Member
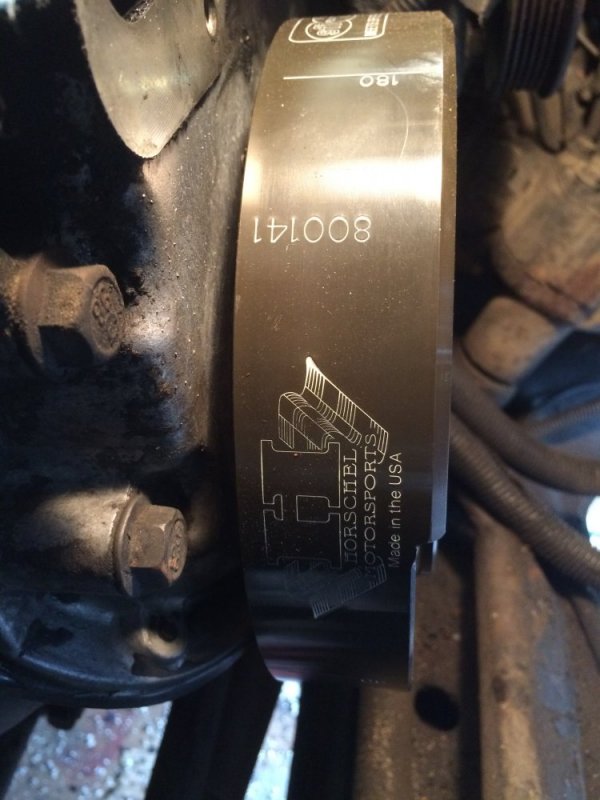
Finally getting around to installing the Fluidampr I purchased from leroy 4 years ago.....
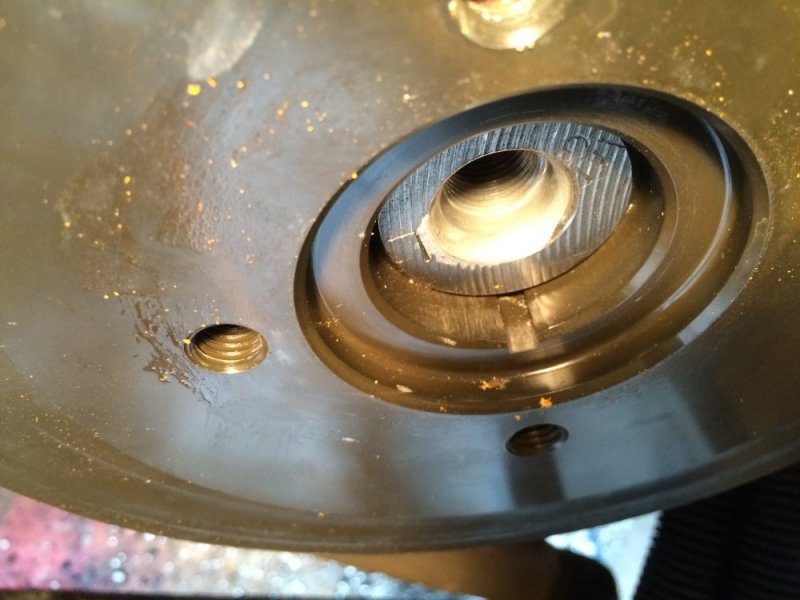
First off, I can't comprehend how anyone could have possibly installed one of these with a mallet as stated on some of the forums. I built an install tool with an old crank bolt and holy s**t did it take a lot of effort and torque to get that thing on. Way more than the 200ftlbs.
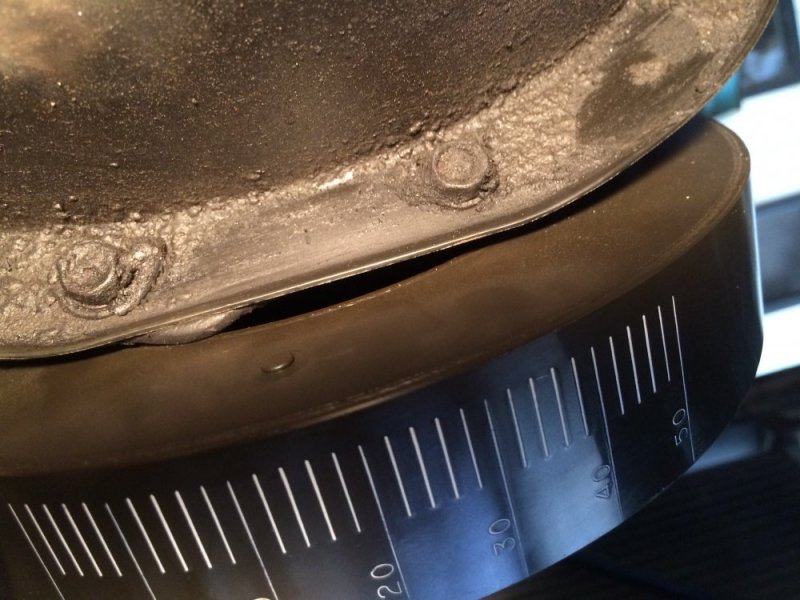
I just had a question in regards to the point of final install. The directions are very vague and everything Ive read states to install until flush with the crankshaft. Well I've installed it to the point of "bottoming out" and its no where near flush with anything. In fact it is so close to touching the oil pan that it appears the gasket is touching.
Ive installed the bolt and torqued to the 200ft lbs and test fit the belt pulley. Belt seems to line up perfectly with the p.s. pump and a/c. so im going to guess the fit is correct despite my concerns.
Can anyone shed some light on why it was so difficult to press fit onto the crank? I would feel better hearing from someone who had a similar situation. Maybe the aftermarket stock replacement dampers tend to be an easier install? Im just concerned at this point that maybe I could have crushed the key or something?
Thanks, Nick


