Navigation
Install the app
How to install the app on iOS
Follow along with the video below to see how to install our site as a web app on your home screen.
Note: This feature may not be available in some browsers.
More options
-
Welcome to The Truck Stop! We see you haven't REGISTERED yet.
Your truck knowledge is missing!
- Registration is FREE , all we need is your birthday and email. (We don't share ANY data with ANYONE)
- We have tons of knowledge here for your diesel truck!
- Post your own topics and reply to existing threads to help others out!
- NO ADS! The site is fully functional and ad free!
Problems registering? Click here to contact us!
Already registered, but need a PASSWORD RESET? CLICK HERE TO RESET YOUR PASSWORD!
You are using an out of date browser. It may not display this or other websites correctly.
You should upgrade or use an alternative browser.
You should upgrade or use an alternative browser.
1969 IH 1300D 4X4 - Pump Truck
- Thread starter DieselSlug
- Start date
DieselSlug
Well-Known Member
I would love one of those for a project. Id like a little driver I can leave the top off 24/7 and take when its nice out!
Husker6.5
135' diagonal 16:9HD, 25KW sound!
Drop a 4BT Cummins into one and have a SERIOUS off-roader that would get near 30 mpg on the hiway with the right gearing!
MrMarty51
Well-Known Member
Yeah. He loves these little binders but has been much too busy on the job and home projects to do anything with them.I would love one of those for a project. Id like a little driver I can leave the top off 24/7 and take when its nice out!
After my back gets healed and the doc gives me the go ahead. The first thing thats going to happen is the 59 Dodge W100 is getting the brakes rebuilt all the way around and new brake shoes. Now probably have to flush the fuel system and rebuild the carb and then be done with that project.
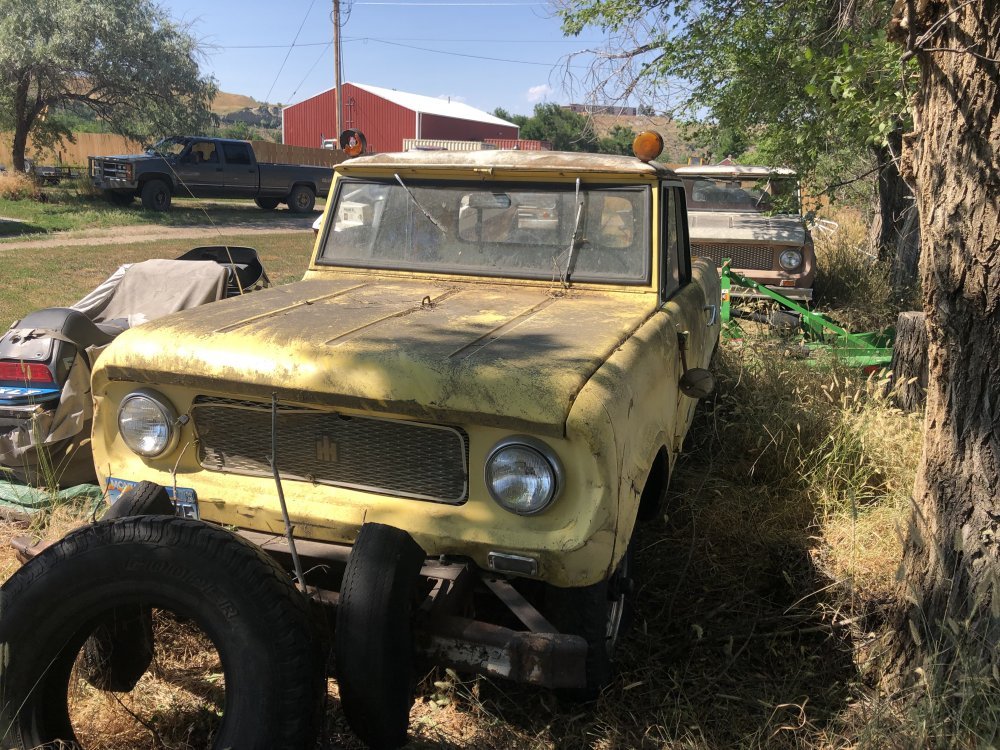
When that is done then I think the yellow Scout will get shoved into the garage and get it road worthy and after it is finished then it will be that red carpet special and see how close to original we can make it.
DieselSlug
Well-Known Member
Bit of an update here. Planning my winter projects, this year its minimal due to family, life, you know the drill. First 2 on the list:
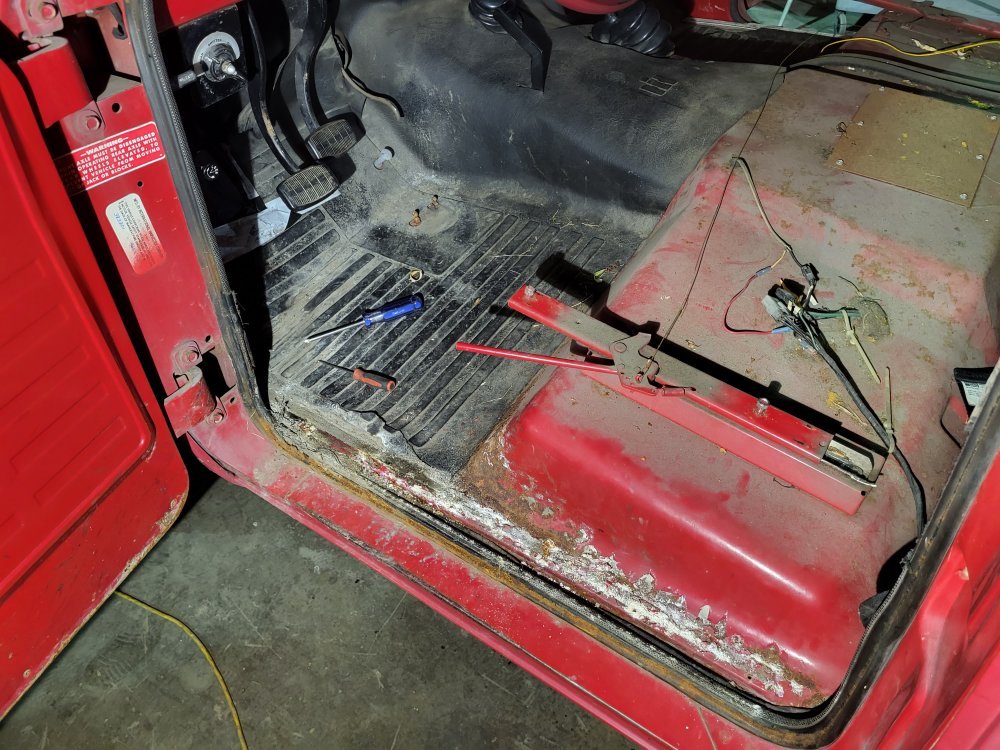
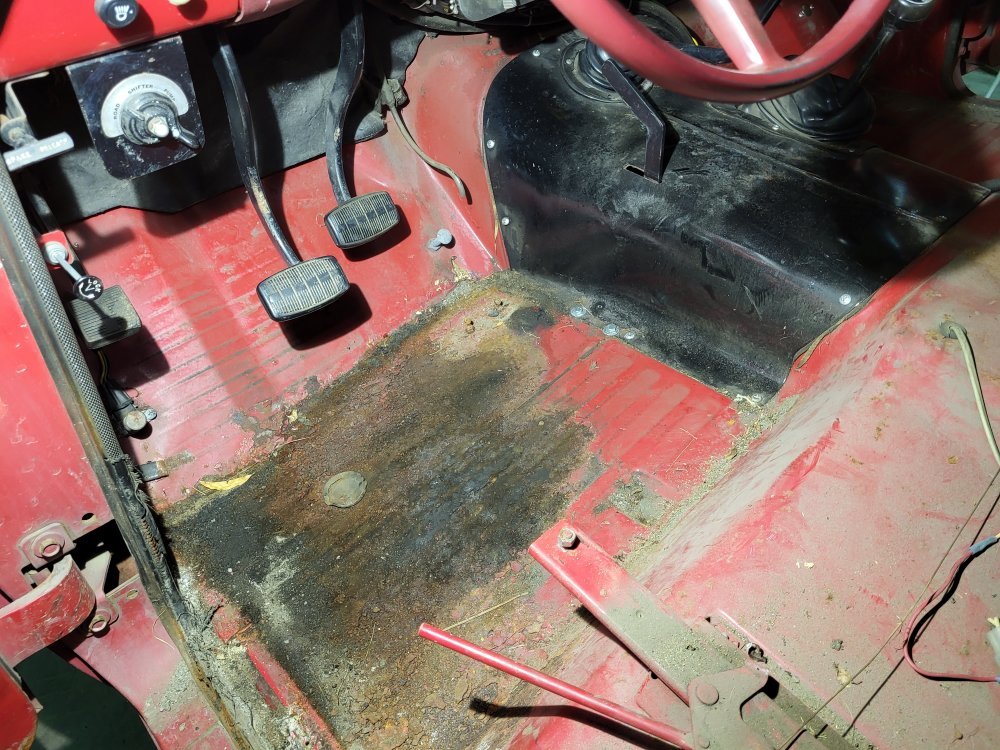
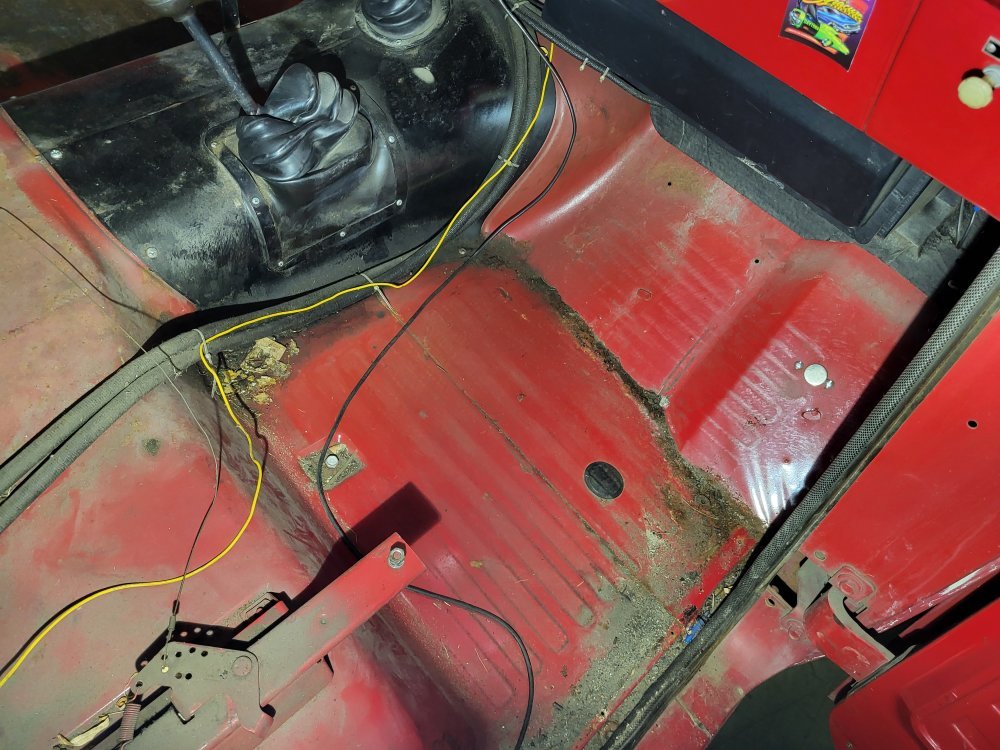
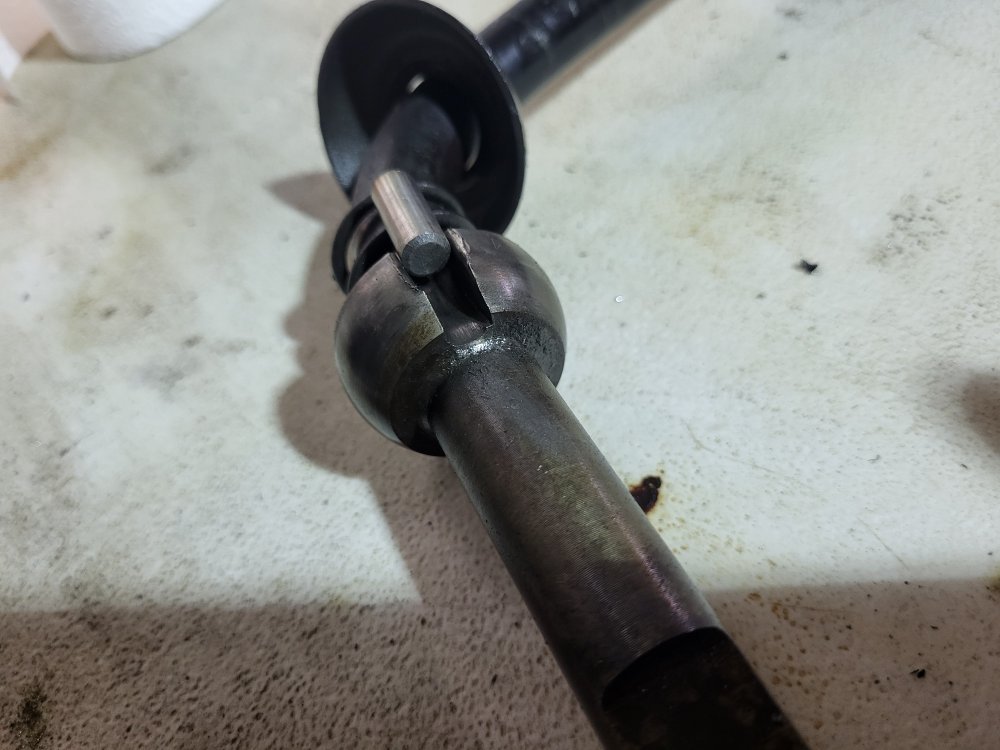
As I figured, the shift pin is roasted, so much to the point the shifter base is actually worn:
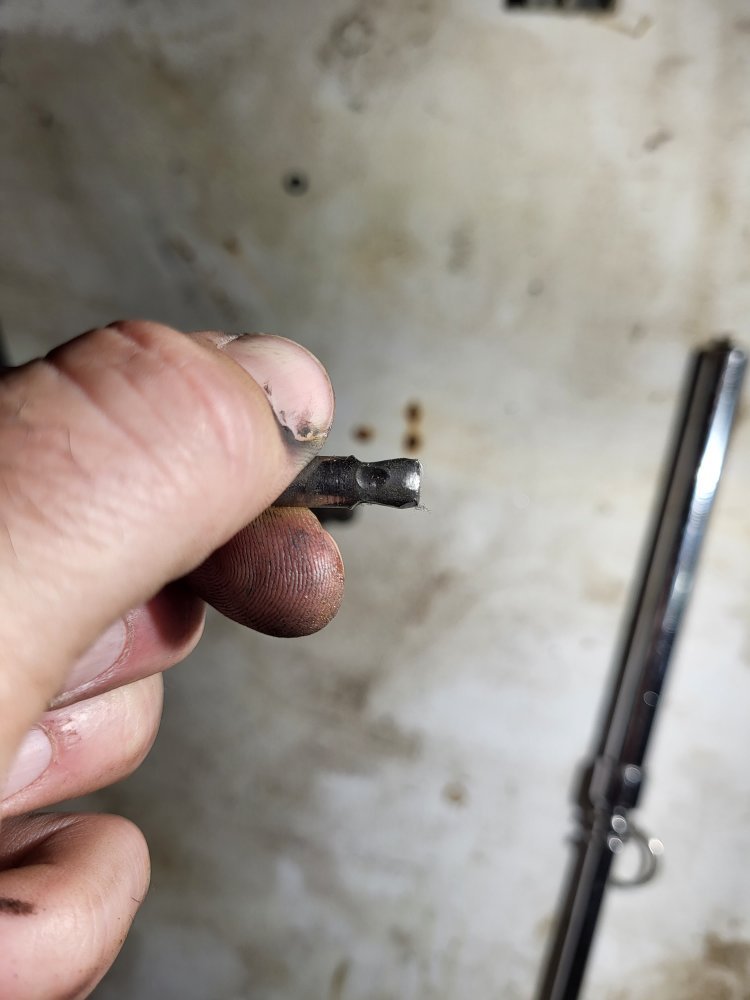
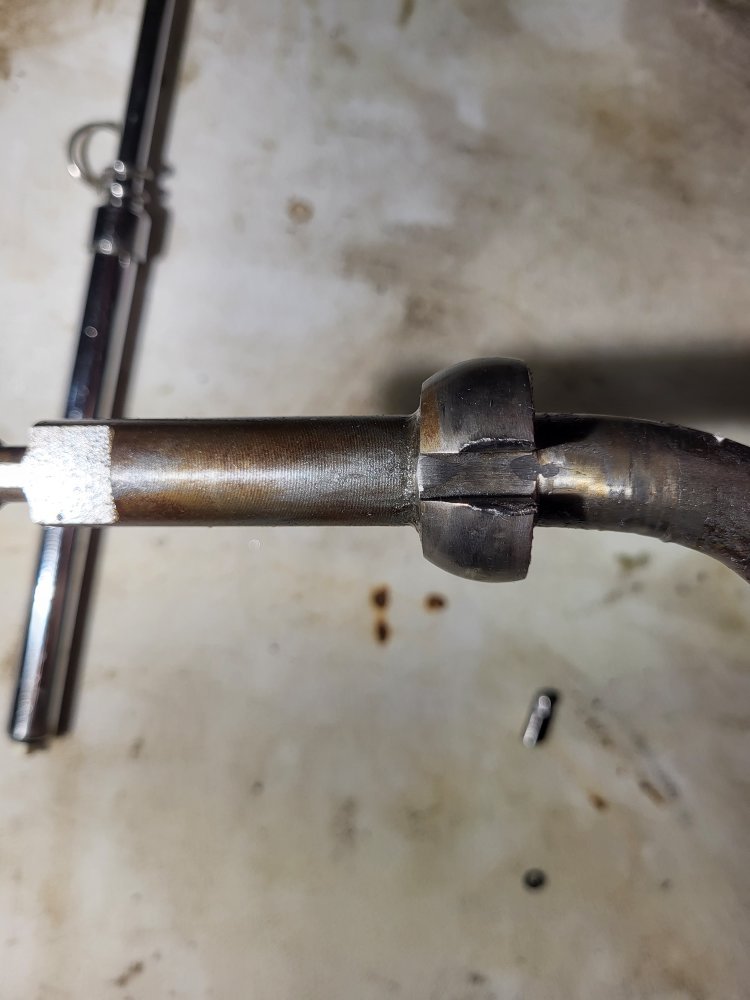
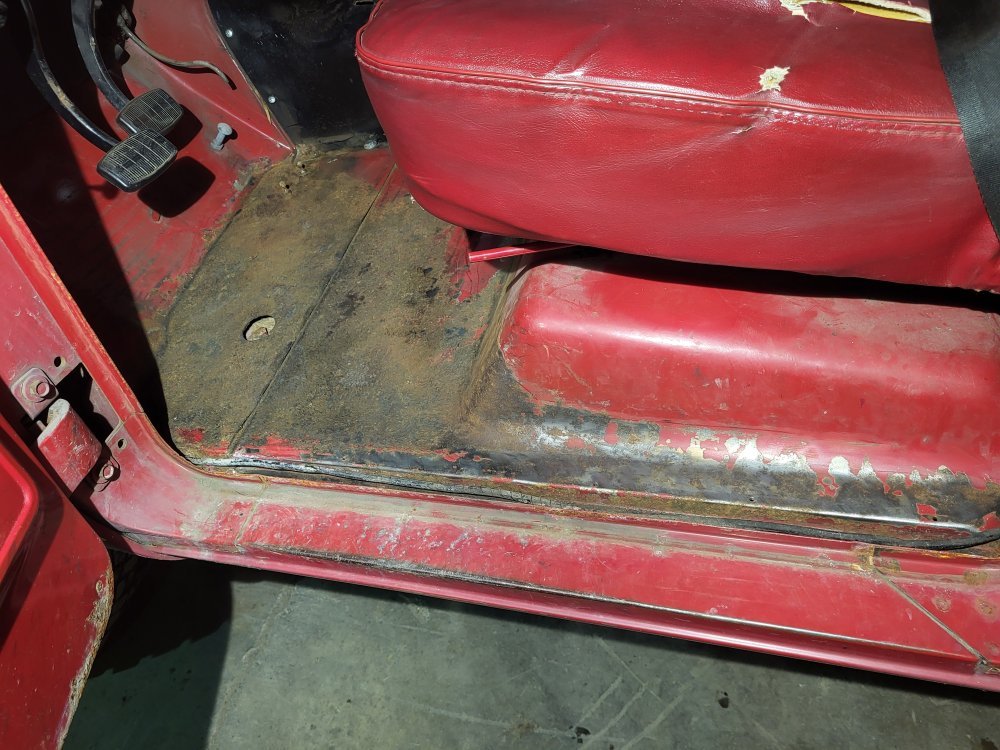
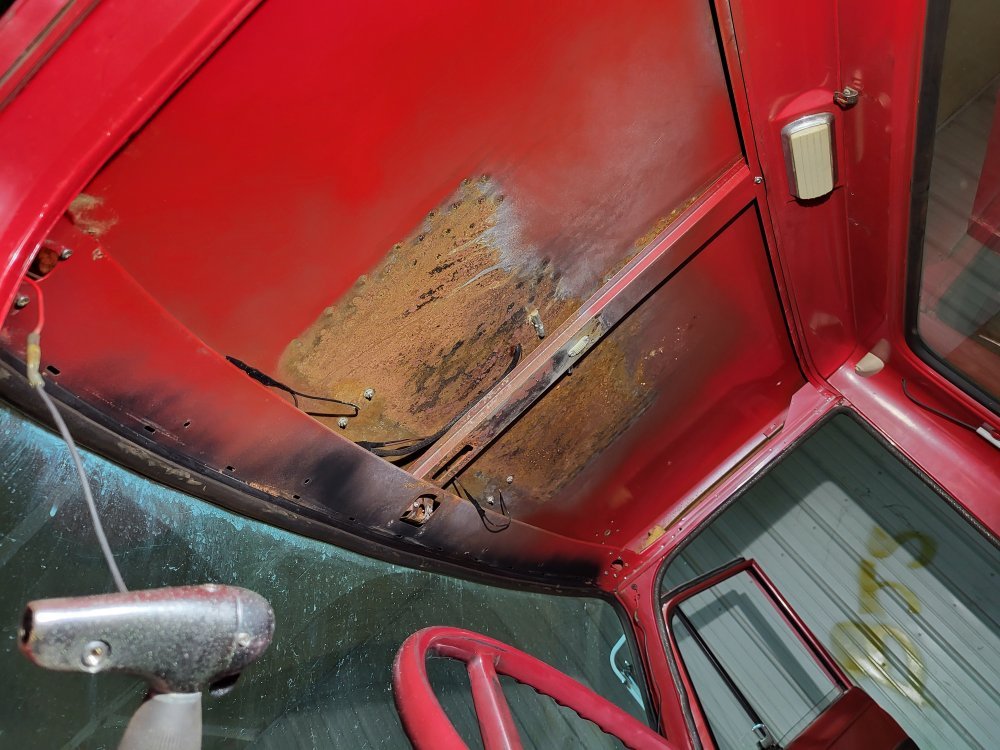
- Take care of rust scale on drivers floor board; and
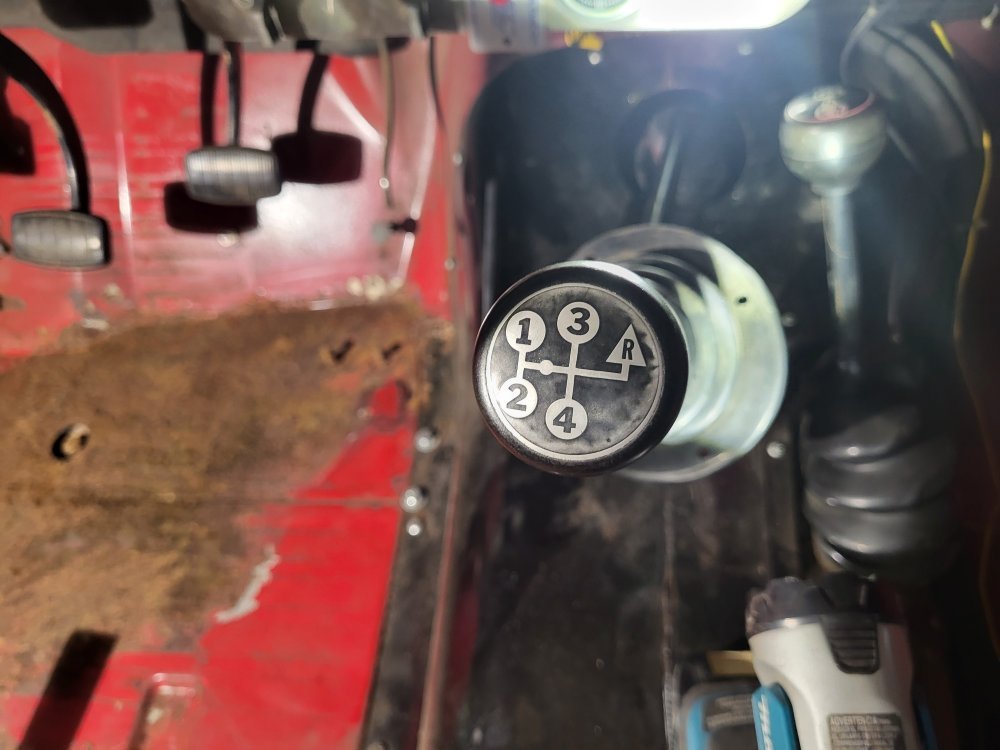
- Attempt a fix on the looser than loose shift knob.


As I figured, the shift pin is roasted, so much to the point the shifter base is actually worn:


DieselSlug
Well-Known Member
Did some cleaning, measuring, cleaning, fixing of the community shop vacuum, etc.
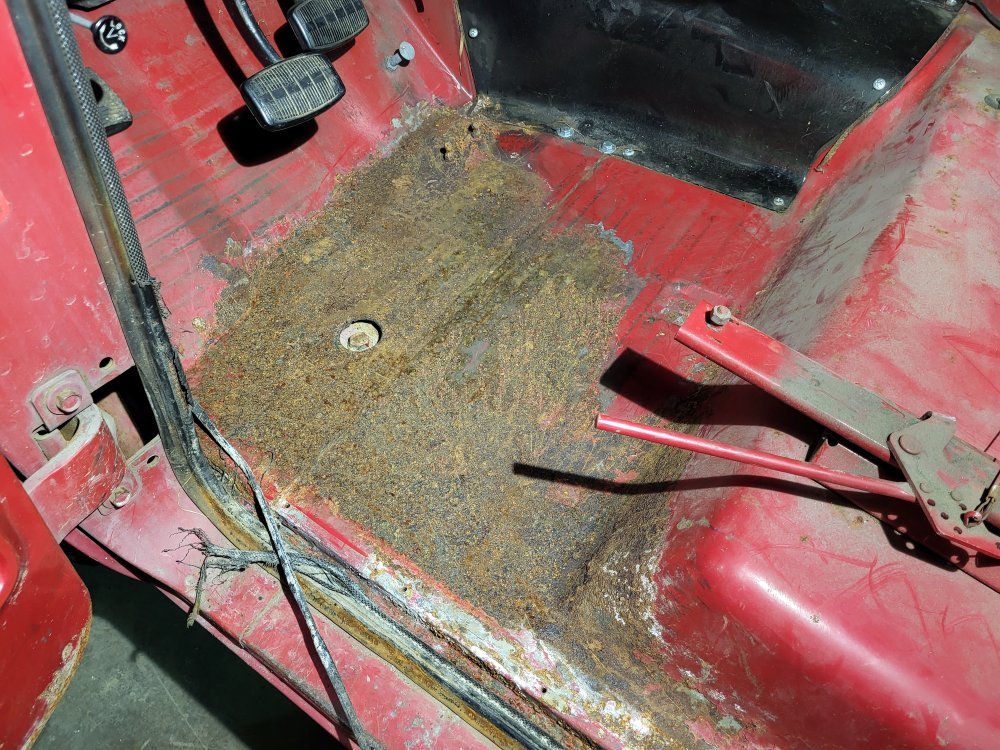
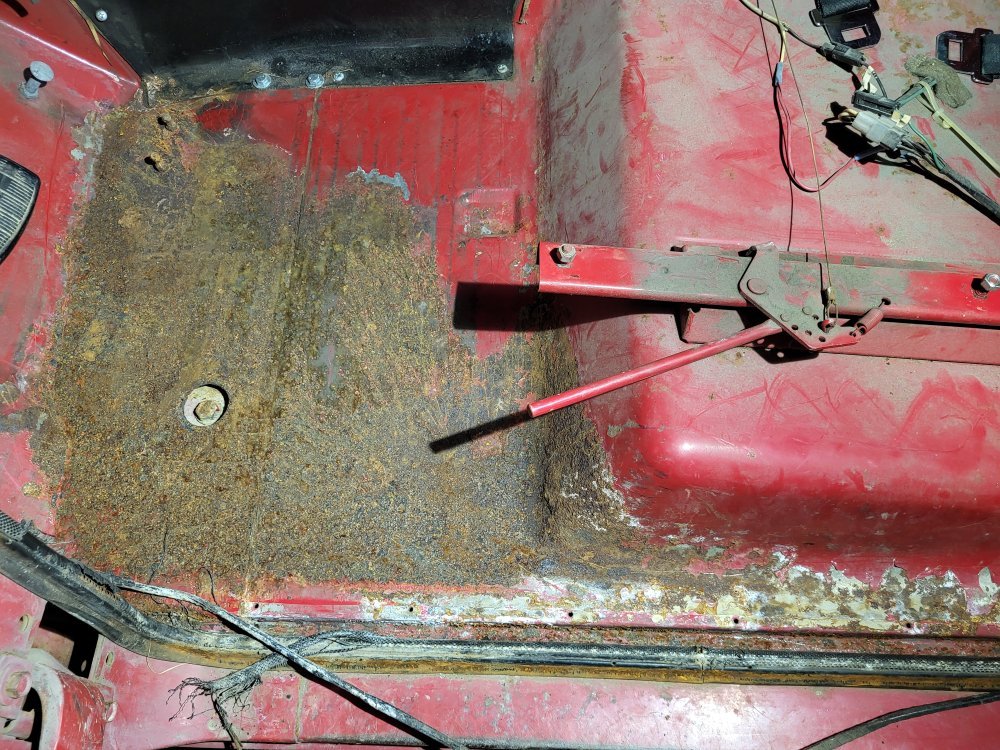
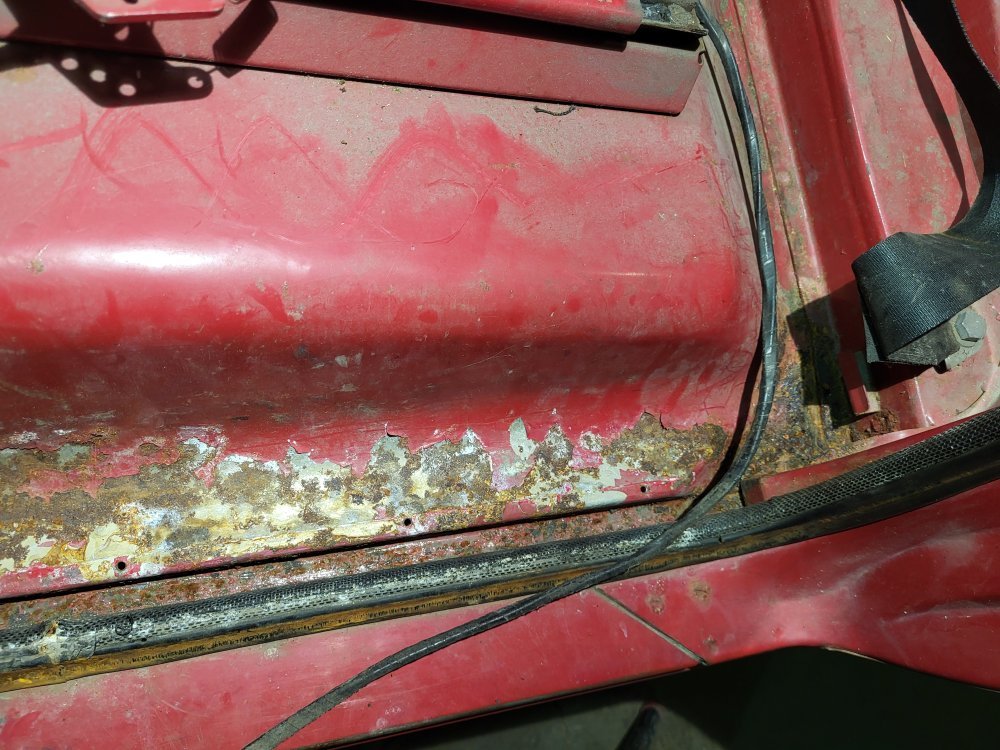
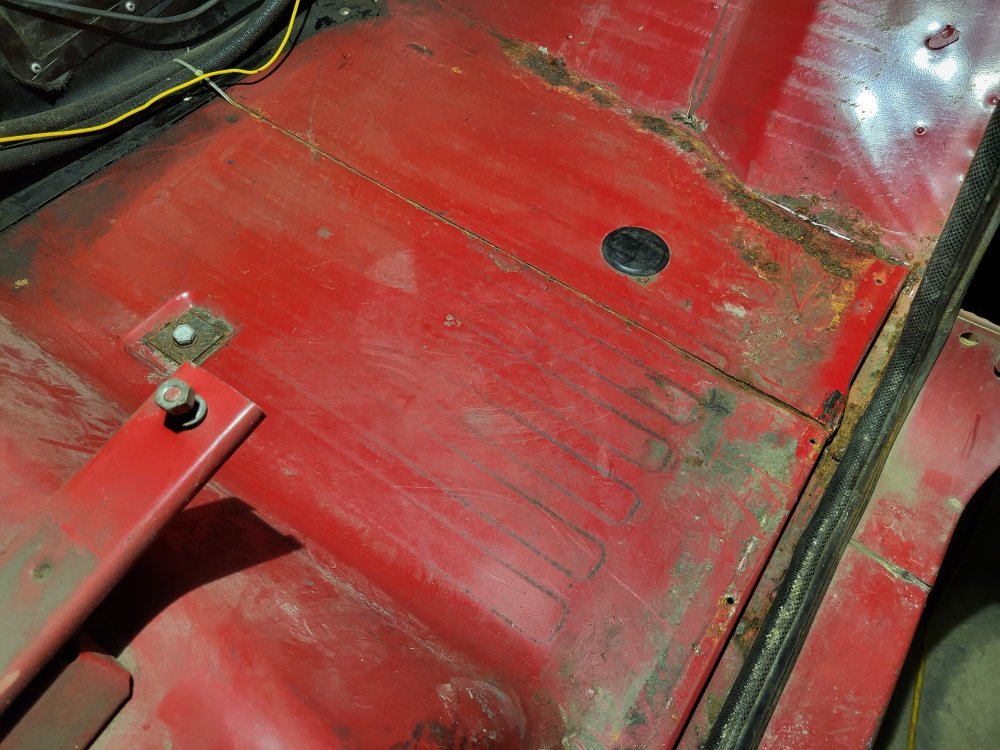
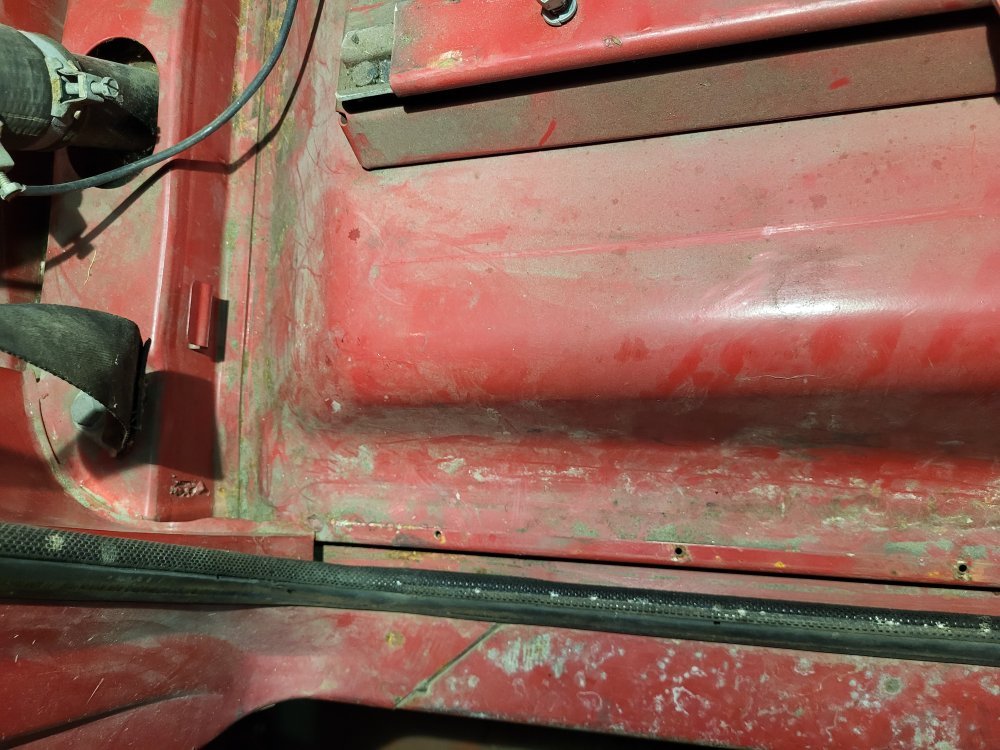
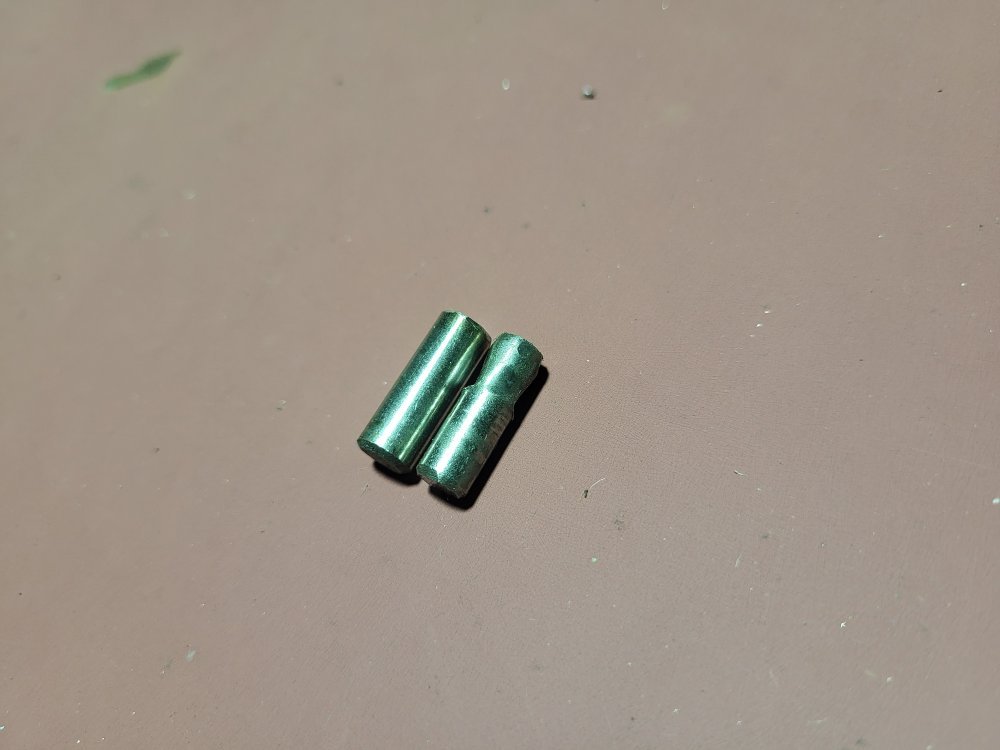
I will be doing the "drill bit" mod on the shifter pin. Stock size is 1/4'', I had hoped to upsize to 17/64'' but its still a little loose. If we are going this far, and how much it actually gets driven we are going up 2 sizes to 9/32s bringing us back to the dealer lot in '69. I ordered a bit off amazon I will be using to drill the tower, and cut off the butt end to make a new pin.
Pertaining to the floor my plan is to apply some type of rust converter/sealer after we scrape it the best we can. Then we will top coat with some IH red.
DieselSlug
Well-Known Member
Husker6.5
135' diagonal 16:9HD, 25KW sound!
Chugging right along on it!
MrMarty51
Well-Known Member
I love this thread.
DieselSlug
Well-Known Member
Wondering what to do with the floor mat. I really like it as its the OEM IH, but it is literally disintegrating.
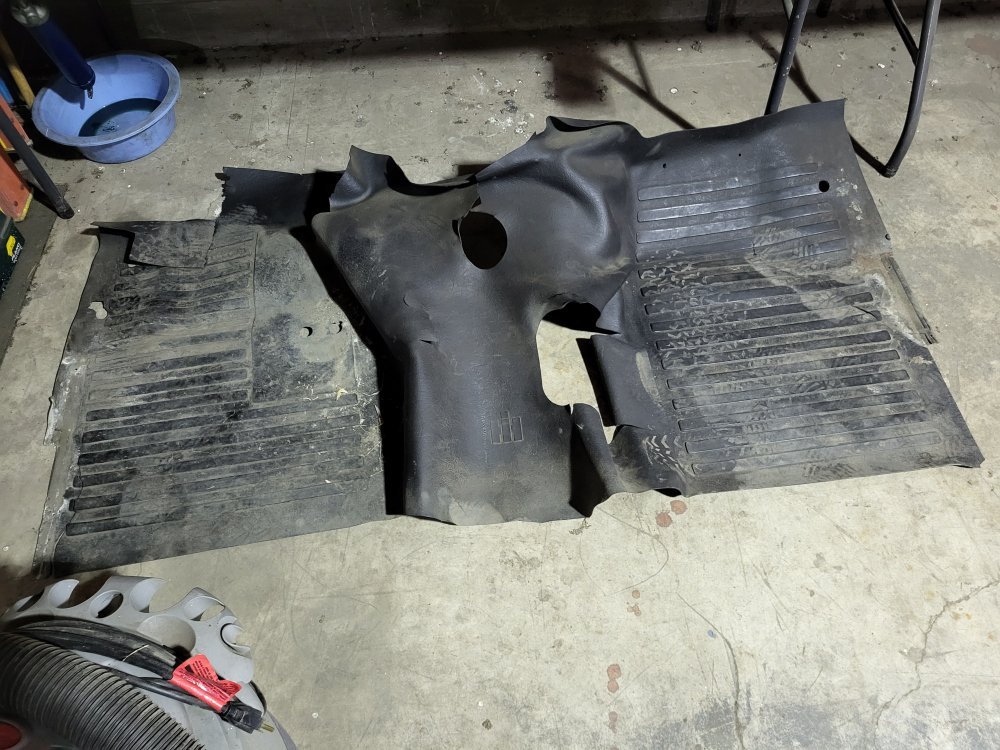
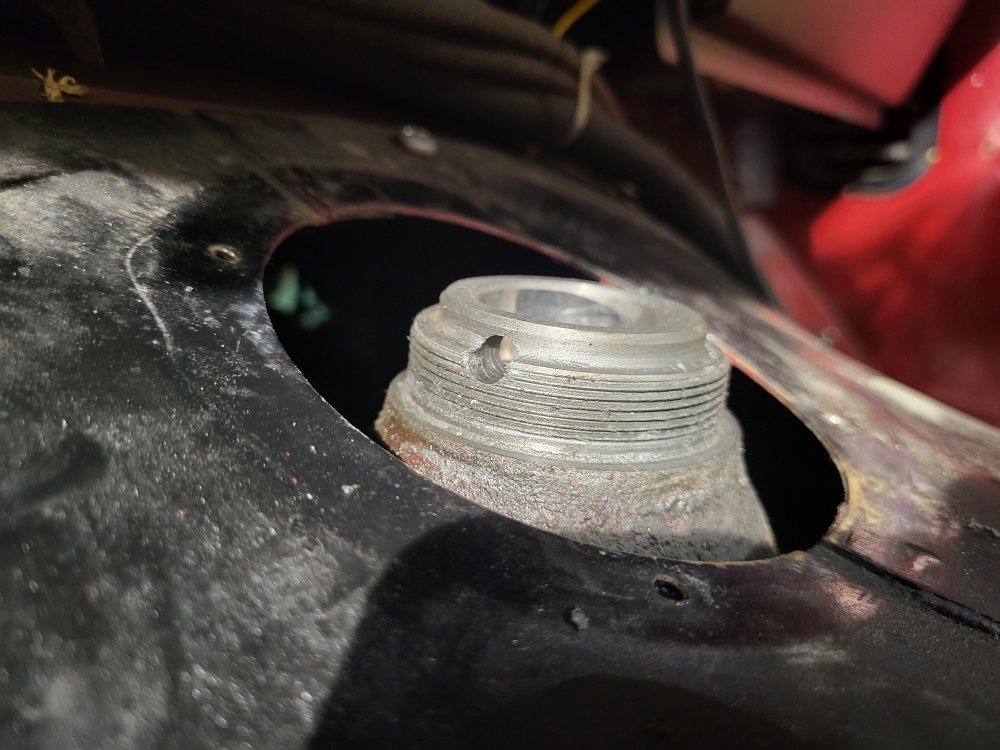
Got the shifter tower all ground out and accepting of the new drill bit that identifies as a pin....
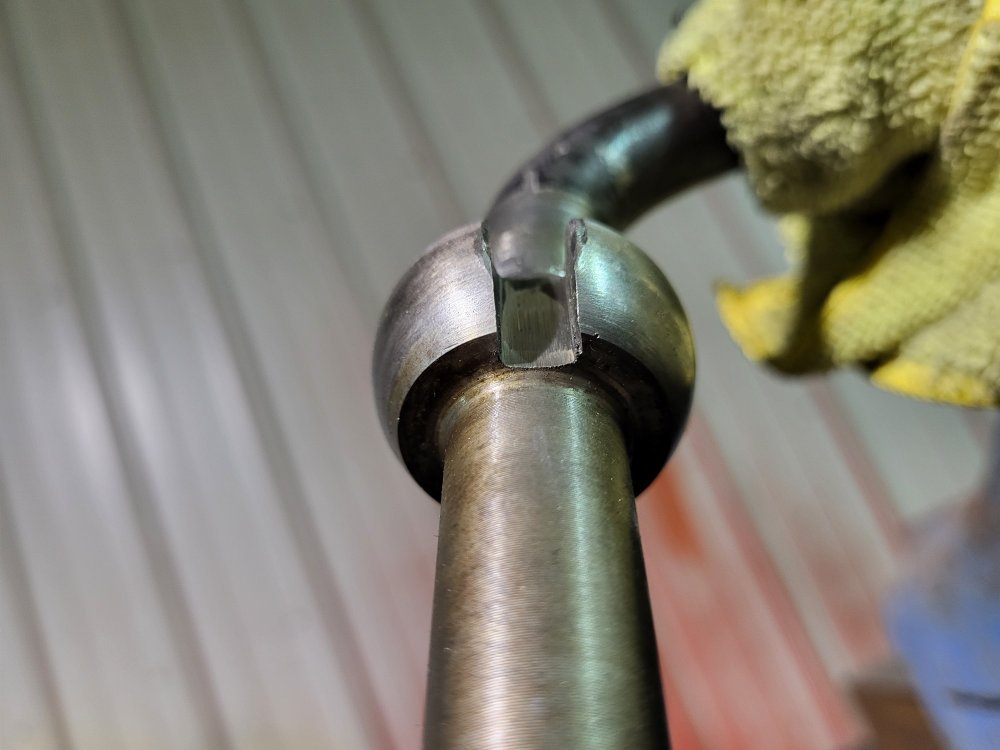
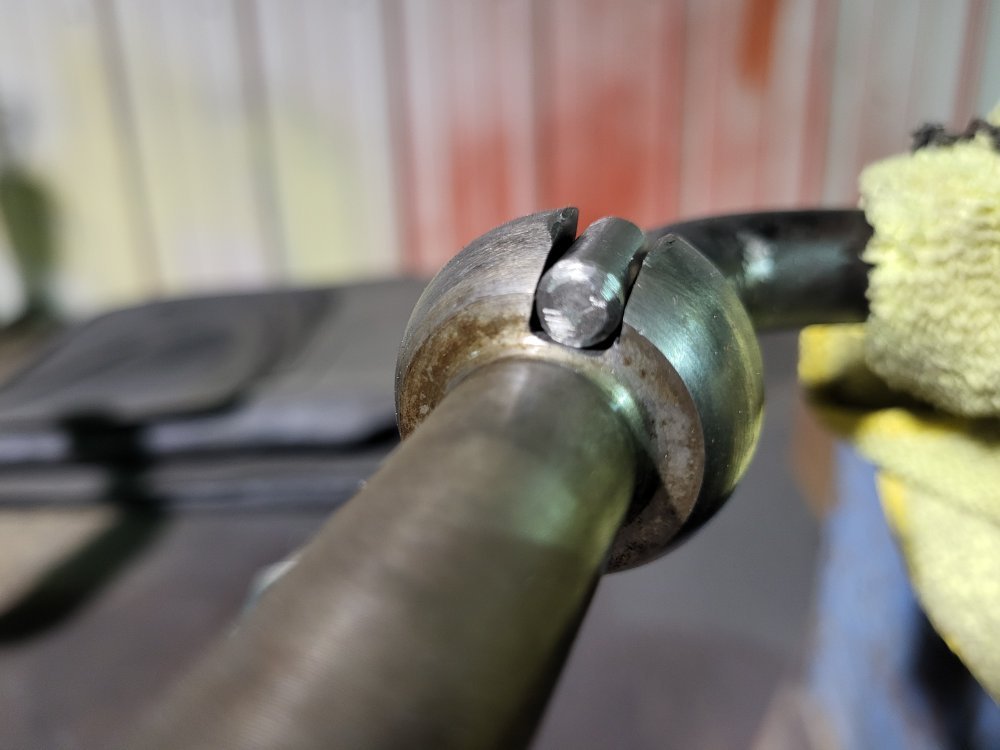
Man the threads on this cup are horrid from the previous pin. I tried getting the shifter knob off which is held on by red lock-tite apparently. I really don't want to damage it as its in great shape. Tried to take the pick the best I could and clean them out but its not the greatest.
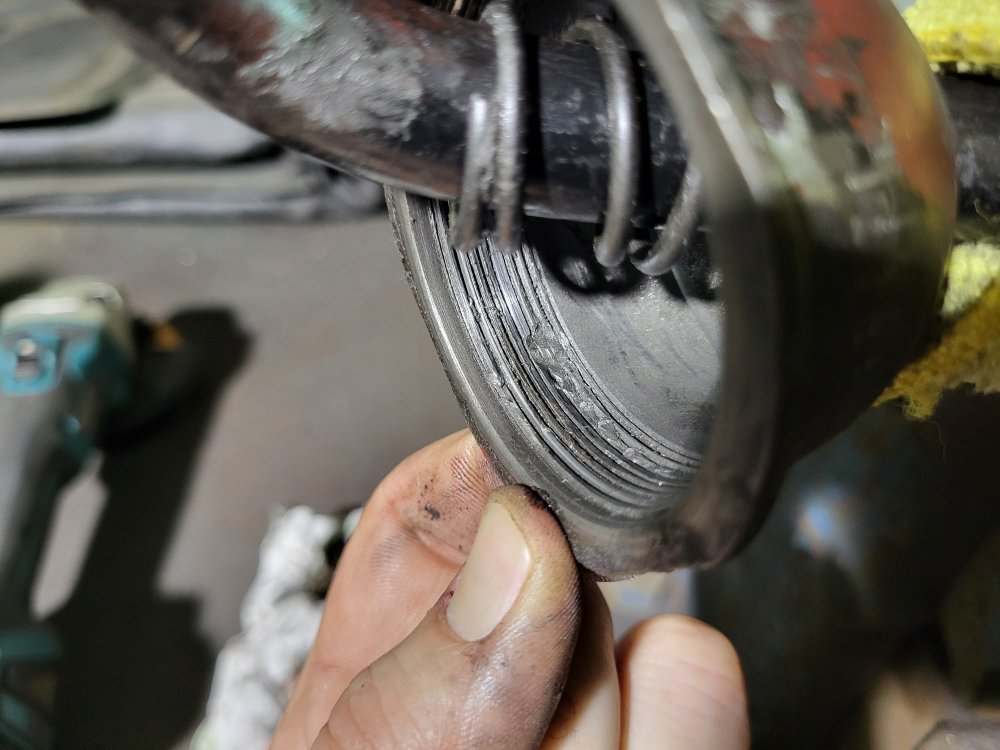
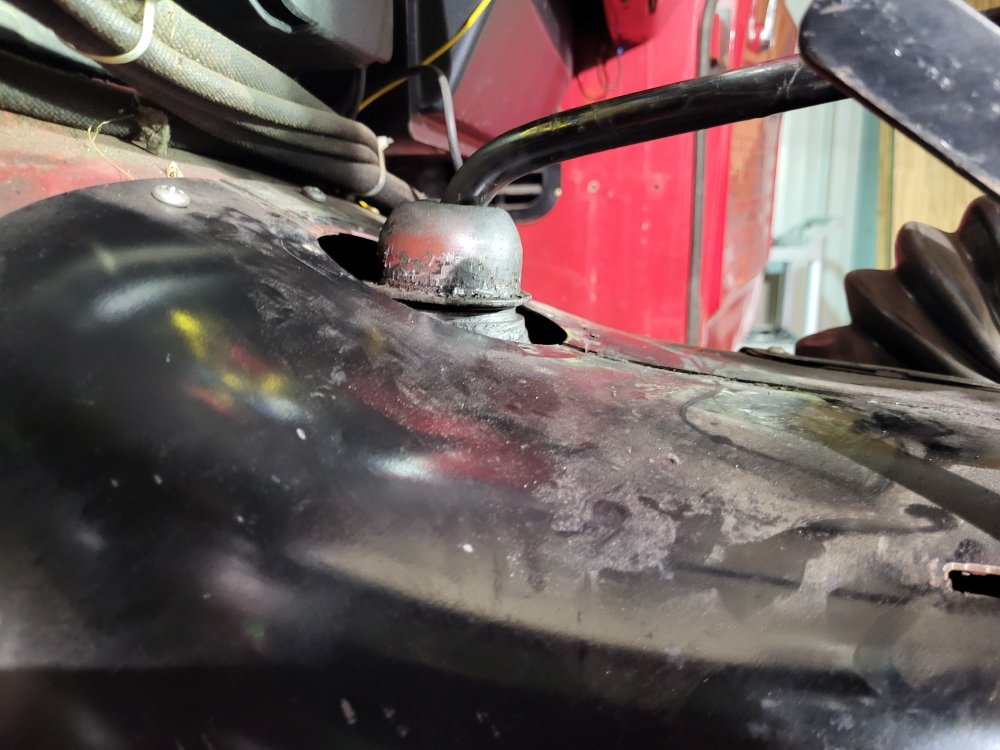

Got the shifter tower all ground out and accepting of the new drill bit that identifies as a pin....


Man the threads on this cup are horrid from the previous pin. I tried getting the shifter knob off which is held on by red lock-tite apparently. I really don't want to damage it as its in great shape. Tried to take the pick the best I could and clean them out but its not the greatest.


DieselSlug
Well-Known Member
DieselSlug
Well-Known Member
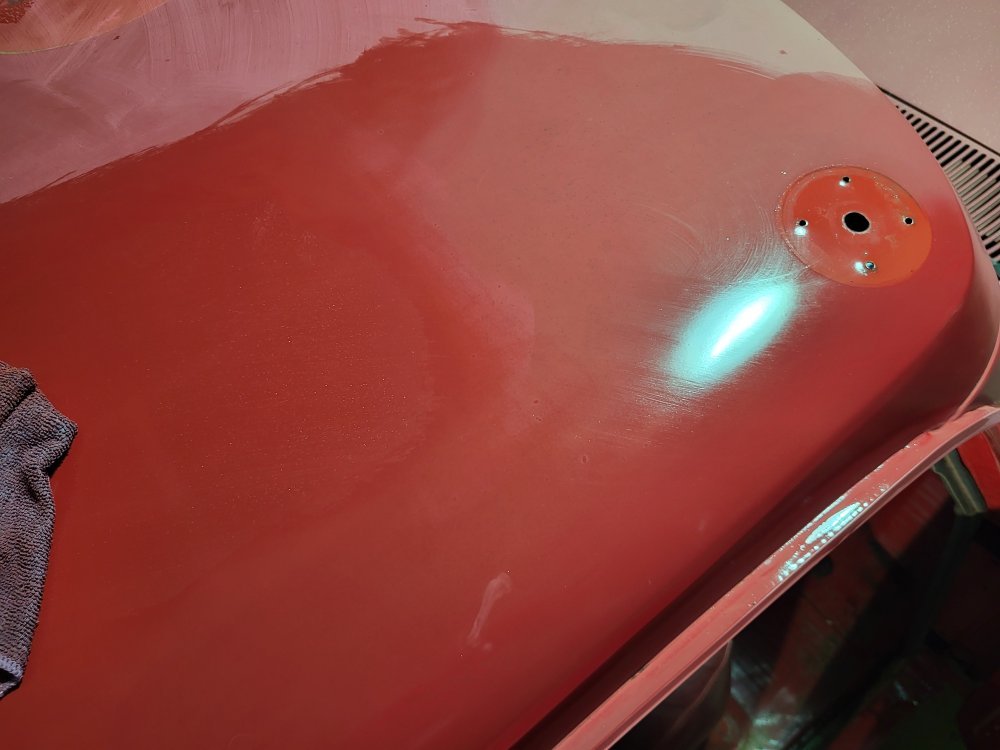
Started what I was dreading to start. The oxidized paint restoration. I started on an area you couldnt see, the roof. Started off with several types of compounds ot see what they would do. Unfortunately we found tons of deep scratches (or maybe cracks?), swirl marks, and gouges from years of neglect. I could just polish and wax to bring the shine back, but the scratches show very prominent. Id rather have it flat. There is no heavy cut compound (most barely ever tough 800 grit) that can handle this. It needs to be wet sanded prior.
This is the best closeup I got:

I started messing with the painful task of wet sanding, starting with 800, 1200, then 2000. I really need to get a proper block set, this was by hand with a block of wood.
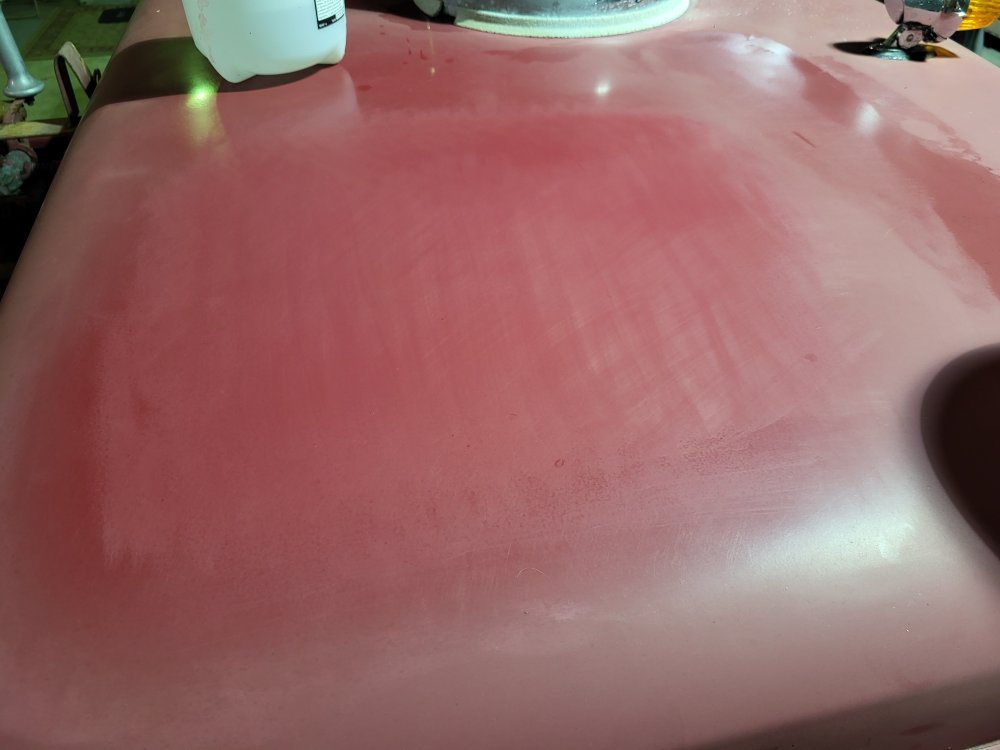
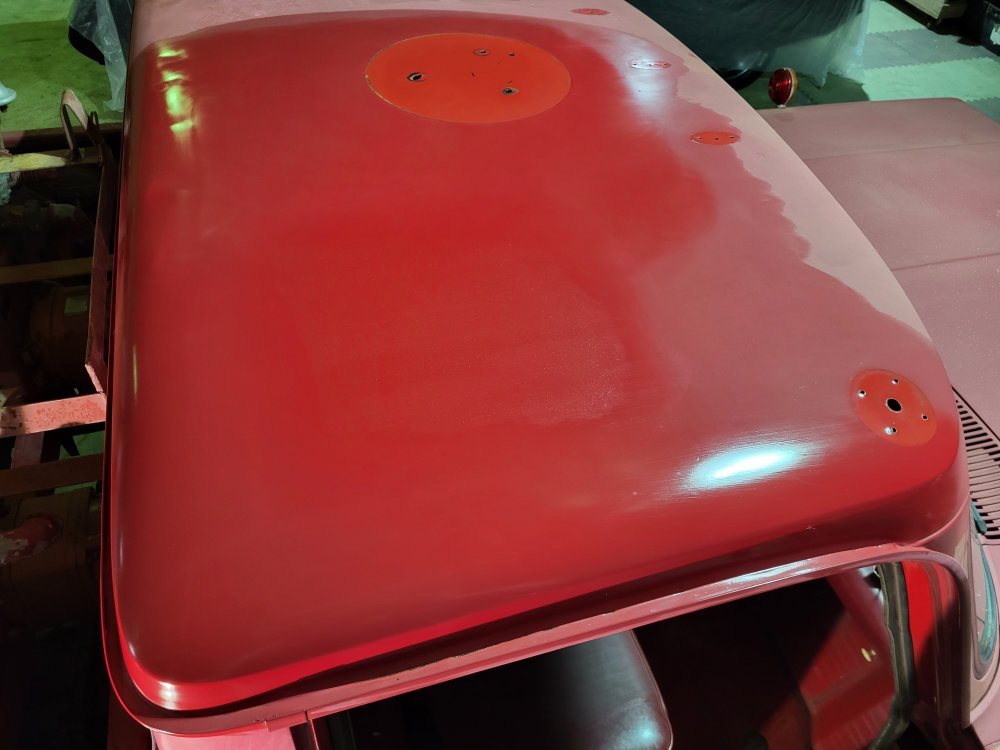
Still didnt touch the scratches. So i went to 400, 800, 1200, 2000. You can still see some of my wet sanding marks here, this was only 1 pass with compound on the buffer. Now I am seeing progress:
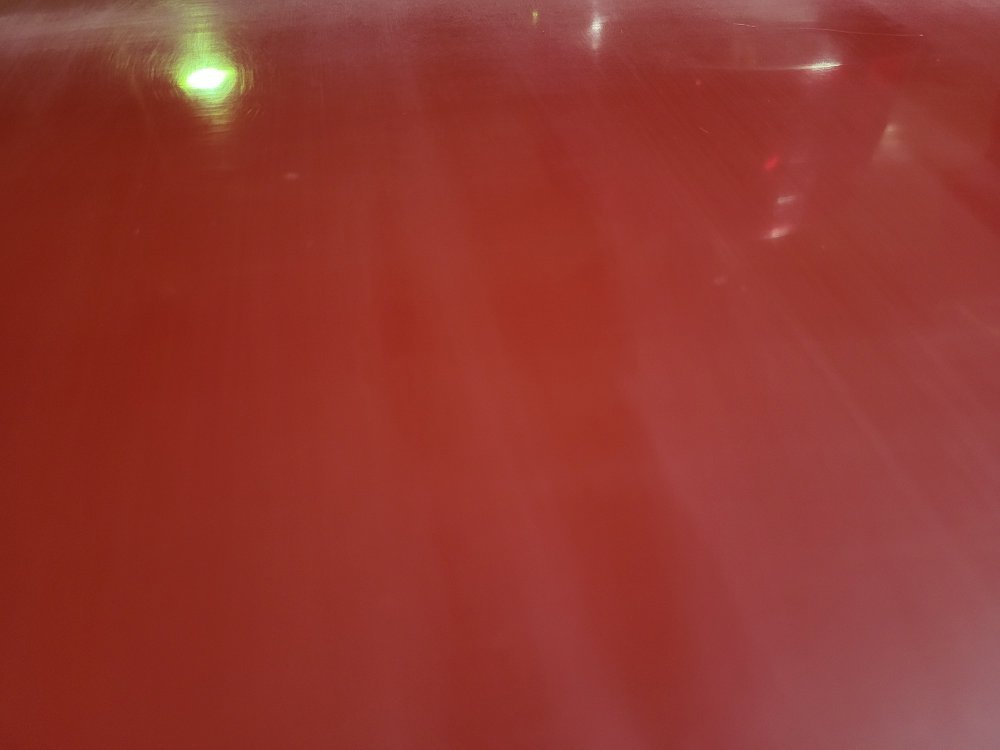
This project is going to be really tough. Contemplating life decisions at the moment.......
This is the best closeup I got:

I started messing with the painful task of wet sanding, starting with 800, 1200, then 2000. I really need to get a proper block set, this was by hand with a block of wood.

Still didnt touch the scratches. So i went to 400, 800, 1200, 2000. You can still see some of my wet sanding marks here, this was only 1 pass with compound on the buffer. Now I am seeing progress:

This project is going to be really tough. Contemplating life decisions at the moment.......
MrMarty51
Well-Known Member
An electronical buffer really saves on the arms and elbows.
Speeds up the recovery poorcess too.
Speeds up the recovery poorcess too.
DieselSlug
Well-Known Member
Yes sir, I've got a DA and a standard rotary buffer. But nothing as of yet for the wet sanding. I need to find a way to make that more automated.
I did go out and mess with it more this morning, the method with best results: sand 400, sand 800, sand 1200, sand 2000, go at it with compound, do another round of compound, buff with polish, then wax on, wax off as Mr. Miagi would say. Unreal the change!
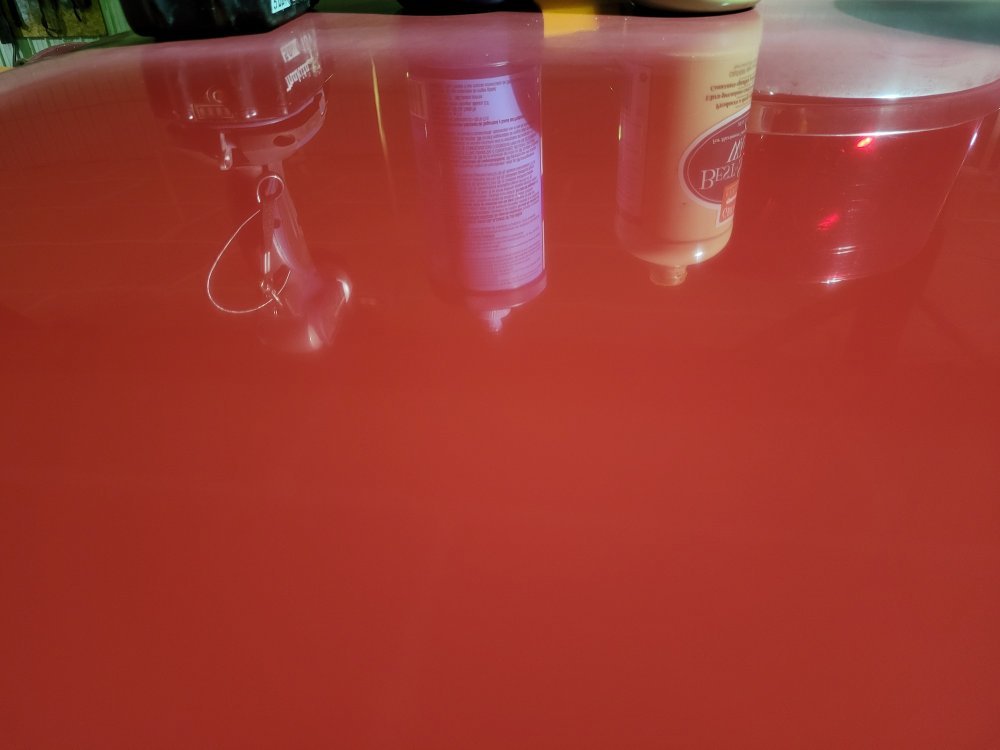
I did go out and mess with it more this morning, the method with best results: sand 400, sand 800, sand 1200, sand 2000, go at it with compound, do another round of compound, buff with polish, then wax on, wax off as Mr. Miagi would say. Unreal the change!


n8in8or
I never met a project I didn’t like
Wow! Hopefully you are happy with the results.
Husker6.5
135' diagonal 16:9HD, 25KW sound!
And now you know why paint and restoration shops charge so much.
DieselSlug
Well-Known Member
Wow! Hopefully you are happy with the results.
I could possibly get it a little better, but as a rookie in this department I am very happy with how it turned out! I'll admit, I was petrified to take sandpaper to my truck.
DieselSlug
Well-Known Member
Will L.
Well-Known Member
That’s a lot of steel to shine up. But it sure looks better.
DieselSlug
Well-Known Member
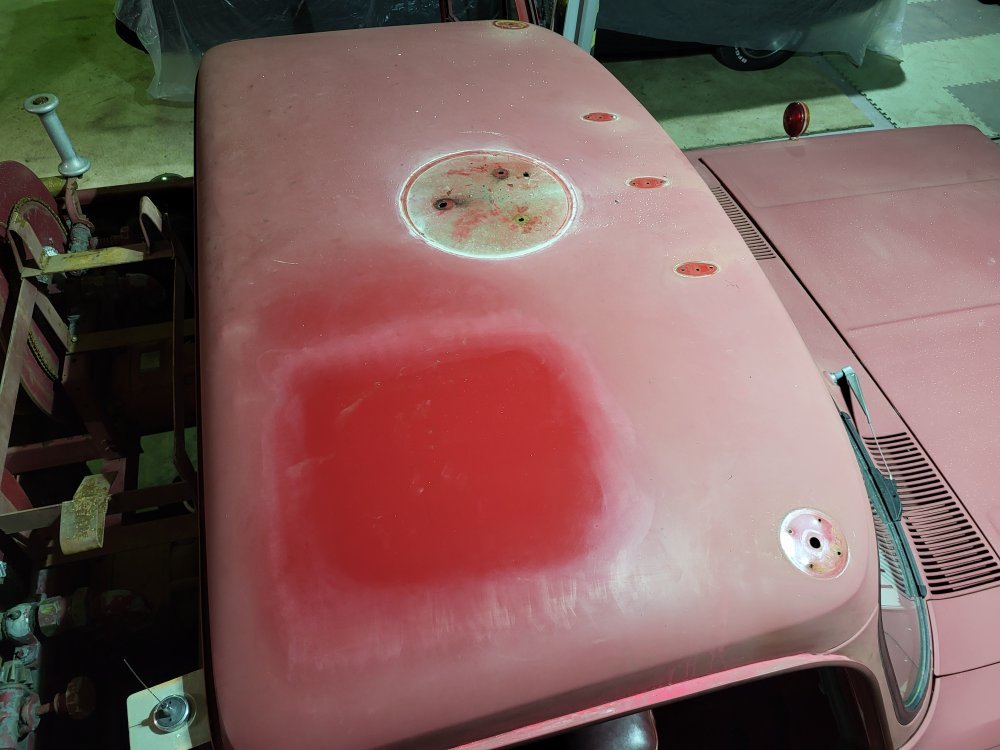
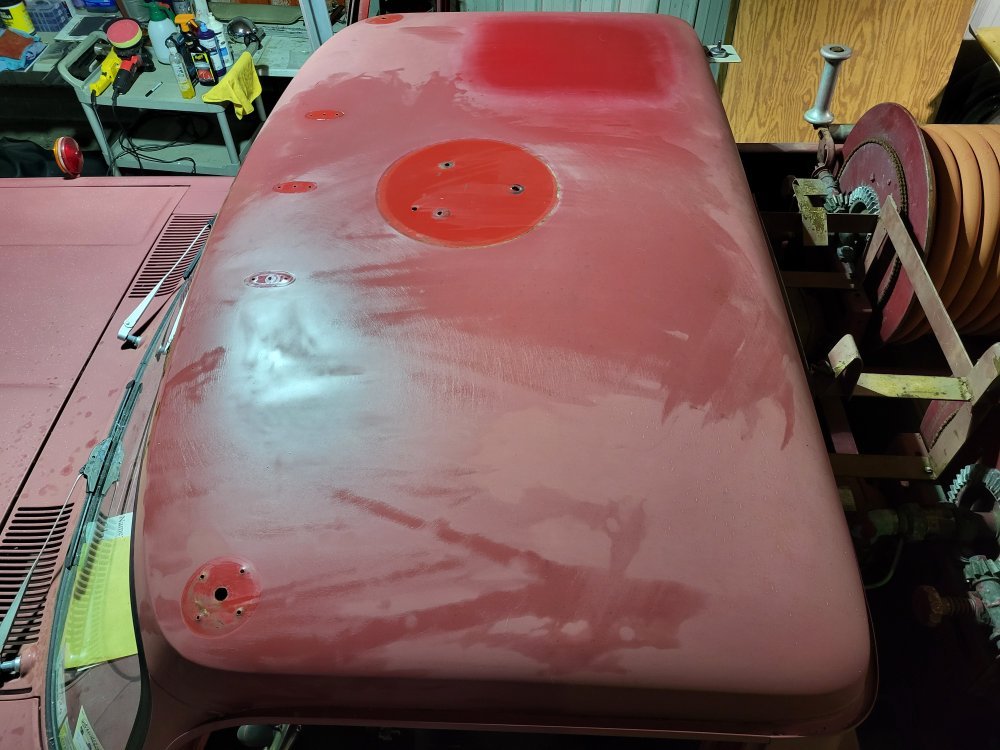
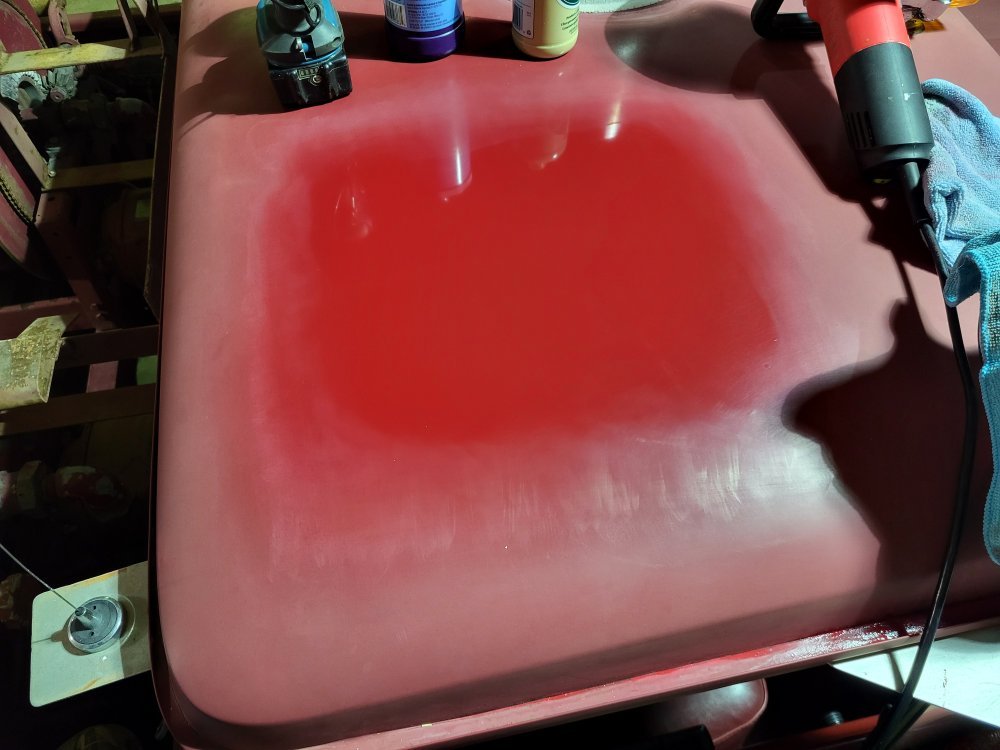
Spent more time at it today all by hand. I have to change that up, will go looking for another DA this weekend for wetsanding the big areas. Some great persepctive pictures here of areas where I havent touched (really dirty looking, even though I washed it 2-days ago), wet-sanded with 400 by hand and wiped off (looking much more red), and the adjacent area where I wiped over but havent sanded (dull red). So as I sand this is what I watch for, then stop. Trying to get the entire roof sanded, compounded, polished and waxed just to see what I can do.
