
WanaDmax
New Member
So, i did the Tymar today. Heres the writeup.
YOU WILL NEED:
4" PVC Pipe.
4" to 4" rubber connector w/ 2 clamps.
2 2 3/4 to 3 3/4 hose clamps (explained later)
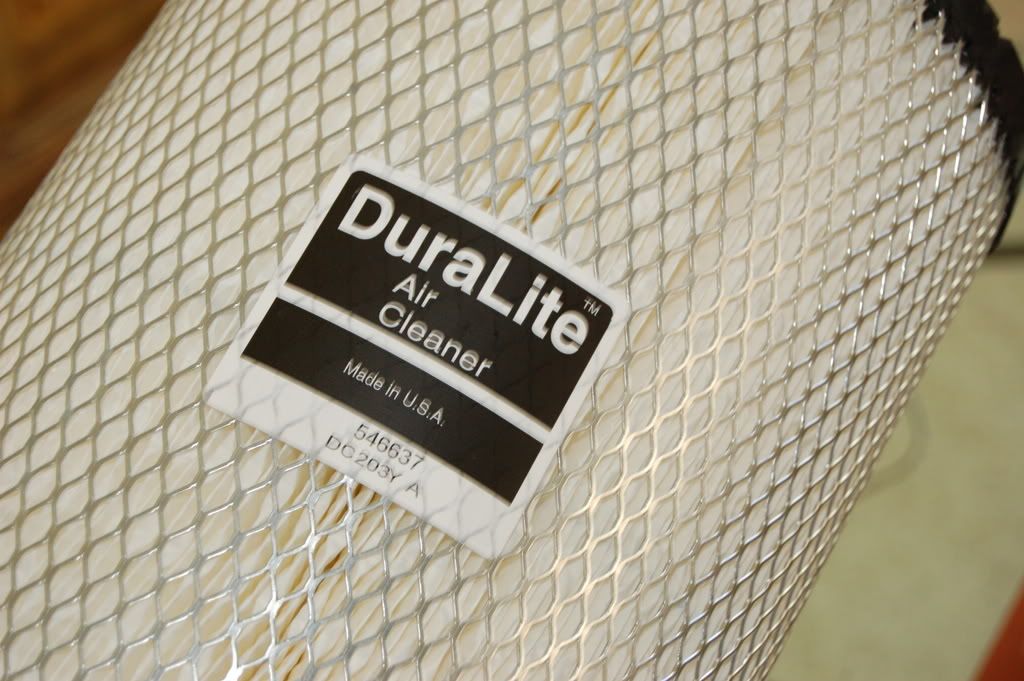
Tymar Filter. FleetFilter.com Part # 46637
Some Duct tape
Flathead Screwdriver.
Sander
Reciprocating Saw
Wire Cutters
Needle Nosed Pliers
Shop Towels
And some Fast Orange.
So the UPS Guy was late.. He usually comes around 5:00PM but today, he wanted to torture me, so he came at 7:15PM
During that time, I looked out the window lots to just keep an eye on my truck.

Still there...
Then i took a nap. Because i had an hour to kill. Still no UPS guy.
Finally 7:15 rolls around and what do you know, THERES MY NEW TYMAR!
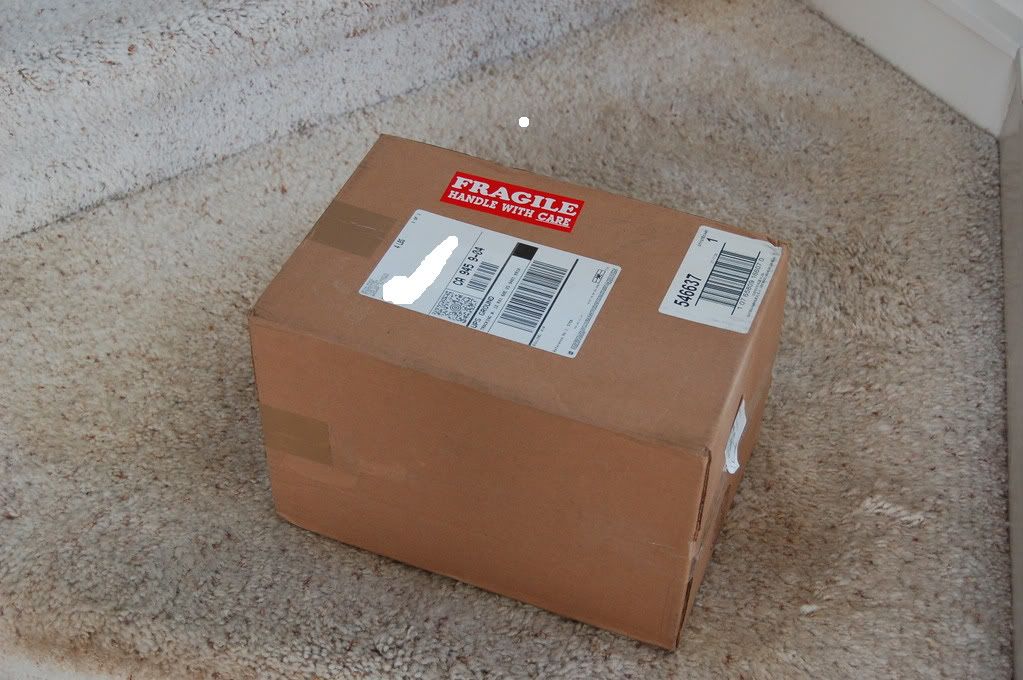
Apparently i was the last house on the route...
So I open it up, no packaging. Just my receipt and the filter.
One thing you have to be careful of is debris that gets in during shipping. I had a fleck of cardboard that was in there. I carefully dislodged it and shook it out.
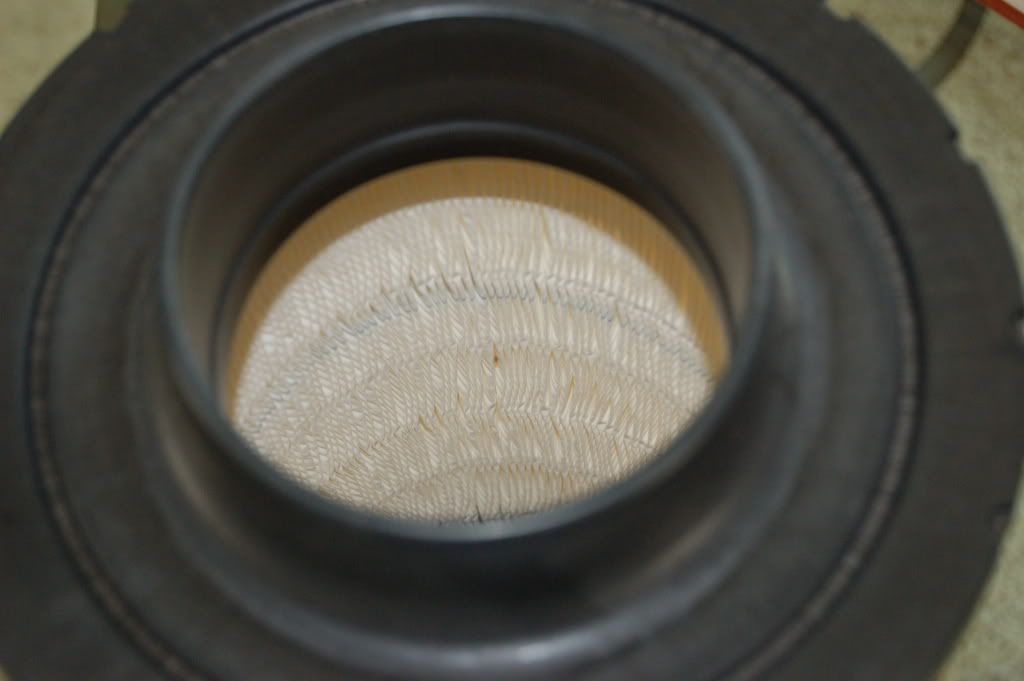
That small brown speck is the cardboard corner.
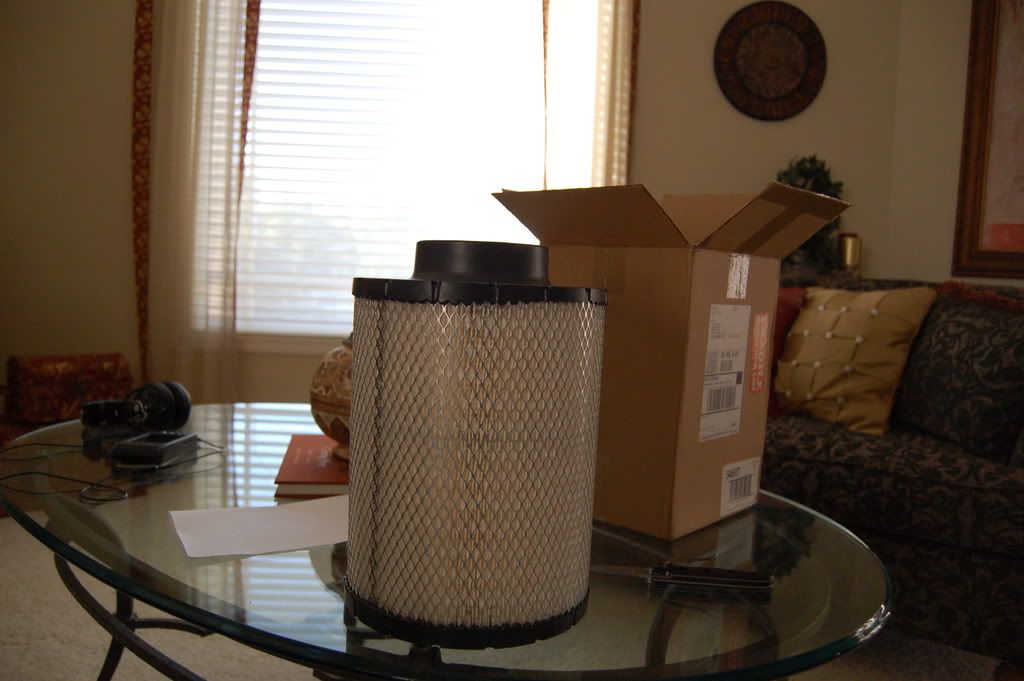
So I pull it out, and its BIG! Much bigger than I anticipated.
So lets get to installation.
First you need to remove the air hood. Set it aside.
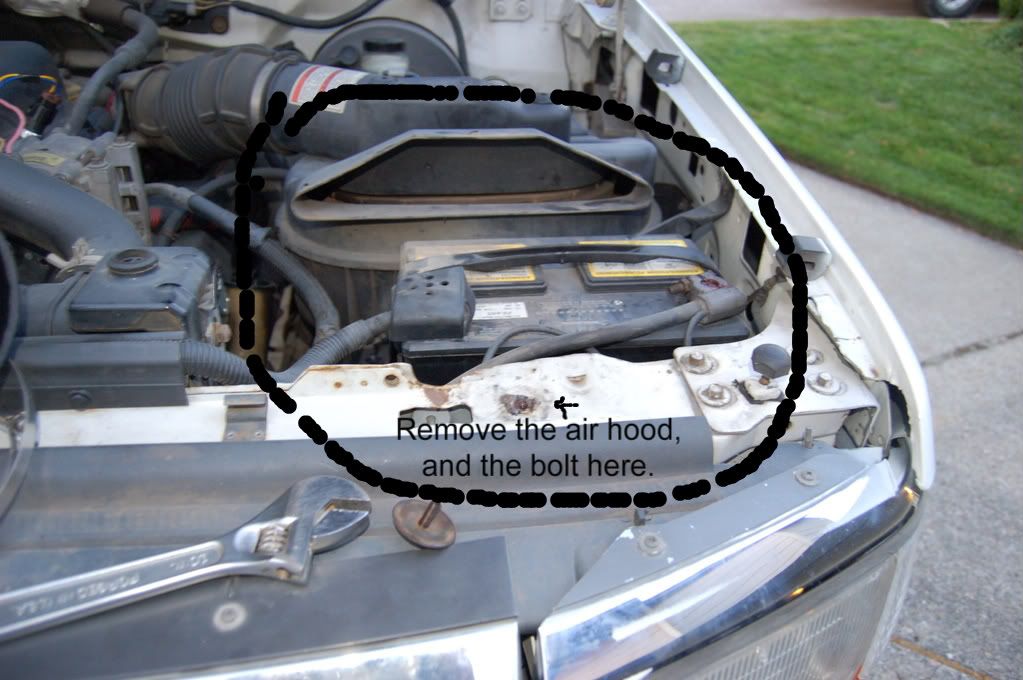
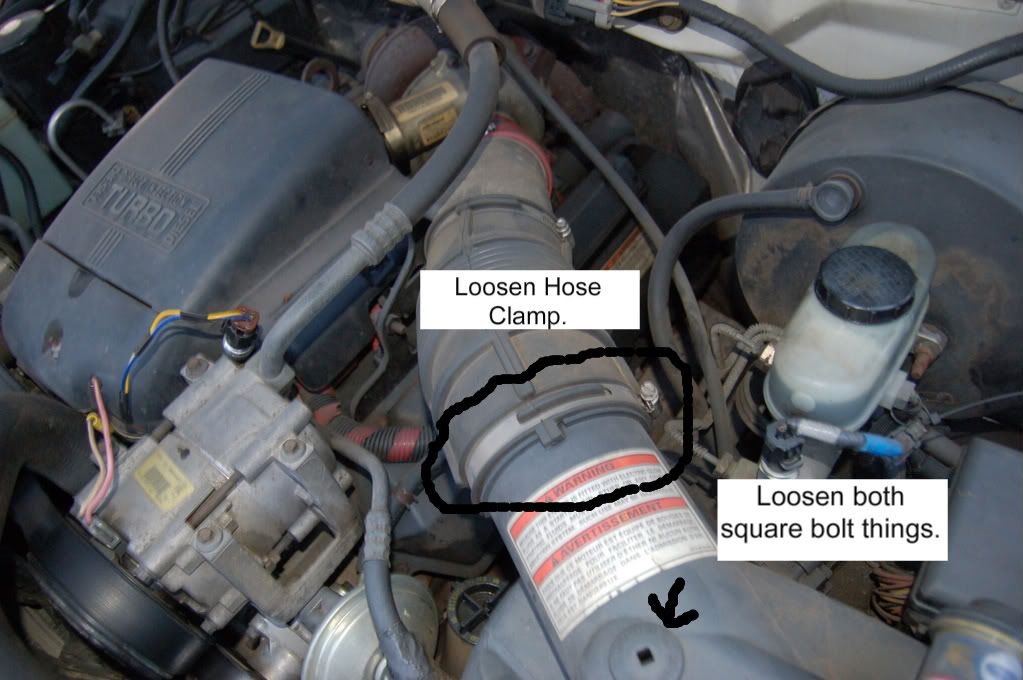
Then loosen the hose clamp and take the 2 square holed bolt things on the top out.
Once you have the screws loosened, take the intake tube out of the boot, and lift the cover off.
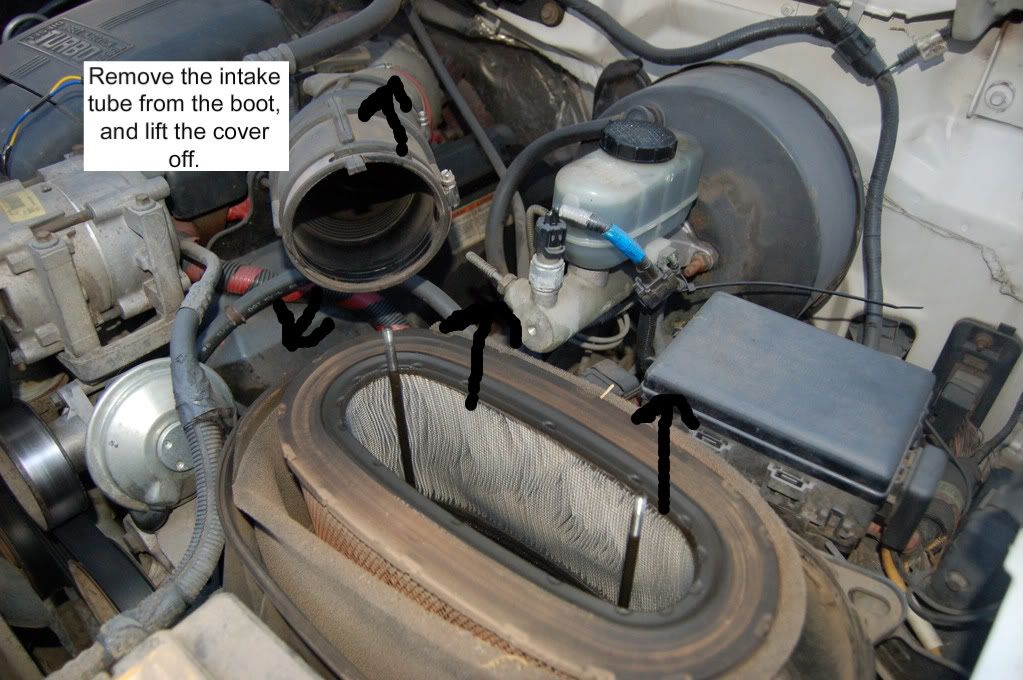
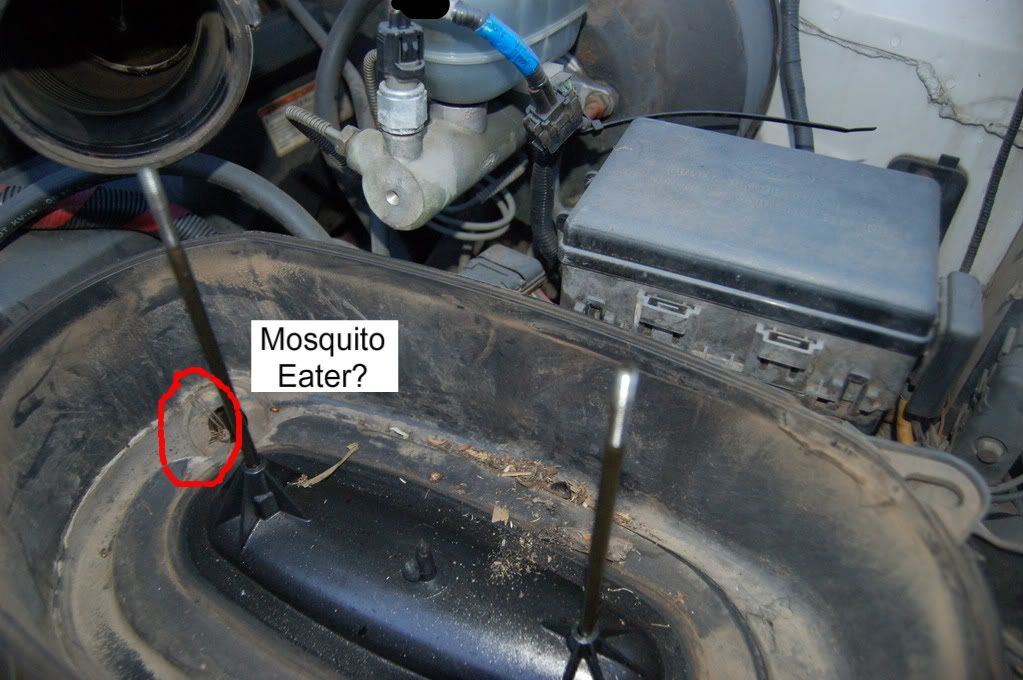
Then be amazed how much crap is in there.
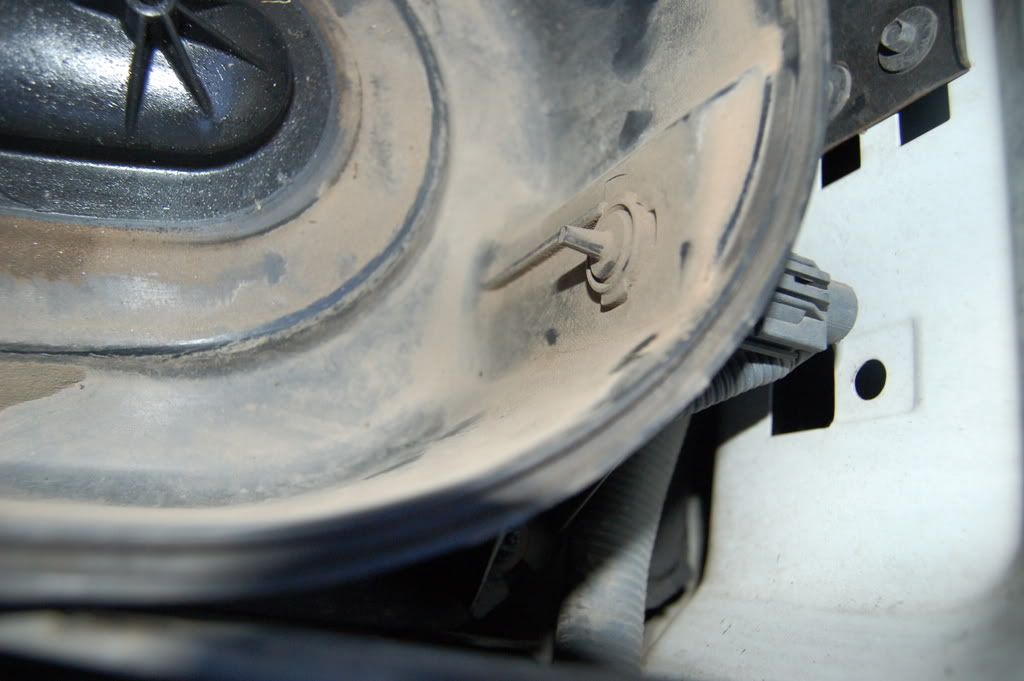
Be weary of this sensor, in the coming up steps. It can easily be ripped out and broken.
After that, pull each of the rubber bushings up (no picture ) They may tame some force, but they'll come off.
After you have the airbox free, take a crescent wrench and turn the probe sensor slightly. Once it moves a little, stand the airbox up, so the plug wire is making a line to the top of the hood. Then, with wrench on the sensor head, turn the airbox CCW until the plug comes out.
Leave the plug for now out of the way.
Once you have the whole airbox assembly out of the truck, look down your intake boot to your turbo fins. they should look neat, and not chipped. if they are, its time to replace them with a new wheel.
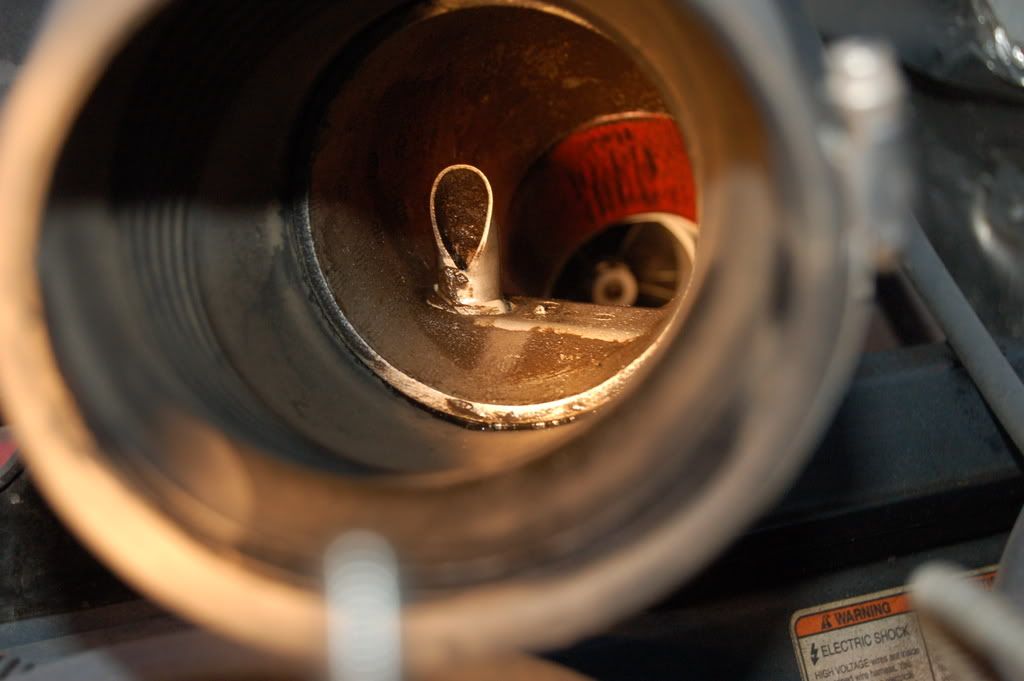
Bad picture but you get the idea.
Also, while looking in there, look at your piping and see how dirty it is. If its really dirty, clean it out with a shop towel.
After that, mock up your install and see how much piping you need to cut. I only needed about 3-4". ( I didnt measure, so dont cut 3" then have it be wrong and come back and yell at me.)
The tricky part now is getting the 4" piping to go in a, well, less than 4" hole. You can try your hardest, you may get it. But its just not fun like that.
Do this.
First take the hose clamp OFF. You cant re-use it.
Take the piping, and sand one edge to a bevel, while taking some of the material out, to reduce the outer diameter. Once done, clean the shavings out well, and apply some WD-40 to it to make it slide in, then re-clean the inside with a rag.
After you have done that, shove the pipe in there, and push the rubber out, to make it slide in... a 3rd hand is nice.
After its in, make sure its past the clamp area, and leave it.
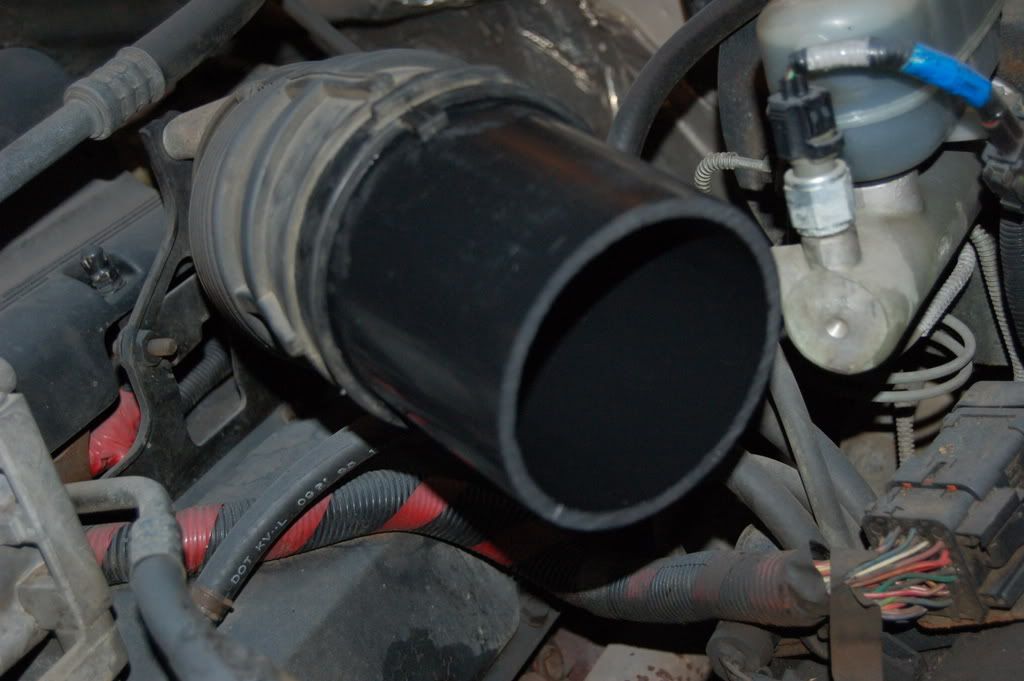
Should look like that. (and i needed a picture)
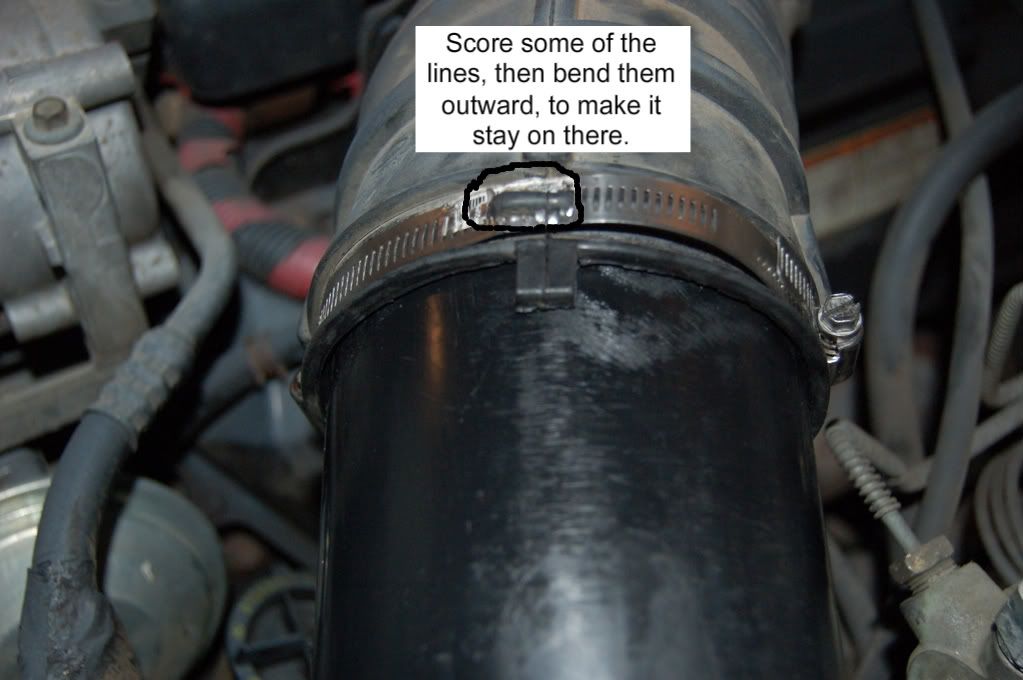
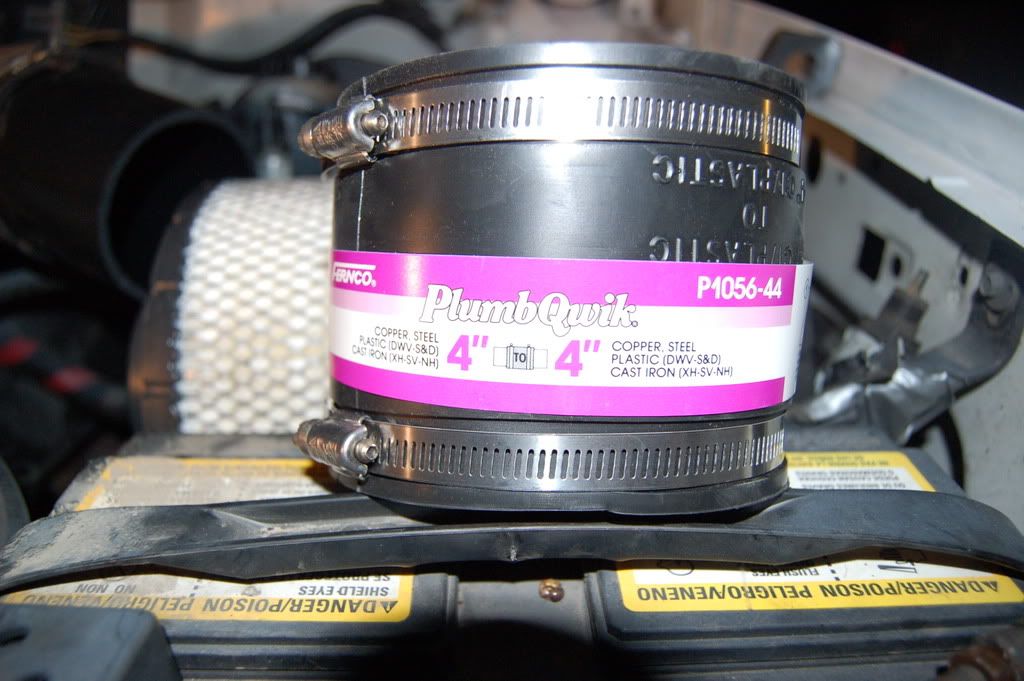
Now for the hose clamps. Score some of the line clampy things, and bend them outward, but only after youve marked where you need to do it. I did it on the price tag. But the price tags on other products are in different spots. So dont use the price tag, unless it actually works.
After you have that done, tighten the clamps, make sure its in there snugly and it wont come out.
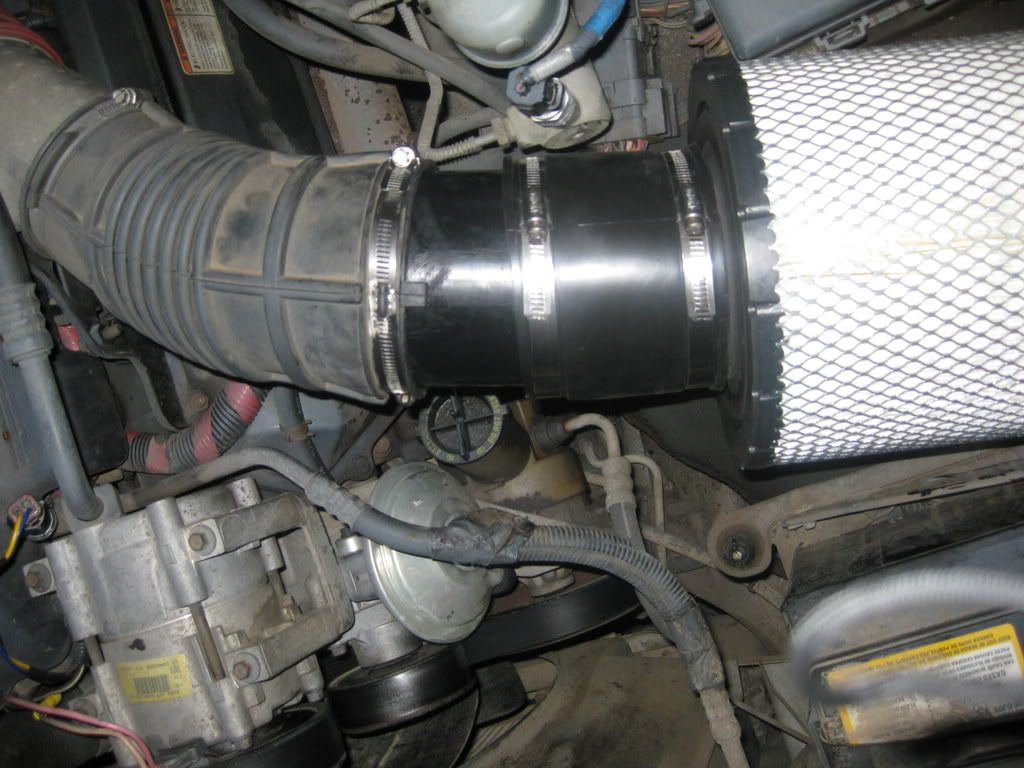
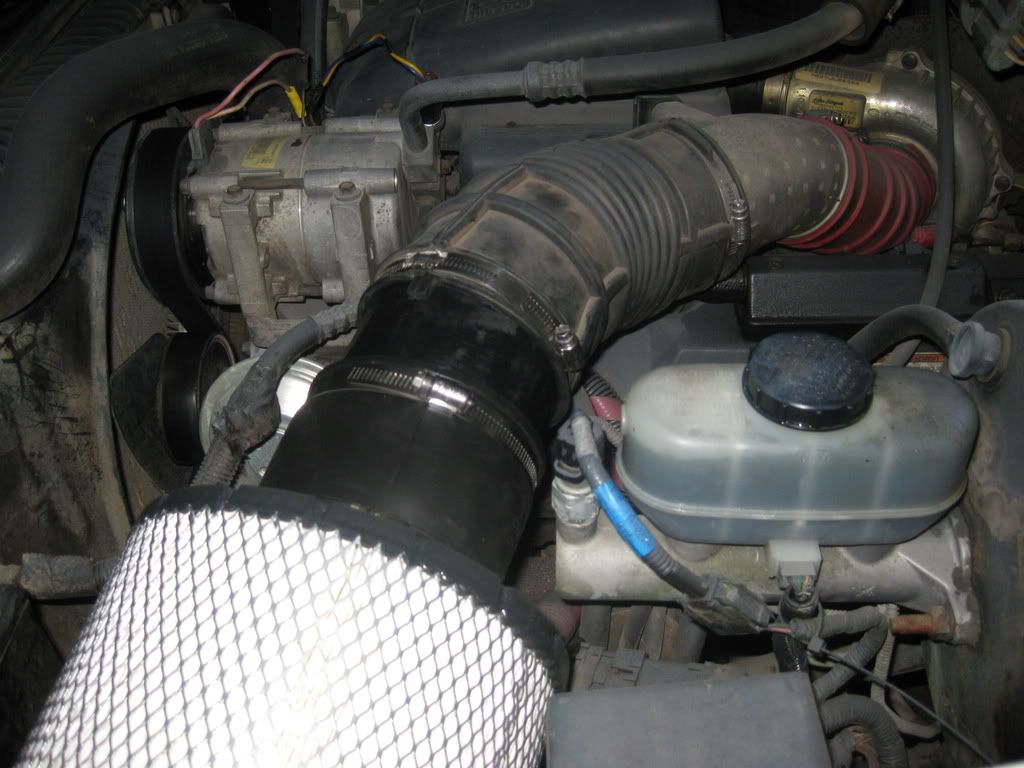
Then take your 4" to 4" rubber connector, and place it on the end of the filter, and tighten it down.
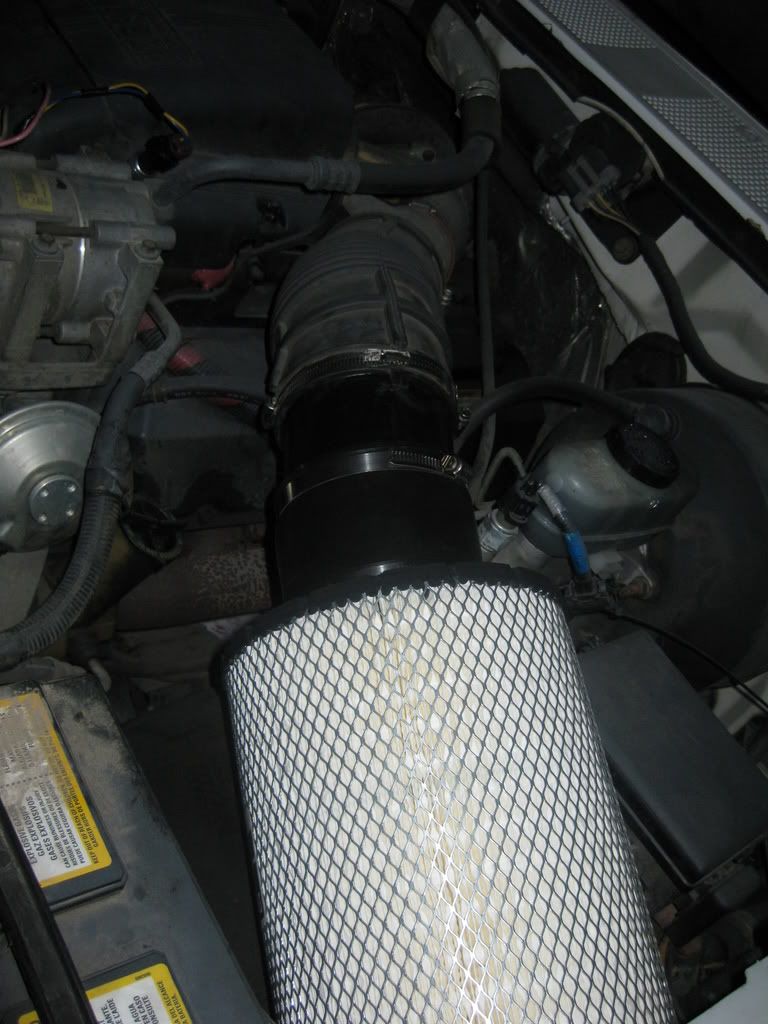
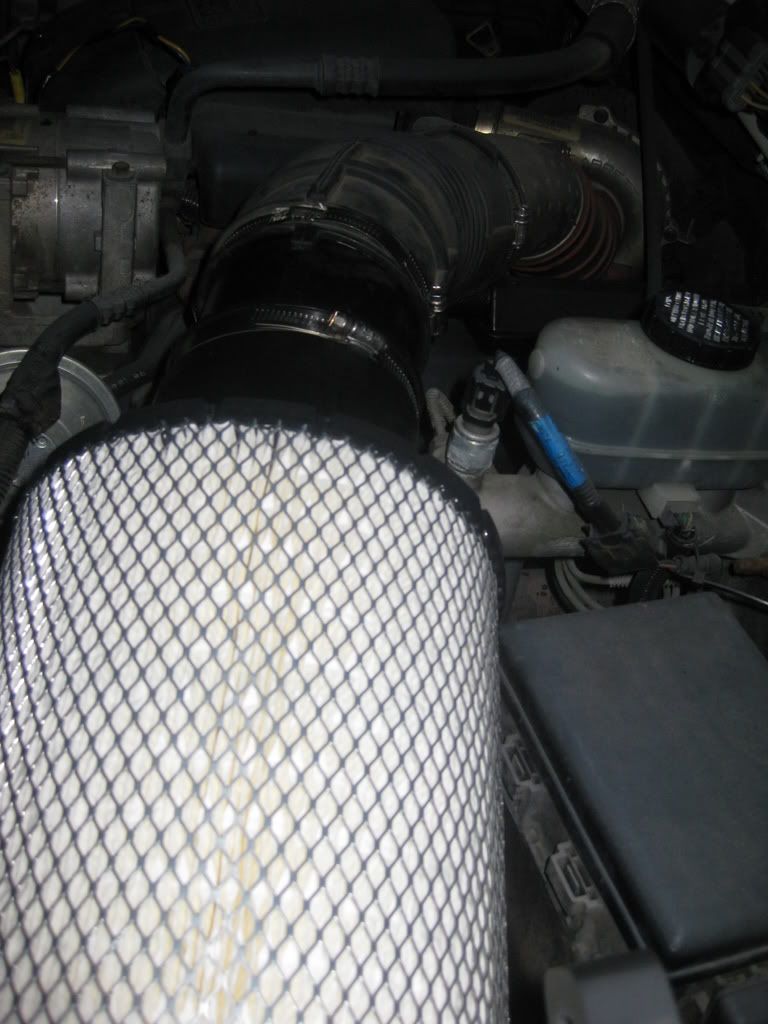
Now position the filter in the bay so it wont come out. It fits pretty well.
Then slip the clamp on ot the 4" PVC... Andddd. YOUR NOT DONE!!!!!!!
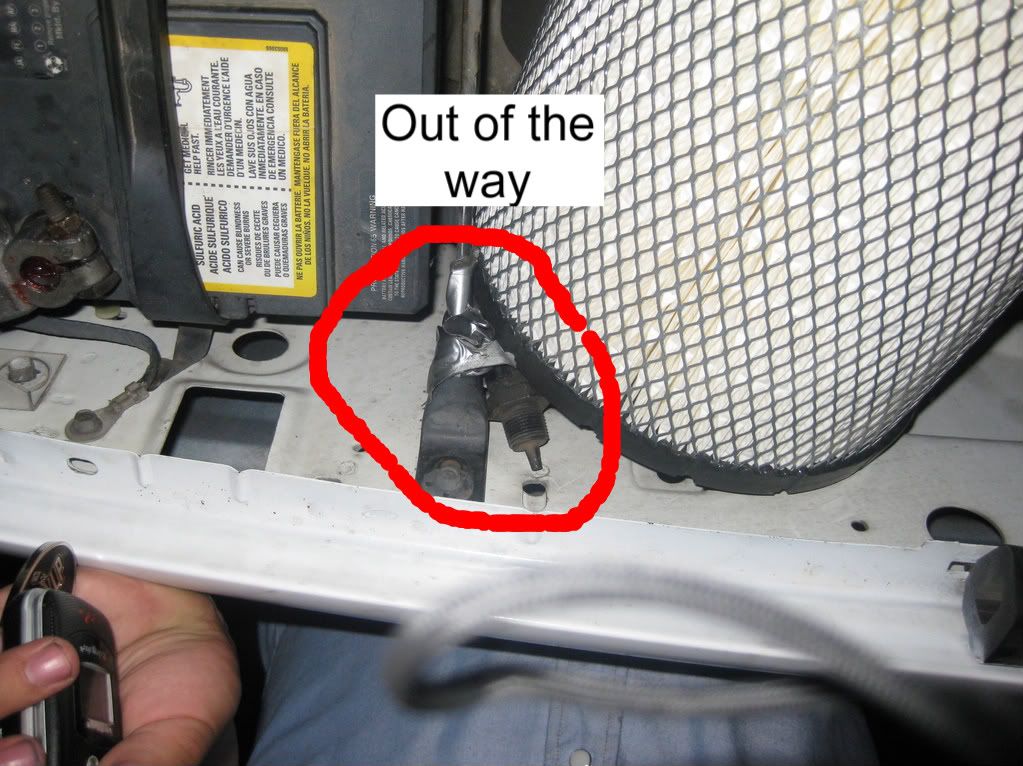
Remember that little probe sensor?? Were not done with it.
Find a suitable place for it, and Duct tape it out of the way.
like so:
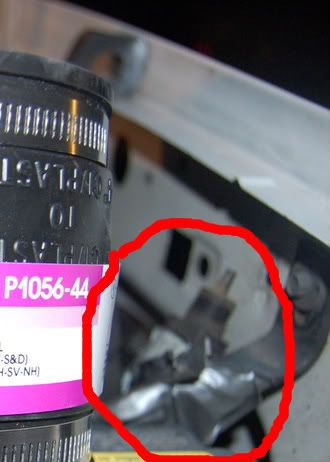
Now your done.
Enjoy your new big honkin filter and improved turbo whine!! (FOR REALZ!)
BY: Mike Aka. WanaDmax (although i gotta ford)

YOU WILL NEED:
4" PVC Pipe.
4" to 4" rubber connector w/ 2 clamps.
2 2 3/4 to 3 3/4 hose clamps (explained later)
Tymar Filter. FleetFilter.com Part # 46637
Some Duct tape
Flathead Screwdriver.
Sander
Reciprocating Saw
Wire Cutters
Needle Nosed Pliers
Shop Towels
And some Fast Orange.
So the UPS Guy was late.. He usually comes around 5:00PM but today, he wanted to torture me, so he came at 7:15PM
During that time, I looked out the window lots to just keep an eye on my truck.
Still there...
Then i took a nap. Because i had an hour to kill. Still no UPS guy.
Finally 7:15 rolls around and what do you know, THERES MY NEW TYMAR!
Apparently i was the last house on the route...
So I open it up, no packaging. Just my receipt and the filter.
One thing you have to be careful of is debris that gets in during shipping. I had a fleck of cardboard that was in there. I carefully dislodged it and shook it out.
That small brown speck is the cardboard corner.
So I pull it out, and its BIG! Much bigger than I anticipated.
So lets get to installation.
First you need to remove the air hood. Set it aside.
Then loosen the hose clamp and take the 2 square holed bolt things on the top out.
Once you have the screws loosened, take the intake tube out of the boot, and lift the cover off.
Then be amazed how much crap is in there.
Be weary of this sensor, in the coming up steps. It can easily be ripped out and broken.
After that, pull each of the rubber bushings up (no picture
) They may tame some force, but they'll come off. After you have the airbox free, take a crescent wrench and turn the probe sensor slightly. Once it moves a little, stand the airbox up, so the plug wire is making a line to the top of the hood. Then, with wrench on the sensor head, turn the airbox CCW until the plug comes out.
Leave the plug for now out of the way.
Once you have the whole airbox assembly out of the truck, look down your intake boot to your turbo fins. they should look neat, and not chipped. if they are, its time to replace them with a new wheel.
Bad picture but you get the idea.
Also, while looking in there, look at your piping and see how dirty it is. If its really dirty, clean it out with a shop towel.
After that, mock up your install and see how much piping you need to cut. I only needed about 3-4". ( I didnt measure, so dont cut 3" then have it be wrong and come back and yell at me.)
The tricky part now is getting the 4" piping to go in a, well, less than 4" hole. You can try your hardest, you may get it. But its just not fun like that.
Do this.
First take the hose clamp OFF. You cant re-use it.
Take the piping, and sand one edge to a bevel, while taking some of the material out, to reduce the outer diameter. Once done, clean the shavings out well, and apply some WD-40 to it to make it slide in, then re-clean the inside with a rag.
After you have done that, shove the pipe in there, and push the rubber out, to make it slide in... a 3rd hand is nice.
After its in, make sure its past the clamp area, and leave it.
Should look like that. (and i needed a picture)
Now for the hose clamps. Score some of the line clampy things, and bend them outward, but only after youve marked where you need to do it. I did it on the price tag. But the price tags on other products are in different spots. So dont use the price tag, unless it actually works.
After you have that done, tighten the clamps, make sure its in there snugly and it wont come out.
Then take your 4" to 4" rubber connector, and place it on the end of the filter, and tighten it down.
Now position the filter in the bay so it wont come out. It fits pretty well.
Then slip the clamp on ot the 4" PVC... Andddd. YOUR NOT DONE!!!!!!!
Remember that little probe sensor?? Were not done with it.
Find a suitable place for it, and Duct tape it out of the way.
like so:
Now your done.
Enjoy your new big honkin filter and improved turbo whine!! (FOR REALZ!)
BY: Mike Aka. WanaDmax (although i gotta ford)