Diesel Dually
awaiting your return...signed... your friends
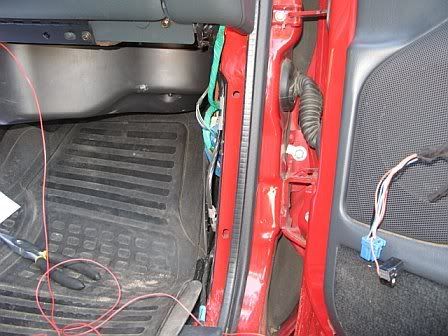
Here's the scoop for the '01 Chevy. It's very similar to Mr Losi's directions but the wire colors are different. I saved a few headaches by running the signal wires up to the front turn signal light wires as well as using a jimmy to snake the wires through the door so I didn't have to take the panel off. Also, I did not want to cut off the connectors so I used tap splices to join the wires. All the connectors stayed on. No soldering, no headache, no harm, no foul.
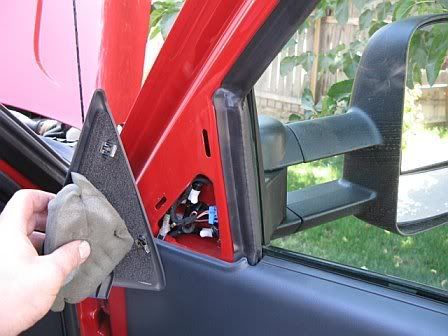
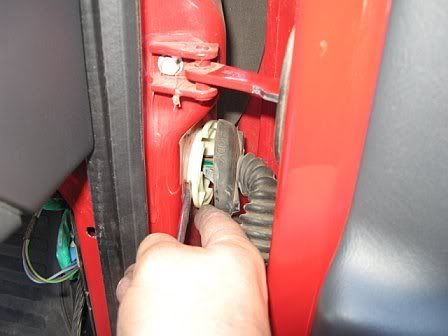
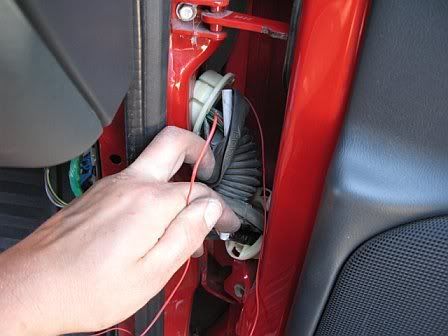
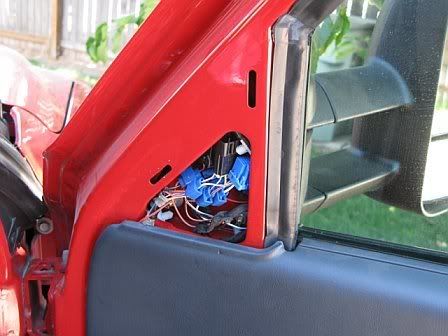
Take off cover and remove foam.
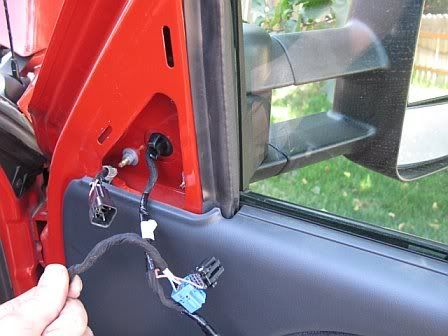
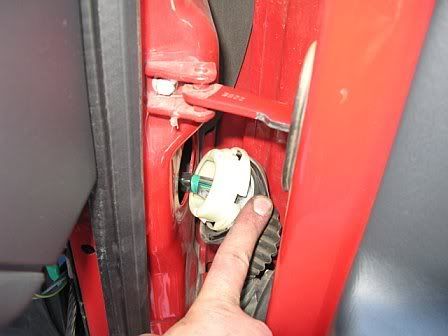
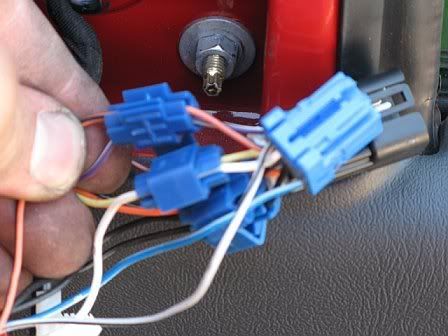
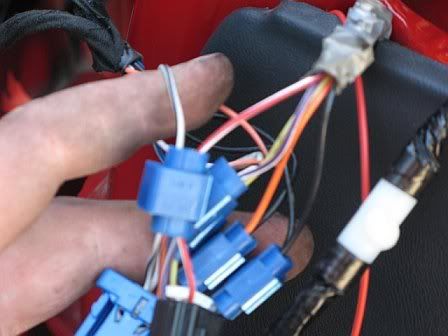
Remove wires from space. You can remove mounting clip on the truck's wire harness from the hole it locks into to get an extra inch of wire to work with
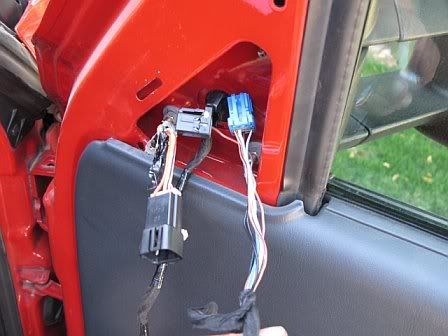
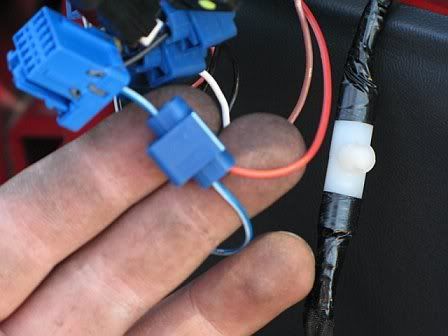
Trim back tape on wires.
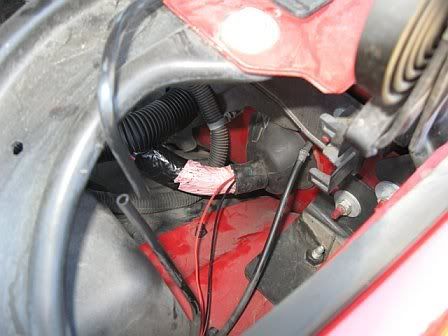
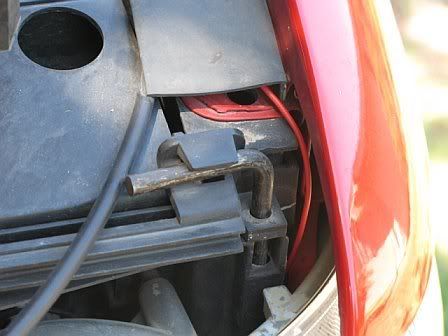
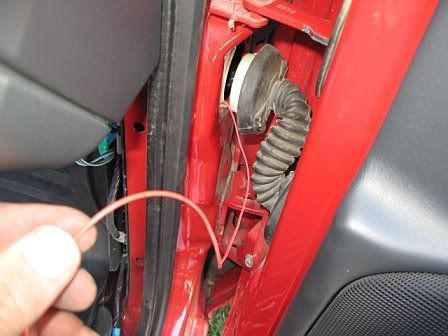
I connected my turn signal wires to the actual wires for each of the front turn signal lights. This pic shows the wires going through the gasket in the firewall on the driver's side of the engine compartment. You can gain better access by moving the truck's computer to the side. It should snap out of it's bracket and lay out of the way. I used the tube of a BIC pen to shove through the gasket after peeling off the tape. Then you can run your wires through the pen, pull the pen through the other side and slide it off of the wires. Retape the gasket when finished. NOTE the broken black tube on the left was the only casualty of my install. It is the feed tube for the window washing fluid. I glued it back together when I was done
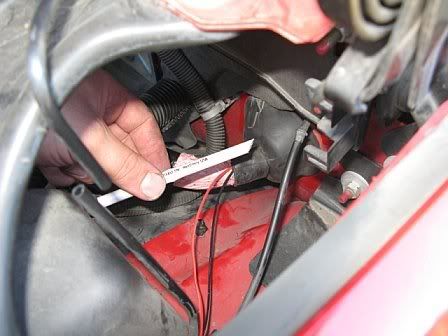
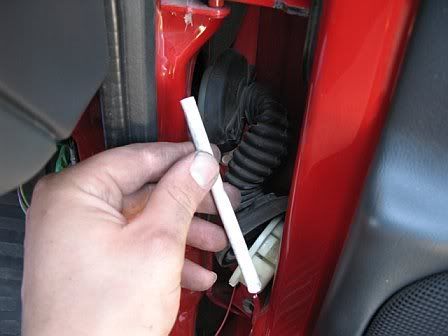
The BIC pen trick. Notice I cut a taper on the end to slide through the gasket easier. Be careful not to puncture the rubber.
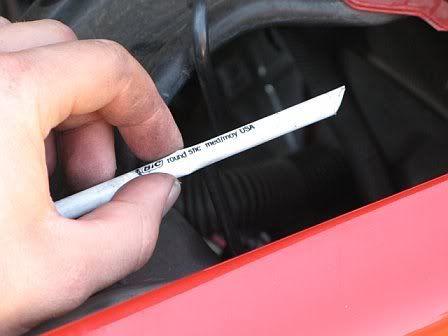
Closeup of the modified BIC Pen
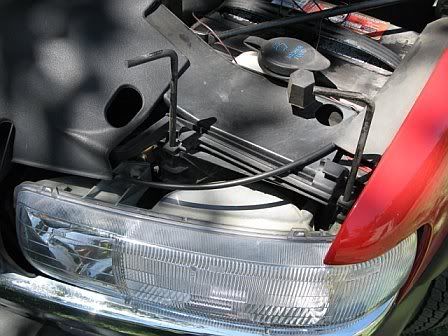
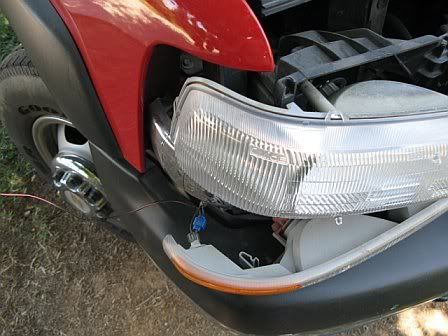
To connect the wires to the front signals, remove the pins for the top headlight brackets.
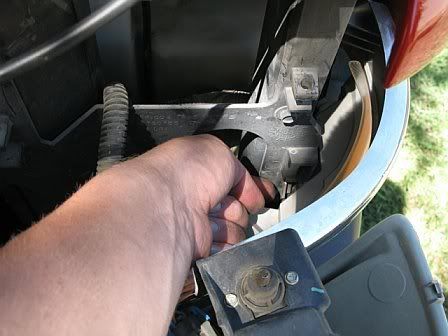
Slide the top headlight out. Now you can remove the lower light assembly by depressing the tab that I'm pointing to.

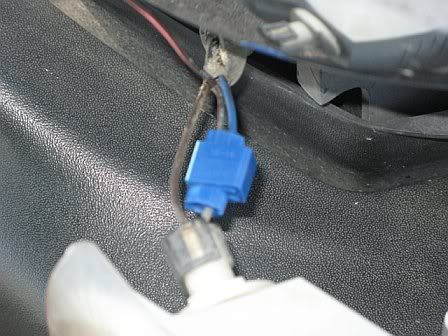
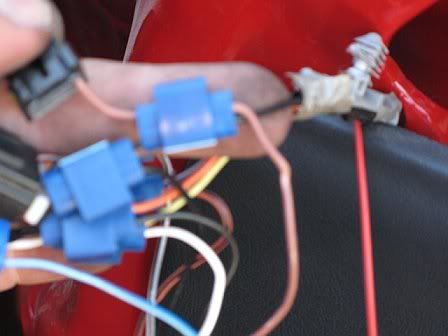
With the lower light assembly out, you can use a tap splice on the blue (positive) wire. My splice in the photo is without the wire running to the cab. It was for the picture.

To be continued
Take off cover and remove foam.
Remove wires from space. You can remove mounting clip on the truck's wire harness from the hole it locks into to get an extra inch of wire to work with
Trim back tape on wires.
I connected my turn signal wires to the actual wires for each of the front turn signal lights. This pic shows the wires going through the gasket in the firewall on the driver's side of the engine compartment. You can gain better access by moving the truck's computer to the side. It should snap out of it's bracket and lay out of the way. I used the tube of a BIC pen to shove through the gasket after peeling off the tape. Then you can run your wires through the pen, pull the pen through the other side and slide it off of the wires. Retape the gasket when finished. NOTE the broken black tube on the left was the only casualty of my install. It is the feed tube for the window washing fluid. I glued it back together when I was done
The BIC pen trick. Notice I cut a taper on the end to slide through the gasket easier. Be careful not to puncture the rubber.
Closeup of the modified BIC Pen
To connect the wires to the front signals, remove the pins for the top headlight brackets.
Slide the top headlight out. Now you can remove the lower light assembly by depressing the tab that I'm pointing to.
With the lower light assembly out, you can use a tap splice on the blue (positive) wire. My splice in the photo is without the wire running to the cab. It was for the picture.
To be continued